Losing files and documents is a nightmare. But it doesn’t have to be a recurring one. These days, with the availability of cloud storage and syncing, together with Time Machine’s ease of use and reliability, there’s no excuse for not having multiple copies of all your important data. In this article, we’ll show you how to back up your Mac using Time Machine, how to sync files with iCloud Drive, and explain why one is not a substitute for the other.
Time Machine vs iCloud backup — what's the difference?
There’s a common misconception that if you store files in iCloud or use iCloud to synchronize your data, then you don’t need to back up using Time Machine or a third-party backup tool. The truth is, you should be doing both. Here’s why:
iCloud | Time Machine |
Good for sharing files across devices | Can back up every file on your Mac |
Can automatically synchronize Desktop & Documents folder | Also backs up settings so you can restore to a different Mac if disaster strikes |
Quick to access when you need to restore files | Backs up to onsite storage, so it works even if your internet connection fails |
How to back up your Mac with Time Machine
Before you set up your Mac to back up using Time Machine, you’ll need somewhere to back up, known as the destination. That destination could be an external hard drive or SSD, or even a USB stick if it has enough capacity. It could also be a network-attached storage device (NAS) if you have one. NAS boxes make excellent backup destinations if you have a MacBook because you don’t need to be physically connected to them, as long as your Mac is on the same network. However, they are expensive and can be tricky to set up as Time Machine destinations. The instructions below assume you are using an external hard disk, SSD, or USB stick.
- Connect the external storage device to your Mac and wait for it to mount. Make sure there is enough free space on it to back up your Mac. If there are files on the disk, copy them somewhere else.
- Click on the Apple menu and choose System Settings.
- Select General > Time Machine and click the ‘+’ button.
- Select the external storage device you want to use as a Time Machine destination and click Set Up Disk.
- If there are files on the disk, macOS will ask for your permission to erase the disk. Confirm that it is ok or choose a different disk.
- If you want backups to be encrypted, choose that option and set a password.
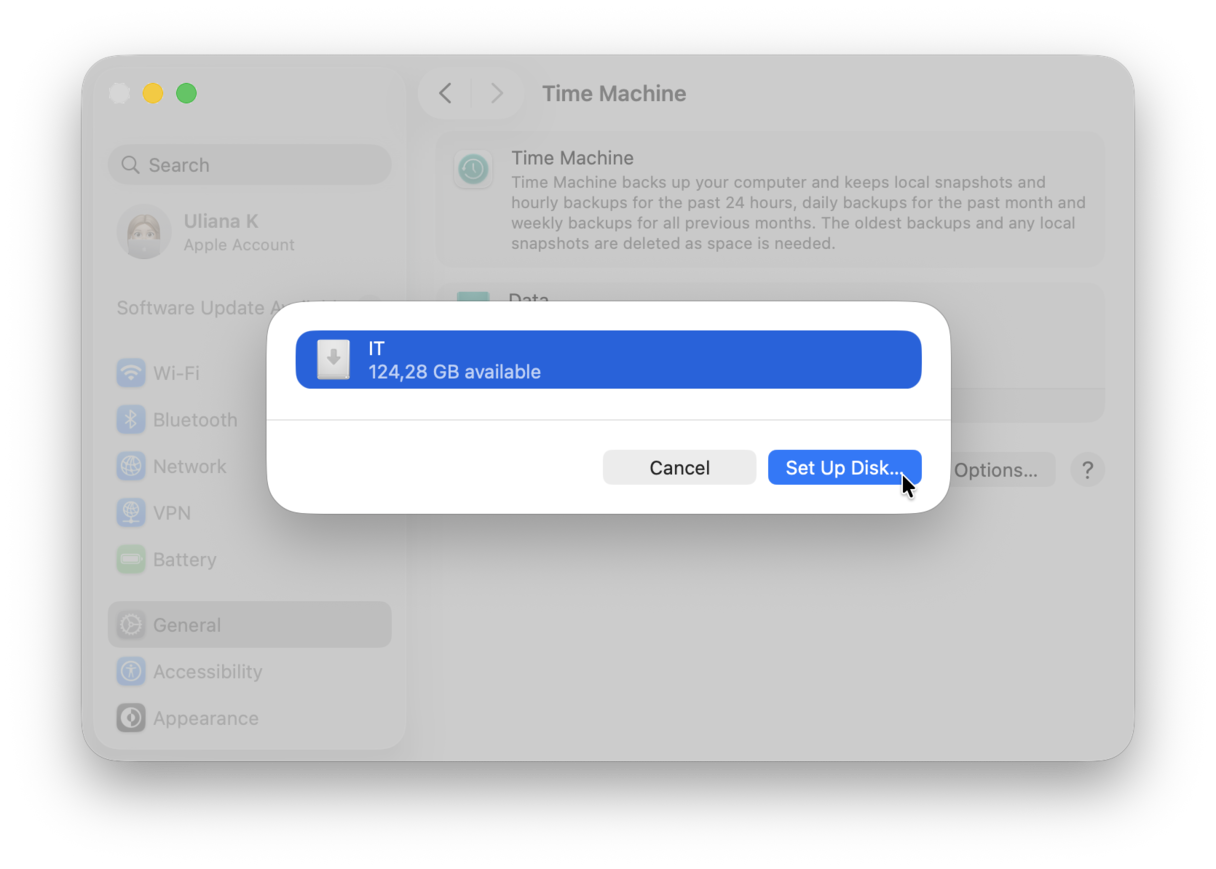
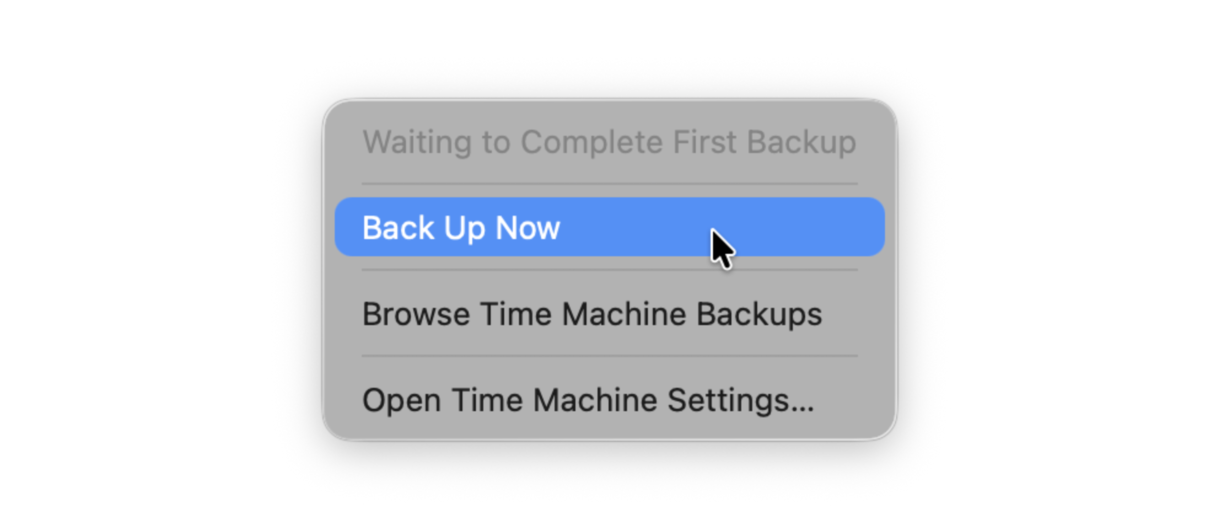
Once Time Machine is set up, it will automatically back up your Mac every hour. If it doesn’t start backing up, click the Time Machine icon in the menu bar and choose Back Up Now.
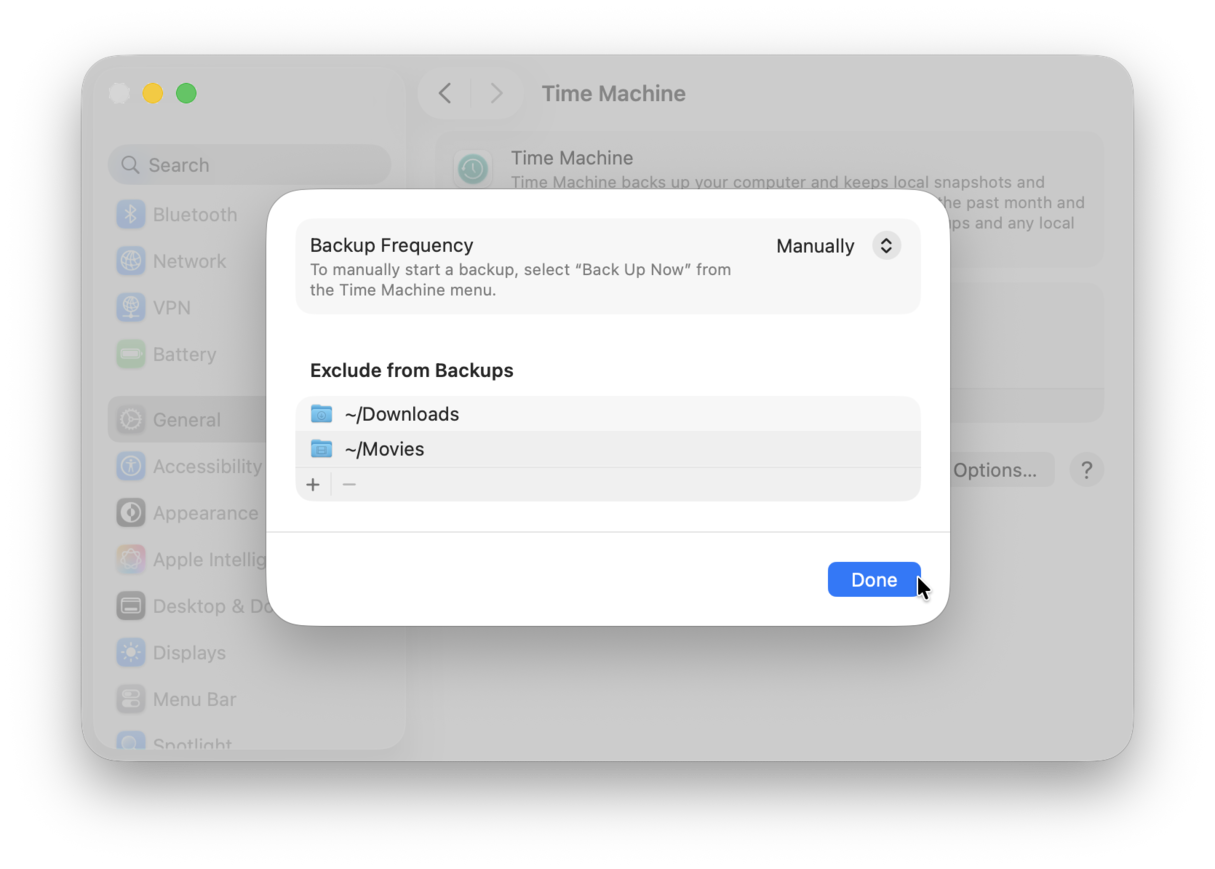
If you don’t want Time Machine to back up automatically, select the destination disk in the Time Machine window in System Settings and choose Manually.
If you want to exclude a folder from the backup, click ‘+’ under Exclude from Backups and choose the folder.
How to restore from a Time Machine backup
If you want to restore individual files or folders from Time Machine, follow the steps below. To restore your entire Mac from a Time Machine backup, skip to the next section.
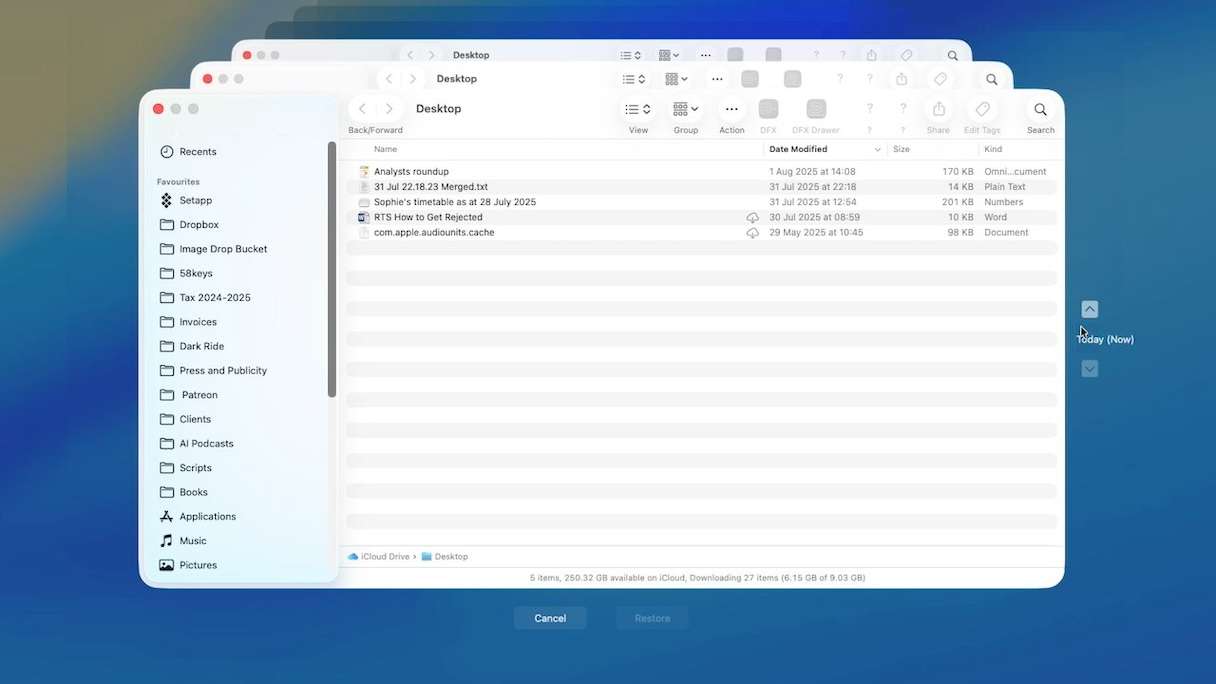
- Click the Time Machine icon in the menu bar.
- Choose Browse Time Machine Backups.
- Use the controls to navigate to a date and time when you know the file or folder was on your Mac.
- Navigate to the file or folder as you would in Finder.
- Choose Restore.
Use Migration Assistant to restore your Mac from Time Machine
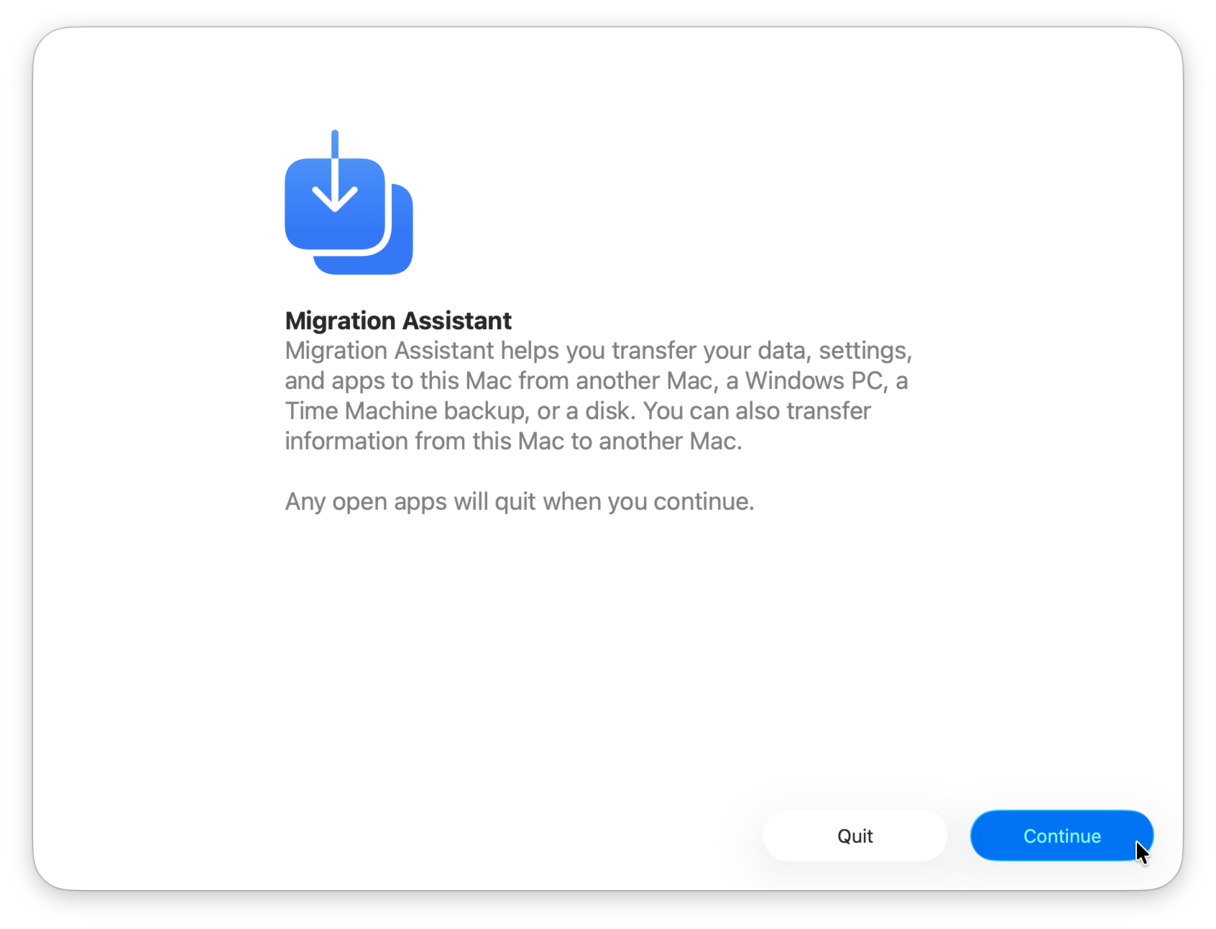
If you need to restore everything on your Mac, you can use Migration Assistant.
- Make sure your Time Machine disk is connected to your Mac.
- Go to Applications > Utilities and launch Migration Assistant.
- Choose From a Mac, Time Machine or startup disk and click Continue.
- Select your Time Machine backup disk when it appears and then Continue.
- Choose the backup you want to restore from and then Continue.
- Follow the prompts on screen to choose what files and user accounts you want to restore.
- If you’re asked, choose a password for an administrator account you’re restoring.
- When the restore is complete, which could take a few hours, quit Migration Assistant, then log into the new account on your Mac.
How to back up your Mac with iCloud
Unlike Time Machine, iCloud doesn’t allow you to automatically back up your entire Mac. However, you can set it to synchronize your Desktop and Documents folders. If you do that and use iCloud Photos, much of your important data will be available on every Mac connected to your Apple account and in iCloud Drive on any computer.
- Click the Apple menu and choose System Settings > iCloud in the sidebar.
- Next to Saved to iCloud, click See All.
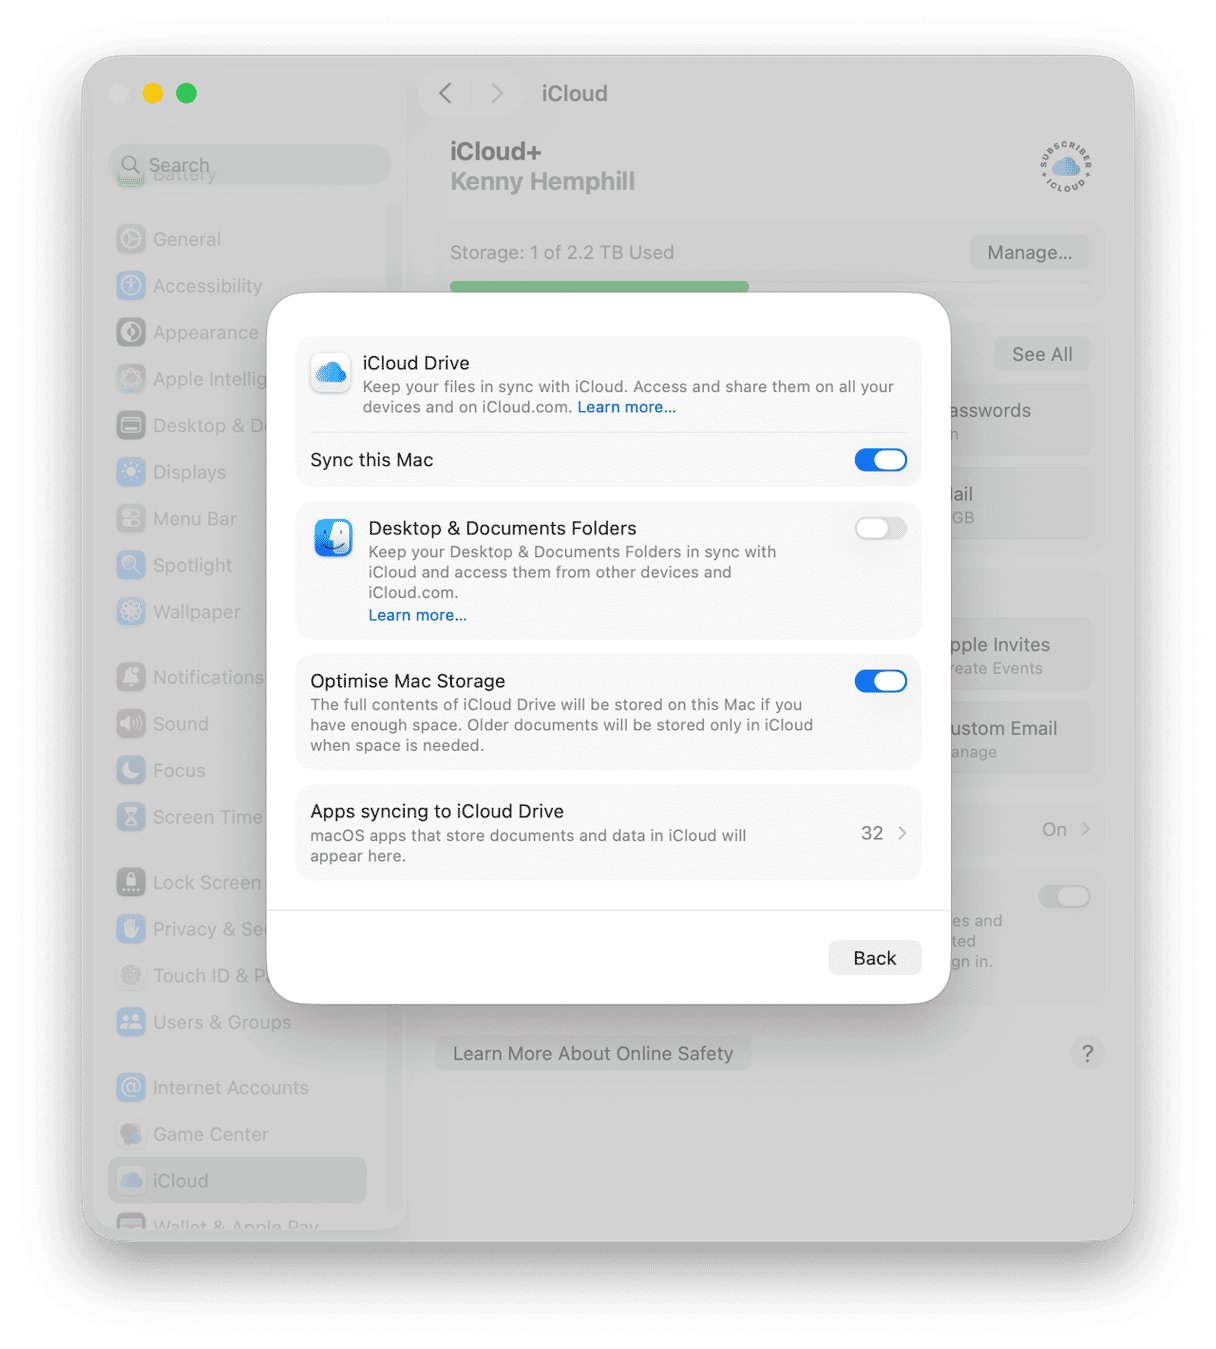
- Choose iCloud Drive and turn on Sync This Mac.
- Turn on Desktop & Documents.
- Click Back.
- You’ll see a list of apps that can store their data in iCloud and sync across your devices. Turn them all on.
How to manage iCloud storage
If you’re going to back up data to iCloud and sync it with all your Apple devices, you may need more than the 5GB of free space Apple provides. To get more storage, you can subscribe to a paid-for plan. Click Change Storage Plan and follow the guidance on screen to choose a plan.
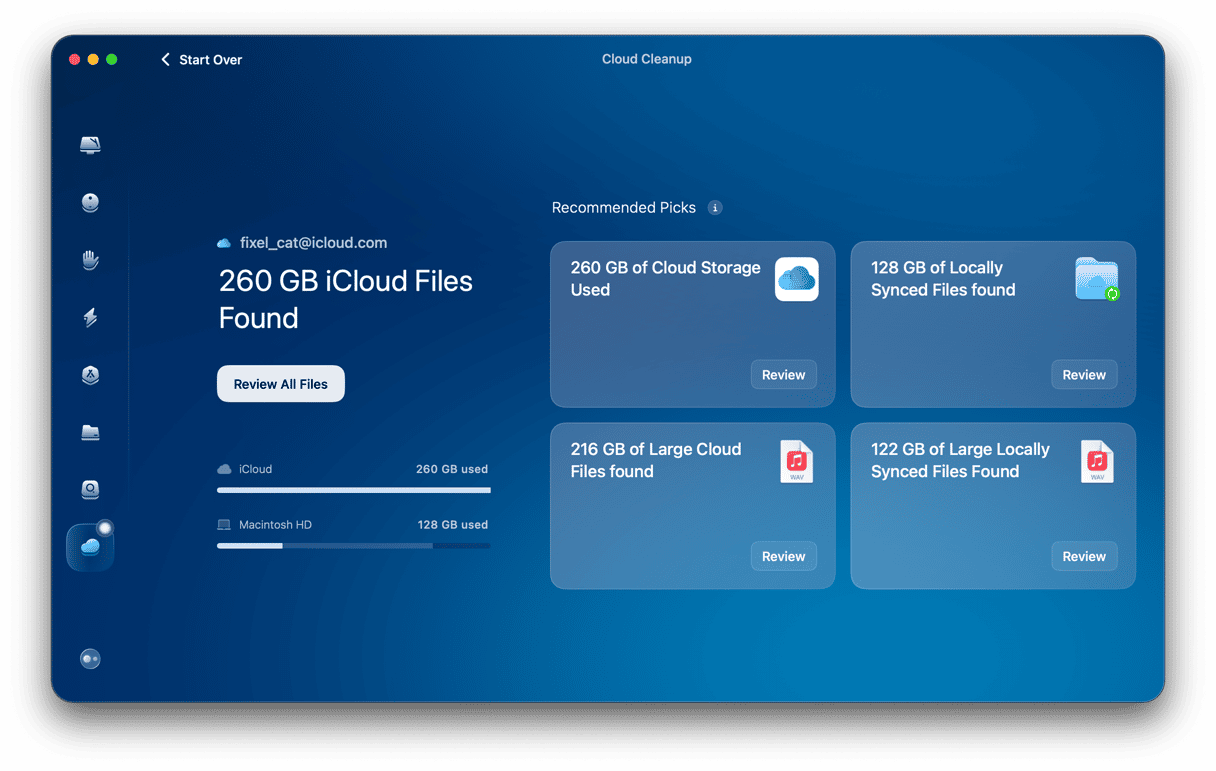
Alternatively, you can free up space in iCloud by getting rid of or moving large, old files. That way, you won’t delete anything that’s important and won’t see the dreaded ‘iCloud storage full’ warning. CleanMyMac’s Cloud Cleanup does the job quickly and very easily.
- Start your free CleanMyMac trial — you can test all 25+ tools for 7 days free.
- Open the app and choose Cloud Cleanup.
- Click Scan.
- Review its findings and remove the files you don’t need.
How to fix common problems
1. Time Machine backup full
Time Machine is designed to delete older backups as your disk starts to get full, and so it shouldn’t run out of space on the disk. If it does, the simplest solution is to use a different disk. Just connect the disk to your Mac, go to Settings > General > Time Machine, and add the new disk as a Time Machine destination.
2. iCloud sync paused
If syncing to iCloud pauses, it’s usually because there is a problem with your internet connection, so check that first. If that’s working ok, check you have enough free storage in iCloud. Finally, restart your Mac, and syncing should re-commence.
3. Not enough storage
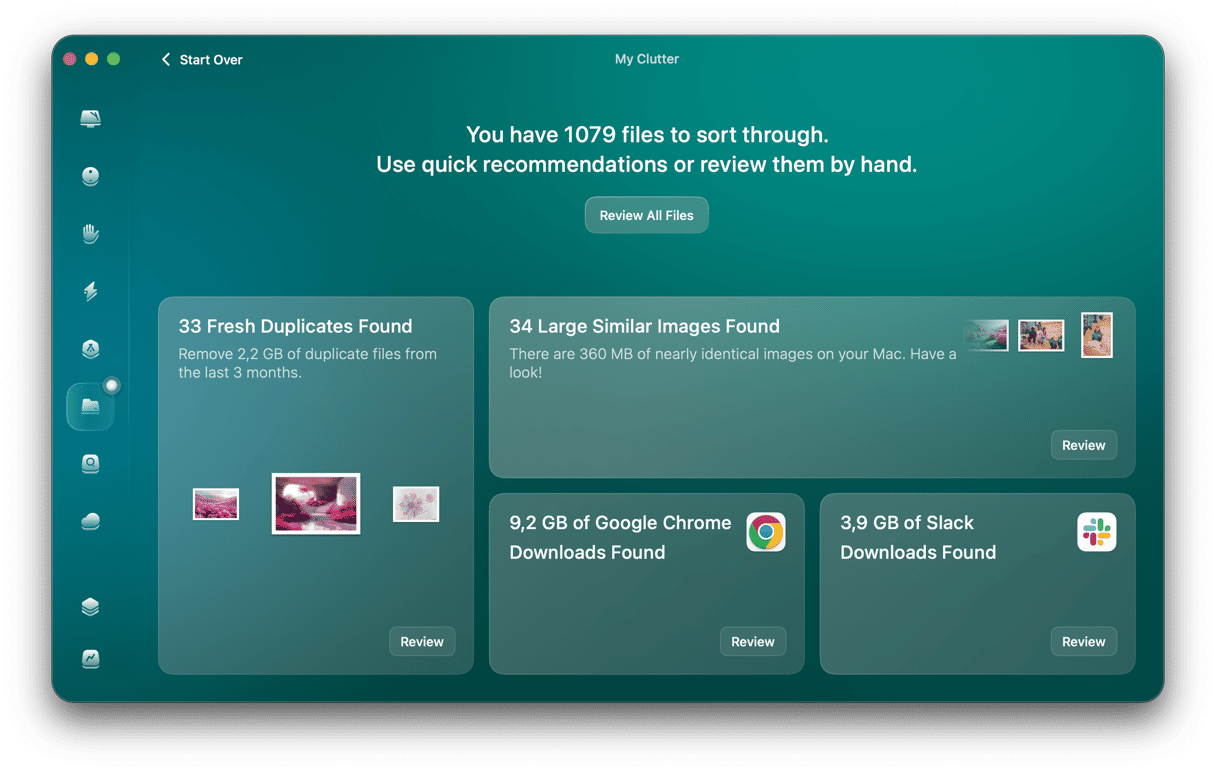
If you run out of storage on iCloud, you can upgrade to a plan with more storage or you can clear out large files, duplicates, and images that are similar to each other. Together, getting rid of or archiving those files will free up space on your Mac and, therefore, iCloud, because they are no longer synced, without causing any inconvenience to you. CleanMyMac’s My Clutter feature makes it easy:
- Open CleanMyMac.
- Choose My Clutter.
- Press Scan > Review All Files.
- Select what you no longer need and click Remove.
Before you back up: clean up first
As you use your Mac, it accumulates more and more clutter and junk files. These include cache files, old log files, setting files for apps no longer on your Mac, and other files you don’t need. There’s no point in backing up these files to a Time Machine disk. They will just take up space unnecessarily and slow down the first backup.
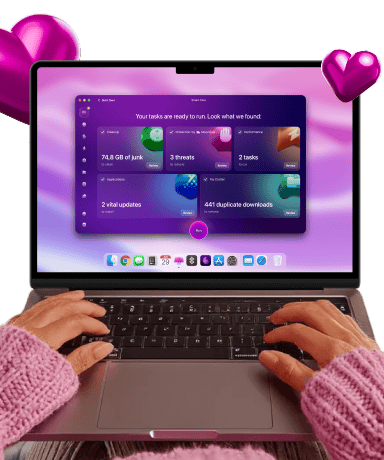
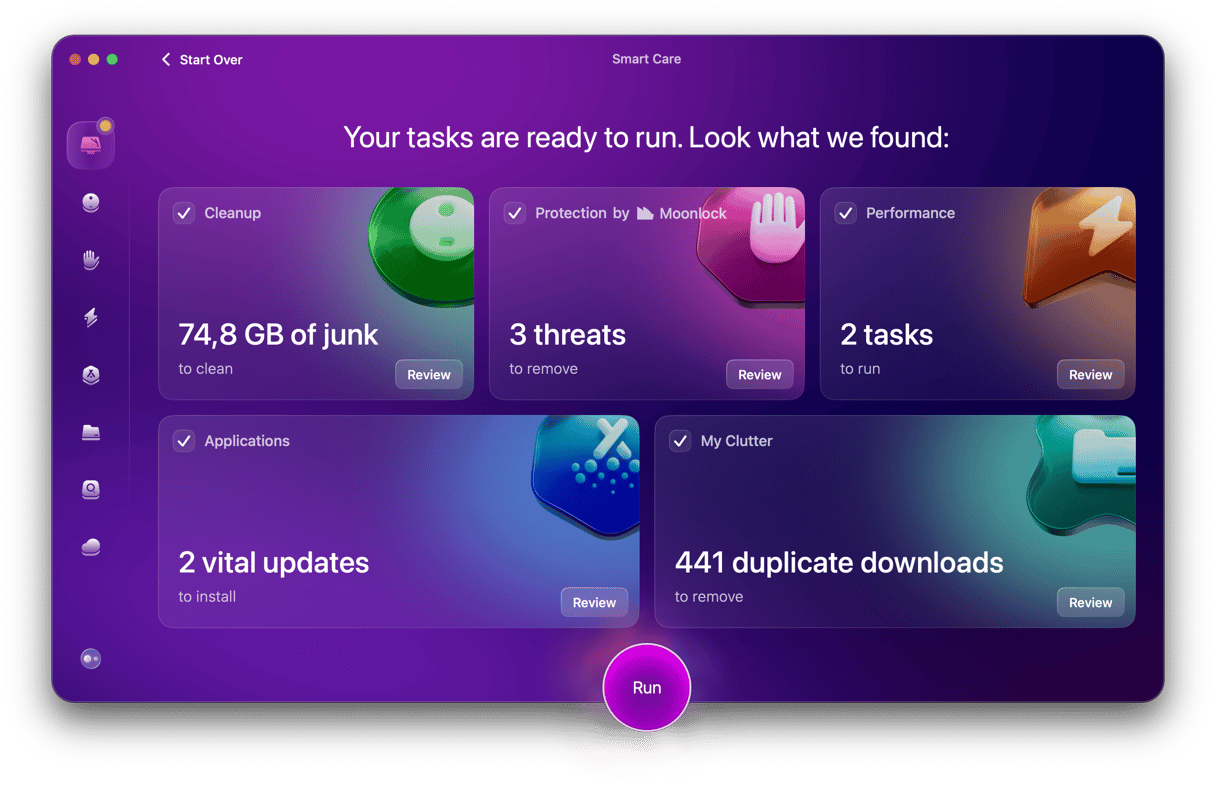
CleanMyMac’s Smart Care feature allows you to clear out those files and free up space with one click: it scans for junk, optimizes performance, and flags anything suspicious.
- Open CleanMyMac.
- Choose Smart Care.
- Click Scan > Run.
Time Machine or iCloud backup, which method is right for you?
If you want to back up your entire Mac, or most of it, regularly and be able to restore individual files or all your data and settings, Time Machine is the way to do it. If, on the other hand, you want to synchronize your Desktop and Documents folders so you can access them on all your Macs and store ad hoc files in the cloud, use iCloud.
Time Machine and iCloud can both be used to back up files on your Mac. But they do things very differently, so it's important to choose the method that’s best for you. For example, a local Time Machine backup will allow you to restore all your data and settings quickly. But it won’t help if your home or office is flooded or is damaged by fire. Having your most important documents in iCloud will keep them safe off-site. So, use both Time Machine and iCloud. You can never have too many backups or too many options when it comes to restoring data.