Time Machine is a great feature in macOS that makes it very easy to back up your Mac to an external drive and then restore individual files or an entire backup. However, occasionally, things go wrong with it, and issues like Time Machine backups not being visible emerge. If that happens, your Mac won’t be able to back up to the disk or restore files from it. We’ll explain why it might have happened to you and show you how to fix it.
What is Time Machine?
First, a quick recap on what Time Machine does. Once you’ve set it up, Time Machine backs up your Mac at regular intervals. After the first backup, it only backs up the files that have changed since the previous backup, so it’s usually very quick. Most of the time, you don’t even realize it’s running. But if you accidentally delete a file, it becomes corrupted, or you need to completely reinstall macOS, you’ll be glad it was because Time Machine allows you to restore everything from a single file to an entire backup from any date you choose.
Why is Time Machine backup not showing up?
There are a number of reasons why Time Machine may not be able to find your backup disk, both hardware and software. Here are the most common ones:
- The disk isn’t connected to your Mac.
- The disk is on a server, and the server connection isn’t working properly.
- The server or disk has a password, and the password has changed.
- There’s a problem with the disk.
- The disk is connected to another Mac, and that Mac is asleep.
How to fix it when “no Time Machine backups were found”
1. Restart your Mac
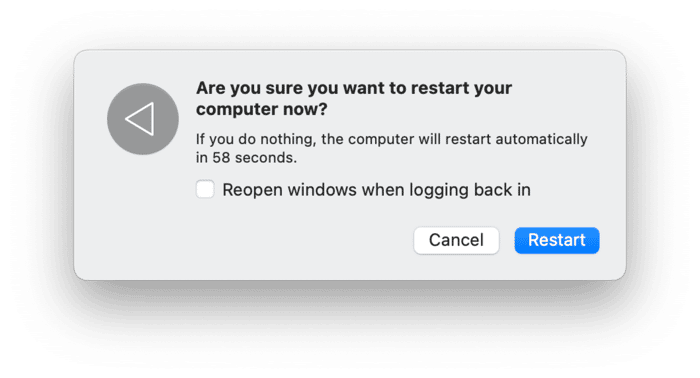
This is the first step whenever you encounter an issue on your Mac. It clears out temporary files and, on Macs with Apple silicon, runs checks on the boot disk. Once your Mac restarts, try using Time Machine again.

2. Check for macOS updates
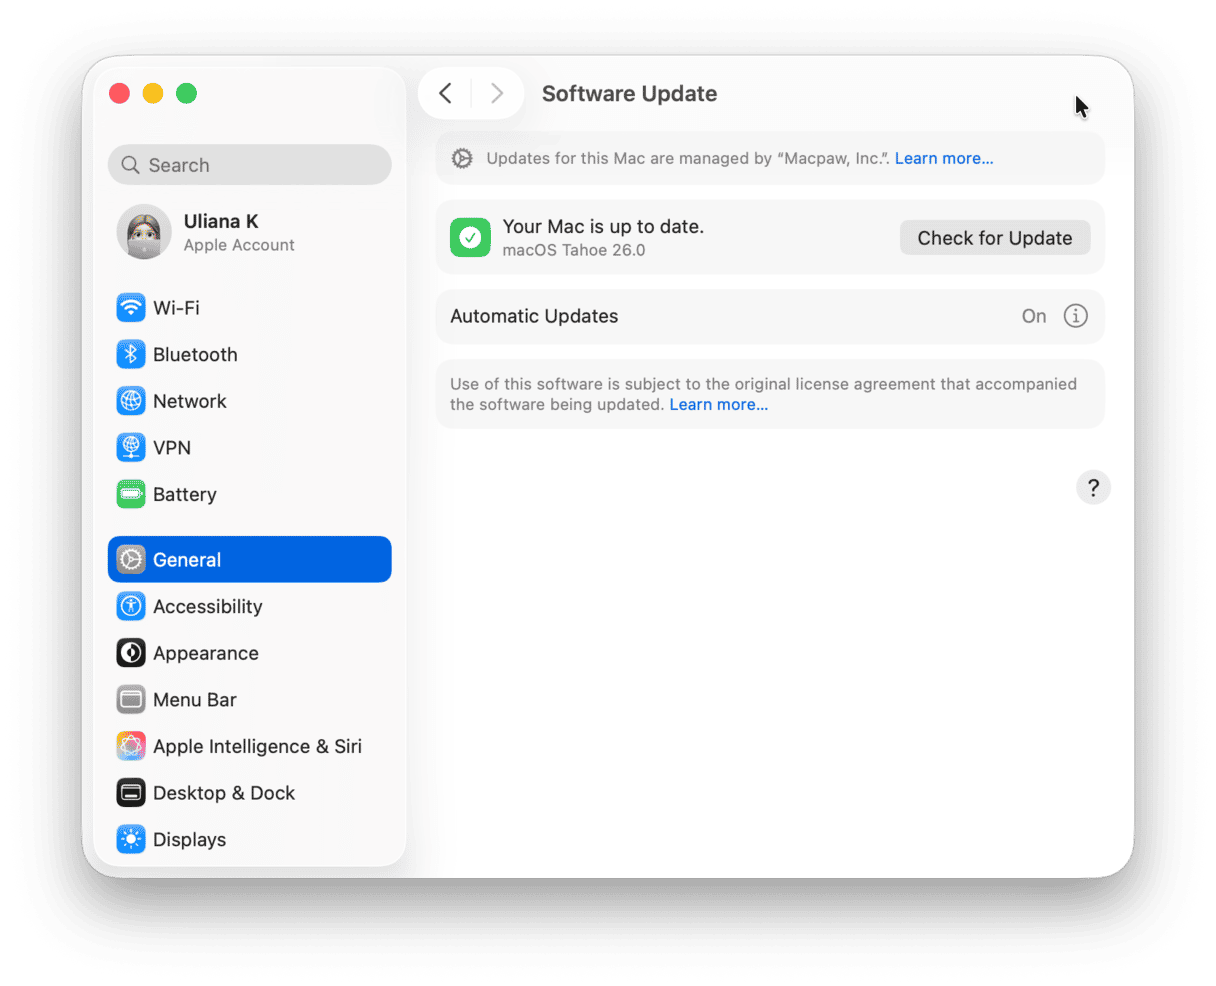
This is another ‘catch-all’ fix for dealing with problems. Go to Apple menu > System Settings > General > Software Update. You should see a notification there if an update is available. If there is one, follow the instructions on the screen to install it.

3. Check the disk connection
If the backup disk is directly connected to your Mac, make sure the connection is secure. Also check that it’s connected to a power source if it needs one and that if there is a power switch, it’s turned on.
4. Check your network connection
If your Time Machine backups are on a server or network disk, make sure your Mac is connected to the server. You should see the server or network disk in the sidebar under Locations in a Finder window. If not, you may need to log in to the server.
5. Check the connection with another Mac
If your backup disk is connected to another Mac and shared with your Mac, make sure that Mac is powered on and awake.
6. Reselect your backup disk
If you’ve made sure that your backup disk is securely connected to your Mac and mounted in the Finder, the next step is to reselect it.

- Click on the Apple menu and choose System Settings.
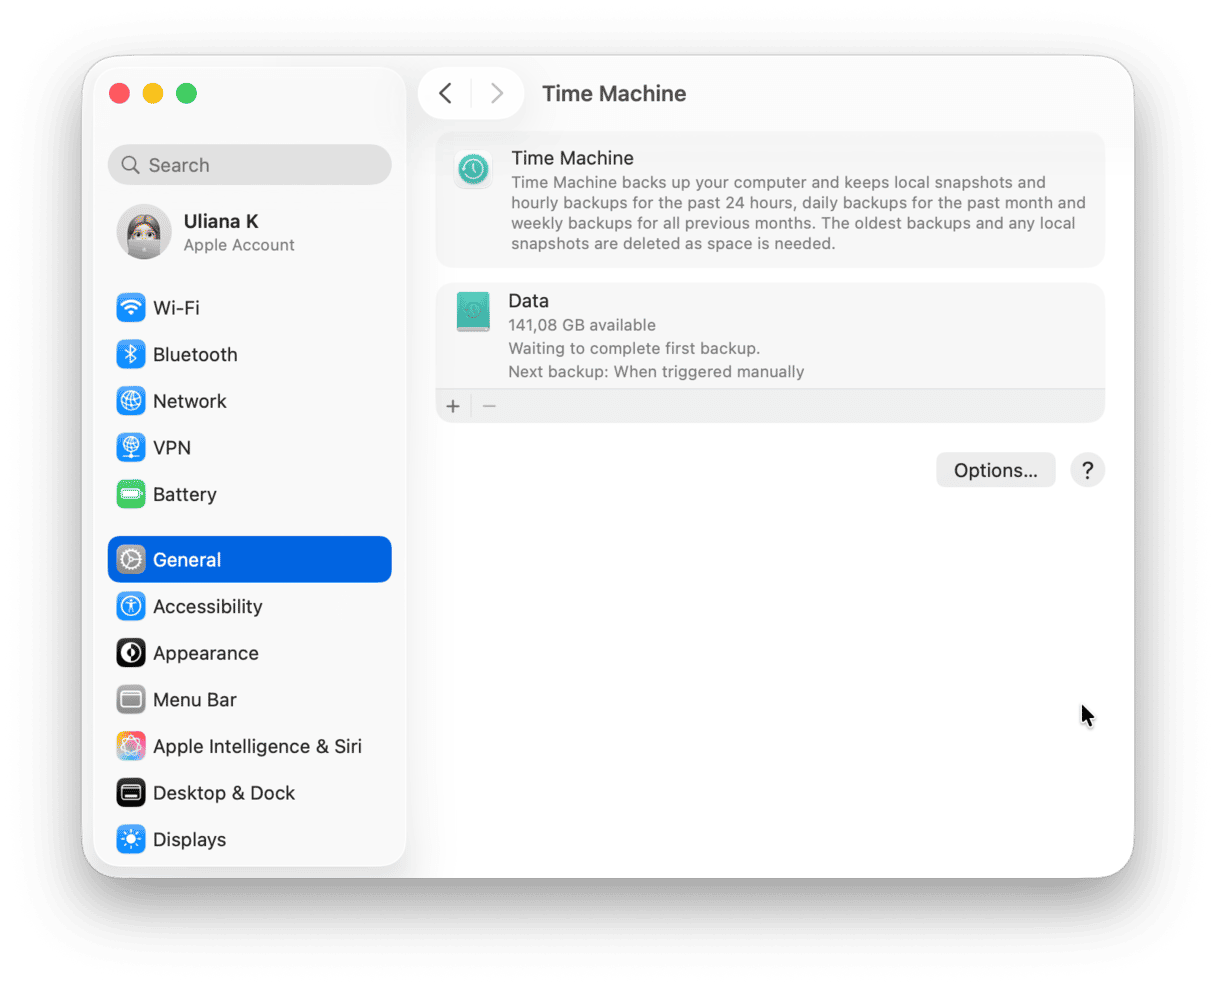
- Go to General and then Time Machine.
- If your backup disk is showing in the Time Machine window, select it and click ‘-’ under it.
- Click ‘Forget this Destination.’
- Now, click the ‘Add Backup Disk,’ navigate to your backup disk, and select it.
- If the disk is a Time Capsule or other network disk, you may have to type in the password.
7. Restart in safe mode
It’s possible there is an extensions conflict causing your Mac to have trouble locating your Time Machine backups. Restarting your Mac in safe mode will disable all but the most important extensions as well as perform checks on your boot disk. You may then be able to access Time Machine backups. The process for booting into safe mode is different depending on what type of Mac you have. You can find the steps for your Mac on Apple’s website.
Time Machine is a great tool for backing up your Mac. But if it goes wrong and can’t find your backup disk, it’s frustrating. Follow the steps above one by one to fix the problem and get Time Machine up and running again on your Mac.


