If you've ever searched for info on how to turn off iCloud Music Library on Mac and felt unsure about what actually happens when you do, I've been there. iCloud integration sounds great until your playlists, downloaded songs, and settings get tangled across devices.
When I started playing around, I noticed duplicates, mismatched album art, and even songs disappearing when I tried to clean up my library. That was my cue to pull the plug.
Disabling and unsyncing is a great way to get back control, especially if things feel a bit wild. I'll go through everything I discovered and cover all the steps.
Reasons to turn off iCloud Music Library on Mac
I've been using Apple Music across my iPhone, iPad, and Mac for years, and chances are, if you're reading this, so have you. After I recently upgraded my macOS, I started to notice that my local Music was constantly being overwritten by cloud versions I didn't want.
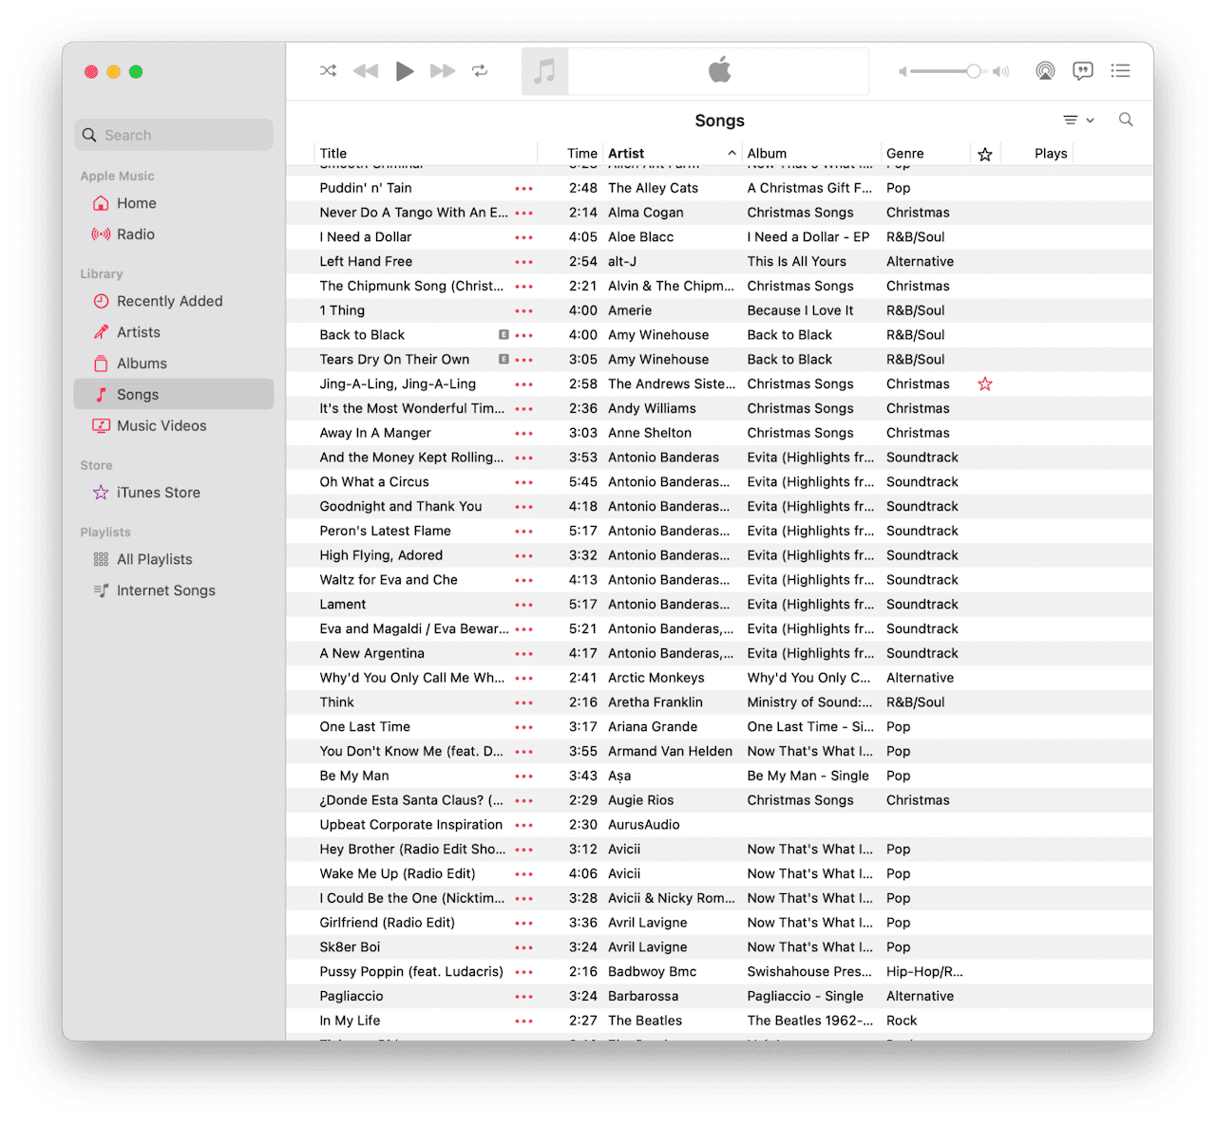
Even a couple of albums I'd imported from vinyl rips vanished, replaced by streaming versions with censored tracks. But it's not just me, loads of users are reporting similar issues, and after trawling the usual community sites, here's a bunch of other reasons users are opting to unsync:
- Duplicates or weird metadata mismatches
- Reorganizing your library manually, and need a clean slate
- Storage space is getting tight
Storage was actually a theme that popped up time and time again on help forums, and if it's the reason you're looking for tips on how to turn off iCloud music library on Mac, then consider this a bonus tip.
Look at the space your other cloud files are taking up
CleanMyMac's Cloud Cleanup feature lets you scan and manage files stored in iCloud Drive, Google Drive, and OneDrive, helping you free up space by unsyncing local copies you no longer need.
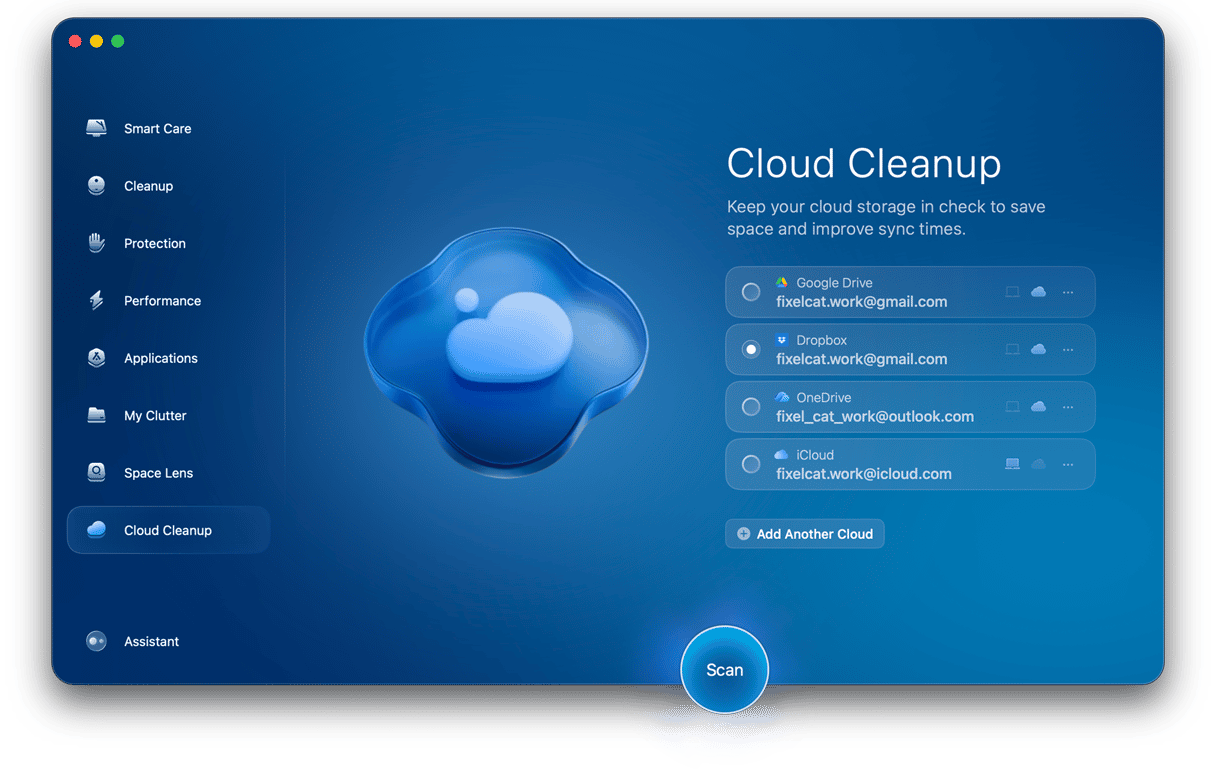
Here's how I use it:
- Open CleanMyMac (get your free trial here).
- Go to Cloud Cleanup.
- Choose the cloud service you want to scan and review items.
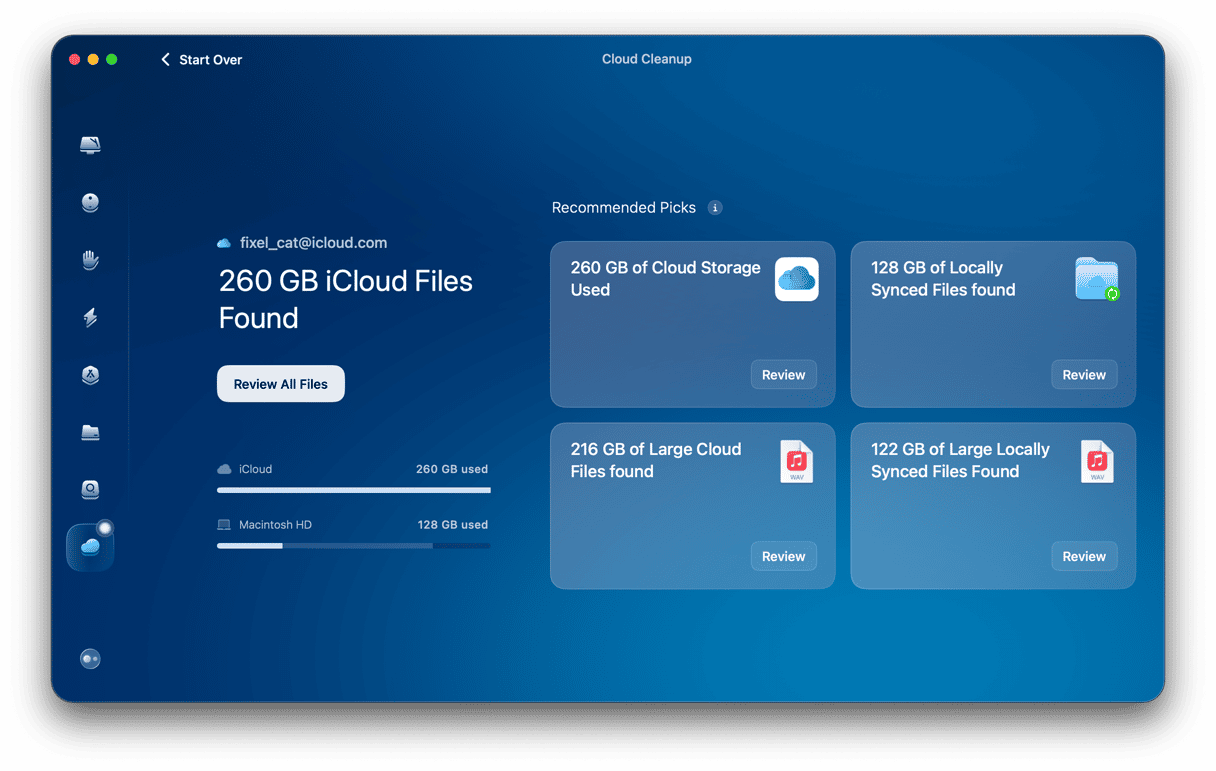
This doesn't remove anything from your iCloud Music Library, but it does help clear up space tied to synced cloud files, including audio, video, and documents that may have been stored alongside your Music over time.
OK, let's get back to iCloud and your Music Library.
Turn off iCloud Music Library on Mac
Turning off iCloud Music Library is pretty straightforward. Here are all the steps I followed:
- Open up the Music app and make sure you're signed in with your Apple Account.
- In the menu bar at the top, click Music> Settings > General.
- Uncheck or toggle off the Sync Library option.
- Confirm by clicking OK.
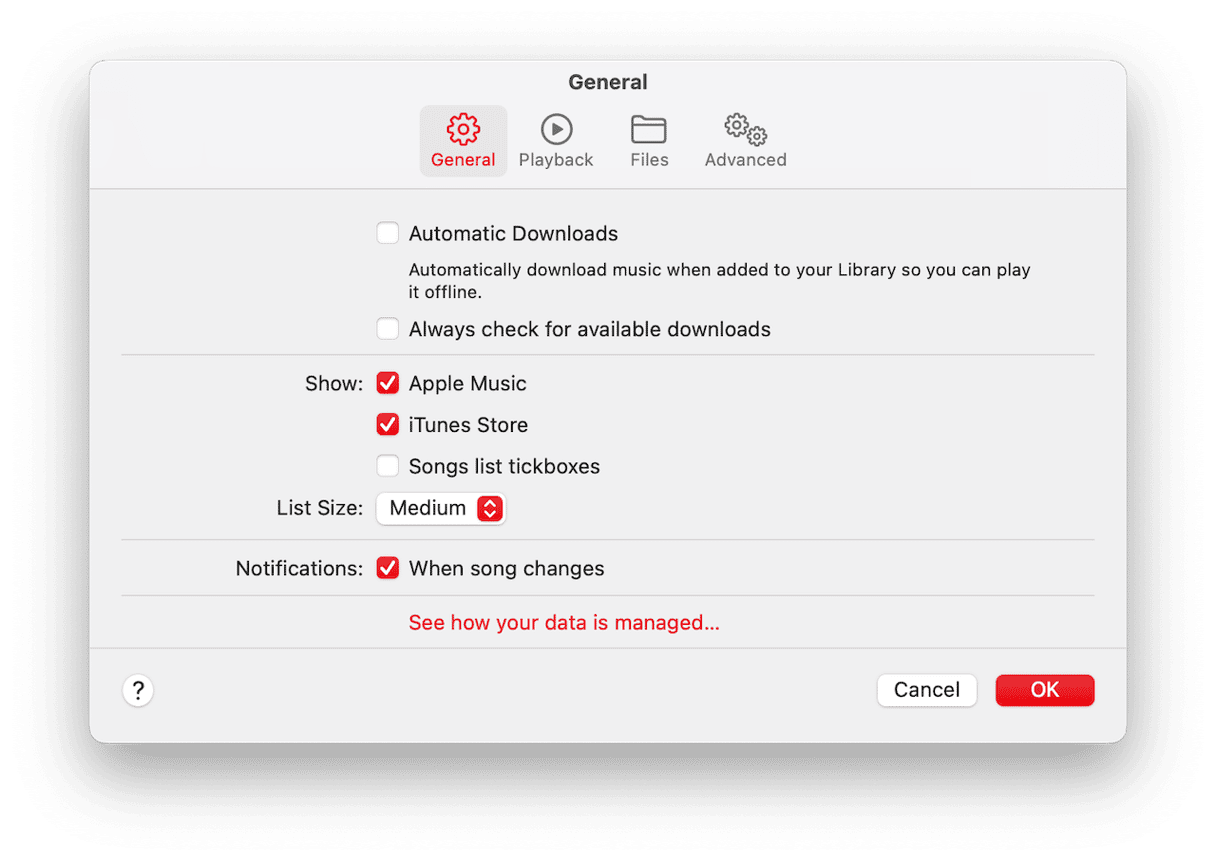
Heads up: You might get a pop-up warning that turning off Sync Library will delete all Apple Music tracks from your Mac. That's normal. It doesn't delete your local files, just the cloud-synced content.
If you don't see the Sync Library toggle, make sure you're signed in with the same Apple ID used for Apple Music or iTunes Match, and you need to have an active subscription; if you don't, you won't see the option to unsync.
Once you've unsynced Apple Music, it's time to check if it worked; here's how and what to look for.
- Go to Music> Library.
- If you had downloads from Apple Music, they'll likely disappear, but anything you imported manually (MP3s, FLACs, etc.) should stay.
What happens after you turn it off
So let's take a quick look at what happens when you actually turn off iCloud sync:
- Your playlists created with Apple Music will vanish, but locally created ones stay.
- Songs added via an Apple Music subscription won't be playable anymore, unless downloaded beforehand.
- Any metadata corrections or edits made via cloud sync might revert.
The upside? Well, for me, I finally had a local-only music library that stayed exactly how I wanted it. No syncing bugs, no album art swaps, and way less cloud clutter.
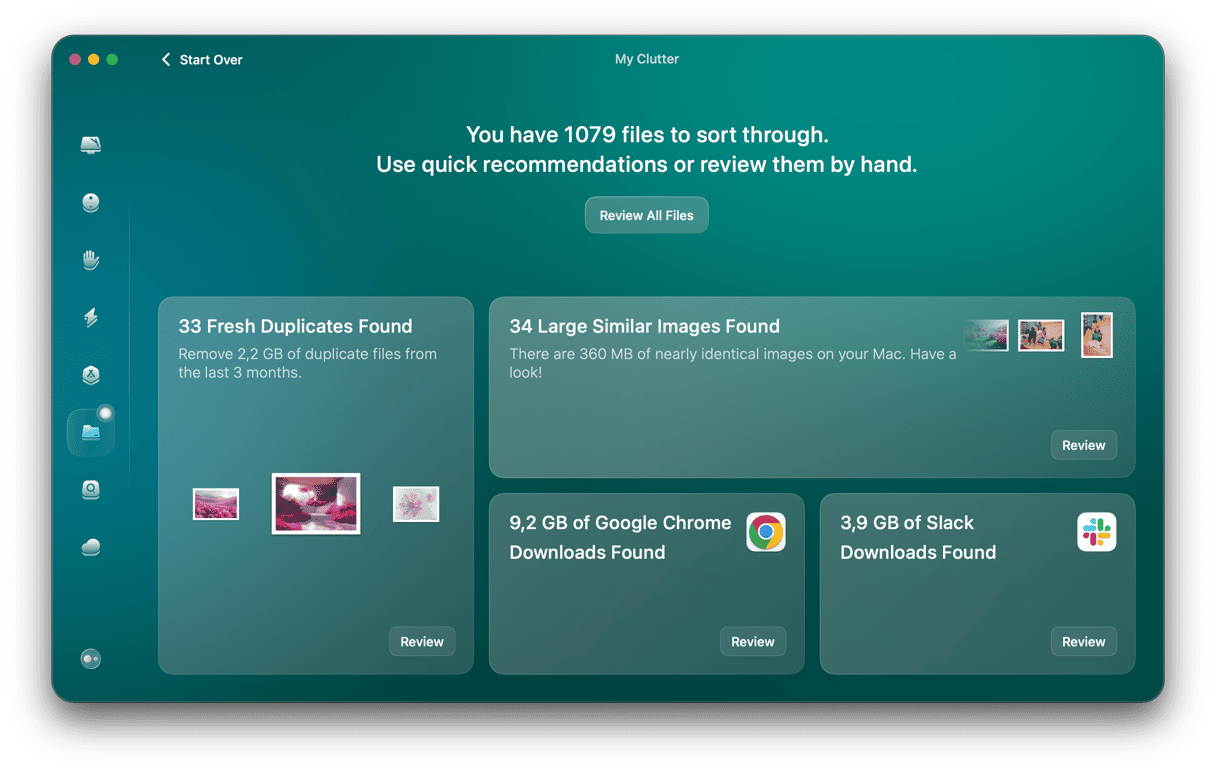
If you're still concerned that your Mac storage is heavy, why not have a general cleanup? Use the tool I mentioned in the section above, CleanMyMac, to do all the hard, cleanup work. It has a really powerful My Clutter feature, which can help locate large and completely forgotten files; here's how:
- Open the app again, and this time, click My Clutter > Scan.
- Wait till it's finished and click Review All Files.
- Sort through, find files and media you don't want, and click Remove.
Well, that's everything on how to turn off iCloud Music Library on Mac. Hopefully, these tips helped you get the job done and saved you some previous storage space.


