Apple makes some of the best apps available for Mac. Some of those are preinstalled with macOS, like Safari, Mail, Calendar, and Notes. Others can be downloaded and installed for free from the App Store, like Pages, Numbers, and Keynote. And then, there is a third category — apps like Logic and Final Cut Pro — that are high-end professional tools and have price tags to match. In this article, we’re going to cover one of the apps that falls into the middle category that you may have installed to try out and then decided you don’t want to use anymore. We’ll show you how to uninstall GarageBand on Mac.
What is GarageBand?
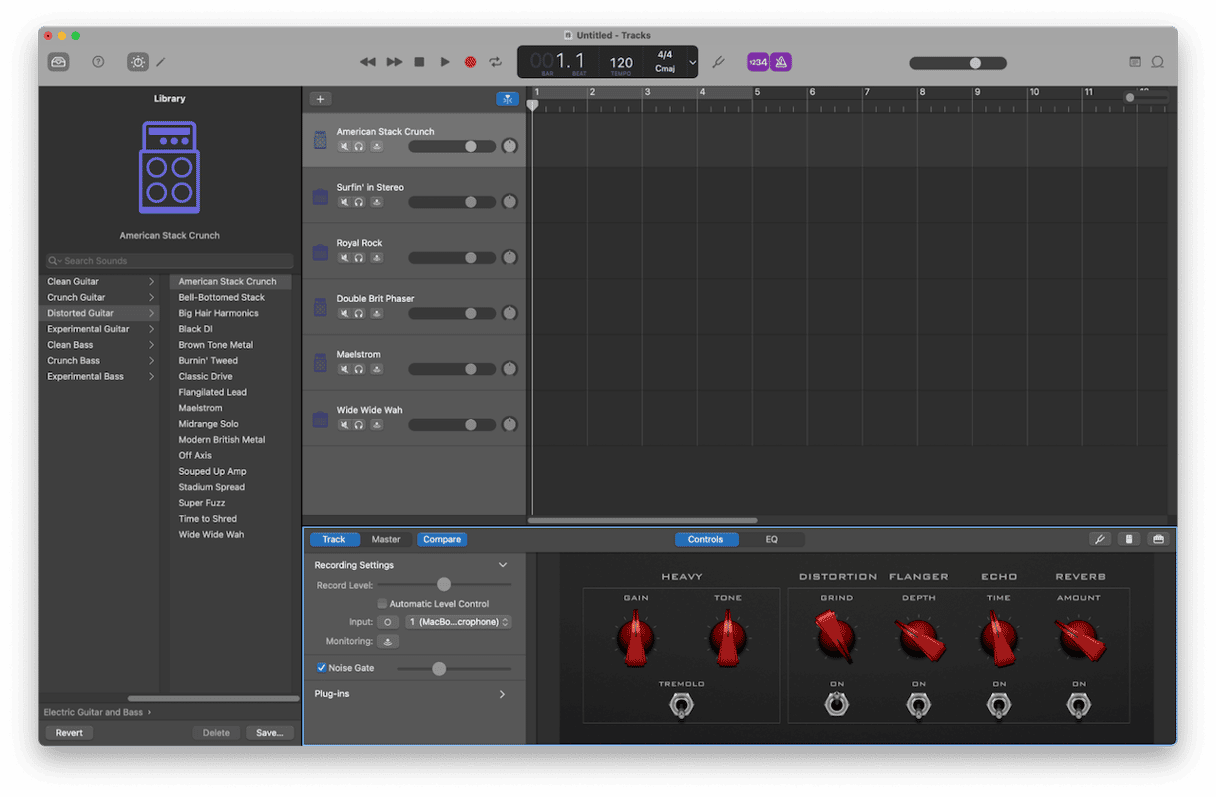
GarageBand is a tool for making music or recording podcasts. It has several virtual instruments that you can play using an on-screen keyboard. And it allows you to plug a microphone or instrument into your Mac and record it. If you’re a guitar player, you can choose from lots of combinations of amplifiers, tones, and effects. In fact, GarageBand is a great tool for practicing or just having fun playing guitar because there are so many different sounds available. And if you play keyboards, there is a world of different options for types of piano, organ, and synthesizer. You can record your own drums or use one of the built-in virtual drummers to play for you. Once you’ve recorded everything, you can mix it, add effects, and then export it in whichever format you choose. One of the best features of GarageBand is that it is much easier to use than other music-making apps and there’s lots of help available in the app. Like all Apple apps, it’s easy to start a project on a Mac and move to an iPad or even an iPhone, or vice versa.

Why uninstall GarageBand?
The main reason for uninstalling GarageBand is to free up space on your Mac. All those virtual instruments and recorded audio tracks take up several gigabytes of space on your Mac, and if you don’t have much free space left and don’t use GarageBand, it makes a lot of sense to uninstall it. You can always download it and reinstall it again when you need to use it.
How to uninstall GarageBand on your Mac
Before you start uninstalling GarageBand, you should make a backup of any projects you are working on or have completed. Even if you think you won’t need them, it’s a good idea to copy them to an external hard drive, USB stick, or cloud storage so that you can use them again if you change your mind. Once you’ve done that, follow the steps below to uninstall GarageBand — you can’t just drag it to the Trash, as that won’t completely uninstall it.
- Go to your Applications folder in Finder, locate GarageBand, and drag it to the Trash. Or click Launchpad in the Dock, click and hold GarageBand, and then click the ‘x’ in the corner.
- Click the Finder icon in the Dock and then choose the Go menu > Go to Folder.
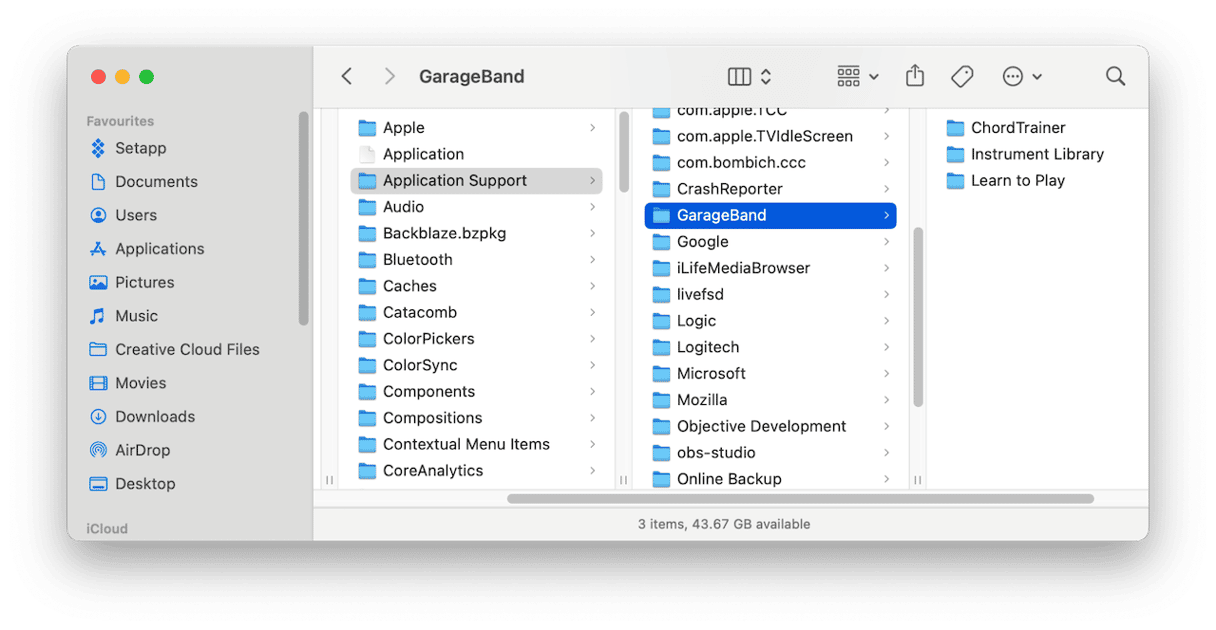
- In the text box, type or paste each of the paths below one by one. At each location, look for any files or folders with GarageBand in their name and drag them to the Trash:
/Library/Application Support (folder called GarageBand)
~/Library/Caches (folder name starts com.apple.garageband)
~/Library/Containers (folders called GarageBand and multiple files and folders that start ‘com.apple.garageband’)
~/Library/Preferences - Once you’ve located all the files with GarageBand in their name (you can use the Finder window search tool at each location to make sure), empty the Trash.

How to uninstall GarageBand the easy way
If all that seems like a lot of work to uninstall GarageBand, you’ll be pleased to know there is a much easier way. Dedicated uninstaller tools allow you to uninstall apps with a couple of clicks. They track down all the files associated with the app and remove them.
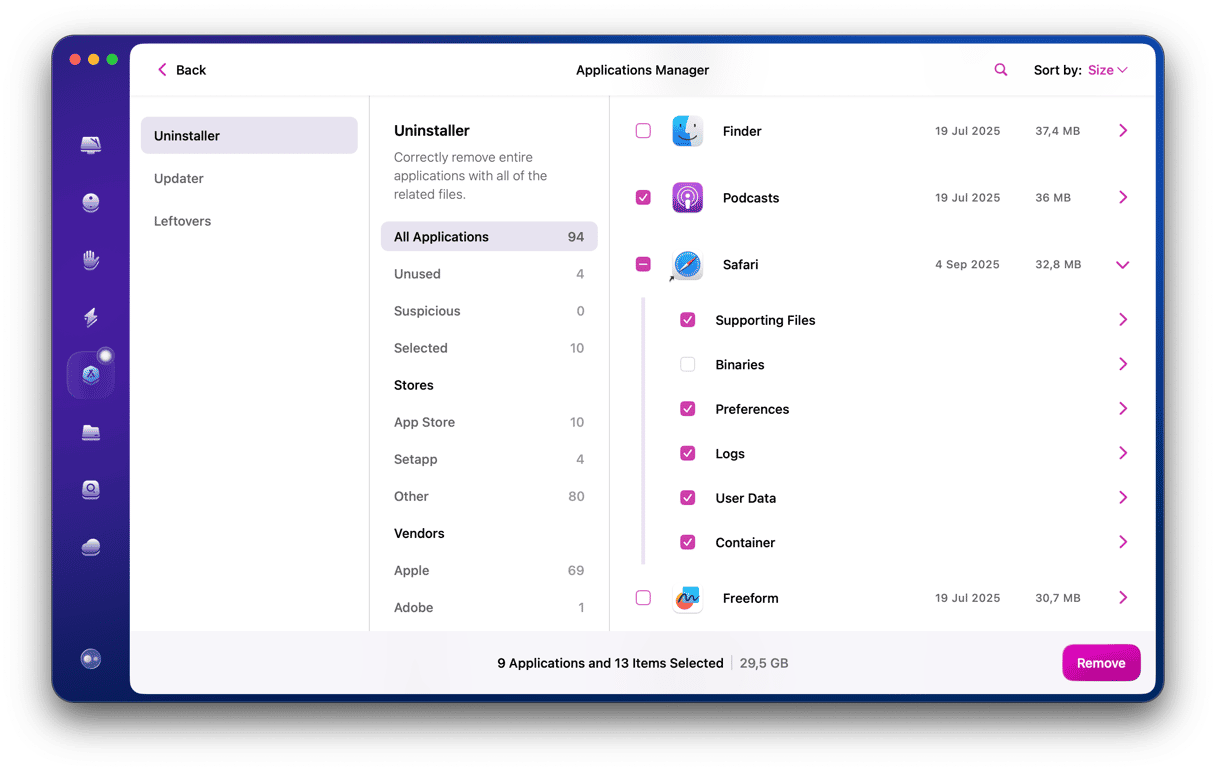
Among all those uninstallers, we recommend CleanMyMac. As well as allowing you to uninstall any app easily, CleanMyMac’s Uninstaller feature found in the Applications tool makes it easy to remove leftover files from apps that weren’t uninstalled properly. It also allows you to reset apps that are misbehaving, which is a really good way to fix problems. And you can uninstall multiple apps simultaneously. Best of all, CleanMyMac is free to download here. Once you’ve downloaded it, follow the steps below to uninstall GarageBand:
- Open CleanMyMac and navigate to Applications from the sidebar.
- Run a quick scan and click Manage My Applications.
- Choose Apple in the middle pane under Vendors.
- Select GarageBand from the list of all apps.
- Click Uninstall.

How to fix problems with GarageBand
If the reason you want to uninstall GarageBand is that it’s crashing or not working properly, it’s worth trying to reset it first and see if that fixes the problem. Resetting an app removes its preferences and settings files and puts them in the Trash. Often, problems with apps are caused by corrupted settings files, and so trashing them fixes the problem. New settings and preferences files are created the next time the app launches. Here’s how to reset GarageBand:
- Open CleanMyMac.
- Once again, run a scan using the Applications tool and find GarageBand in the list of all apps following the steps above.
- Click an arrow (>) next to it and select everything except Binaries.
- Click Remove.
GarageBand is a brilliant tool for making music or recording podcasts on your Mac. It’s free, easy to use, and has a ton of options to allow you to express yourself creatively. However, it also takes up a lot of space on your Mac. So, if you’ve installed it and don’t use it anymore, it’s a good idea to uninstall it to free up space. Follow the steps above to uninstall GarageBand on your Mac.


