Freeform is the latest addition to Apple’s suite of apps that are built into macOS, iOS, and iPad OS. It’s aimed at people who work remotely and need to collaborate with others to generate ideas and work on projects. However, Freeform has many uses that go beyond just brainstorming. You can use it to plan a vacation, create a mood board, design a garden, and research just about anything. You can use it on your own or with others and it syncs across your Apple devices. We’ll show you how to use it.
How to create a board in Freeform
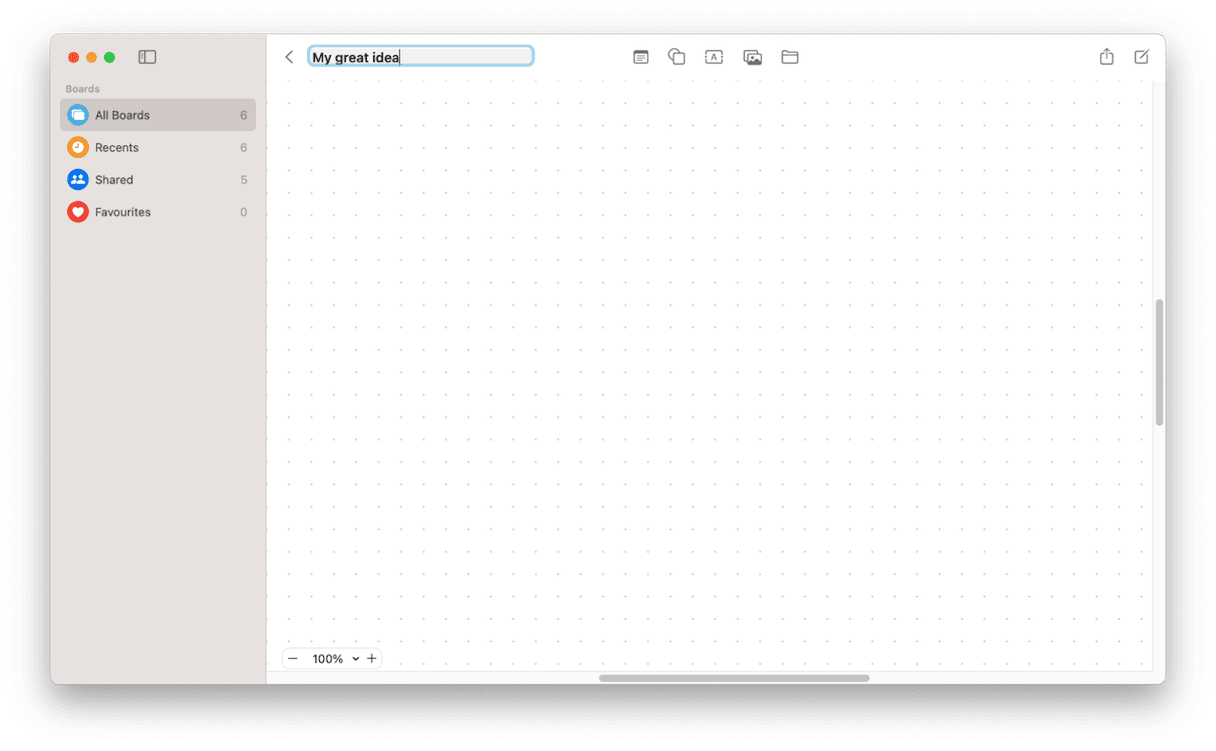
When you first start Freeform, it will open with a new board ready for you to use. To create another board, just go to the File menu and choose New Board or press Command-N. A third option is to click the ‘new board’ icon in the toolbar.

- To give your board a name, click on ‘Untitled’ in the toolbar and type the new name in the text box.
- To delete or duplicate a board, click All Boards to see all of your boards, then Control-click or right-click on Duplicate or Delete. You can also add a board to your favorites from here or rename it.
- To open a board, double-click it. To return to the main screen from a board, click the back arrow. To view boards in a list, click the list view icon in the toolbar, or to view them as icons, click icon view. If you want to group boards by the date they were created, click on the View menu and choose Use Groups.
Add content to boards
- To add text to a board, first, double-click the board you want to add it to so it opens. Click the ‘A’ in the toolbar to add a text box to the board, then click on the text box and drag it to where you want the text to be. Click inside the box and type the text.
- If you want to format the text, click ‘18’ to change the size or the black dot to change the color. To make it bold, click ‘B,’ and to center, align, or make it bullet points, choose one of those options. To change the font, click the more icon (three dots) and choose Show Fonts. Now click on a font to select it.
- If you want to add a shape, click the shape icon (a square in front of a circle) in the toolbar. Choose a shape from the window that opens, using the options at the left to choose a category. Click the shape you want to add to the board. Click on it and drag it into position. To change its size, click on a corner and drag it. To change its color or add an outline, click on it and choose from the menu.
- You can also add sticky notes to your board. Click the notes icon in the toolbar and drag the note to where you want it. Click the yellow dot to change the color of the note or the ‘Aa’ to format the text you type into it. You can also format the text, including changing the font by clicking the format menu with the sticky note selected and choosing Font or Text.
Work with images
When it comes to adding images to your board, you have several options:

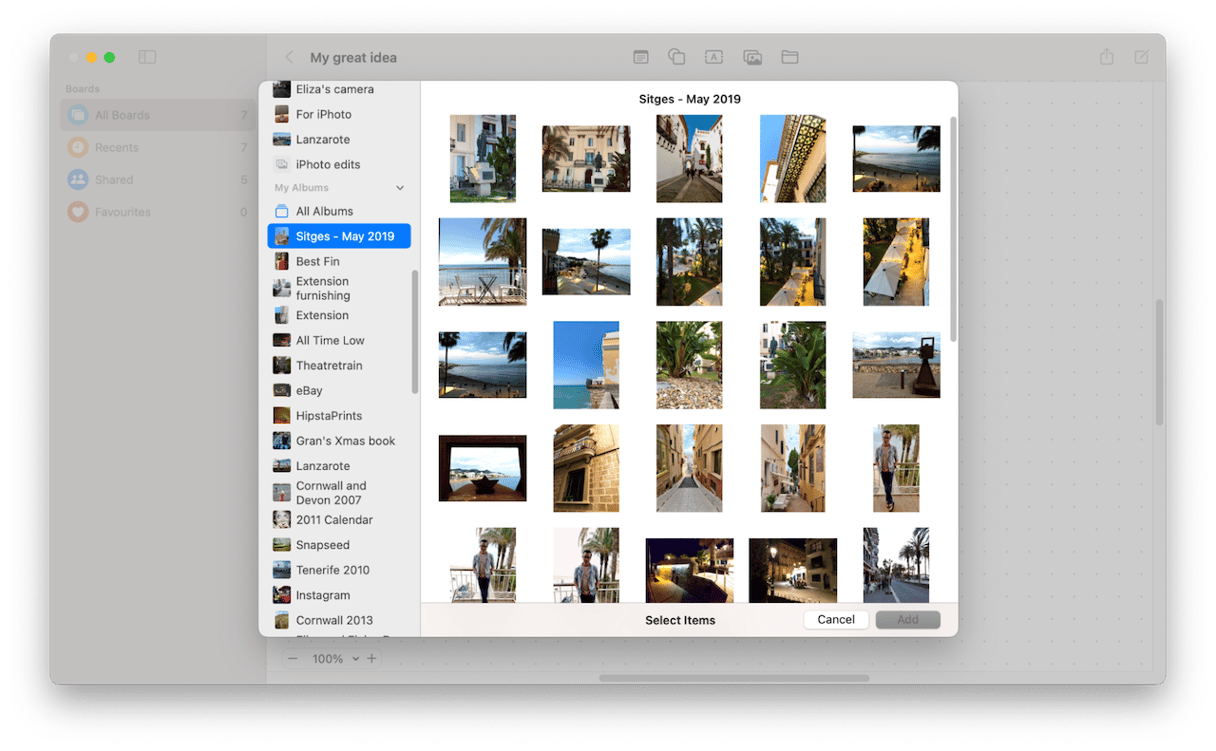
- If the image you want to add is a photo from your Photos library, click the image icon in the toolbar and choose Photos or Videos. Then navigate to the photo you want in the Library and click Add.
- If the image you want to add is not in your Photos Library but is on your Desktop or elsewhere on your Mac, navigate to it in the Finder and drag it onto the board and drop it. You can then drag it into position and resize it.
- You can also add an image from your Mac to a board by clicking the folder icon in the toolbar – also used to add documents to a board – and then navigating to the image and clicking Insert.
- To define how much of an image is visible, click on it, choose the crop icon, and use the slider; then drag the image, so it’s displaying what you want it to.
- To remove the drop shadow, change from rounded corners to square corners or mask the image with a shape, click on it, and choose Format.
Collaborate with others
- To share a board, click the share button in the toolbar and choose ‘Only invited people can edit,’ then choose the options you want. Select a recipient or method.
- Choose Invite with Link. Type the recipient’s name in the text box and choose them from the menu that is displayed. Click Copy Link to send the invitation.
Freeform is an Apple application designed to foster collaboration with others, brainstorm ideas, and work on projects. It’s very straightforward and fun to use. To get started, follow the steps above and create your first Freeform board.


