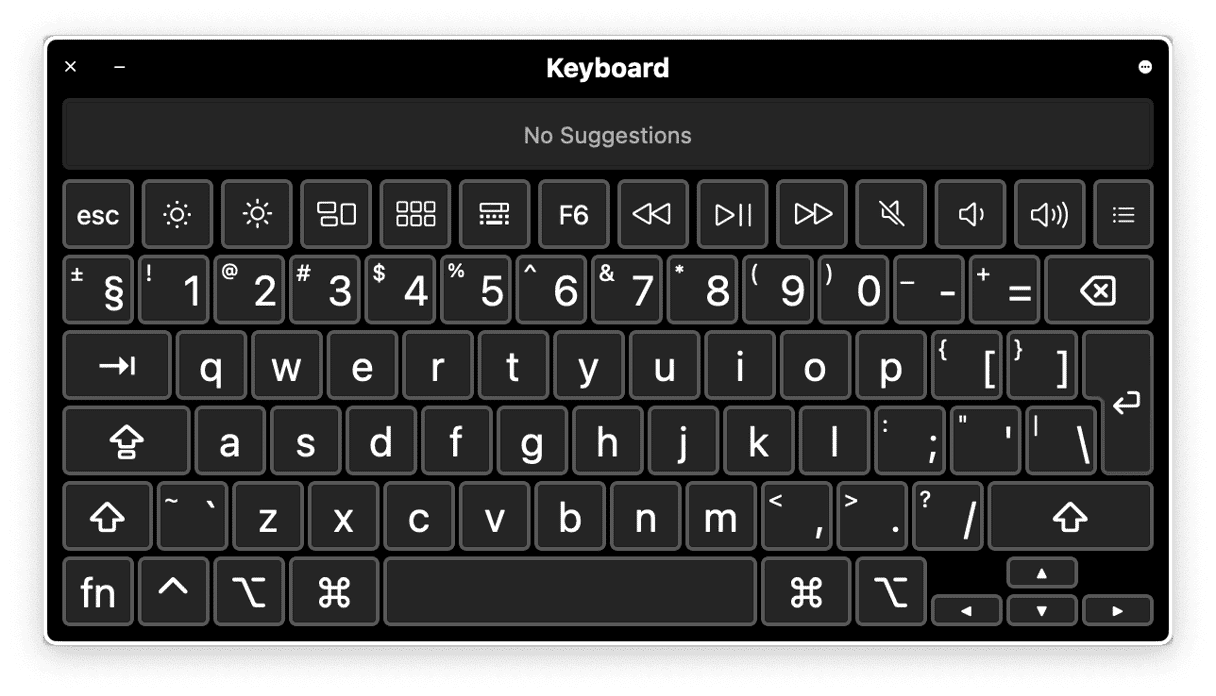
There are several reasons you might need to resort to using the virtual keyboard, or Keyboard Viewer as it’s called in macOS, on your Mac. Perhaps one of the keys on your keyboard no longer works properly — I have a problem with a very reluctant tab key — or you need to type a character in a language that’s not supported by the language setup for your current keyboard. Or maybe you just need an obscure character and can’t remember the keyboard shortcut.
In all those circumstances, Keyboard Viewer can help.
How to set up the Mac’s virtual keyboard
- Go to the Apple menu and choose System Settings.
- Select Accessibility and then choose the Keyboard from the list under Motor.
- Turn on Accessibility Keyboard by toggling the switcher.
You will now see your virtual keyboard appear on the screen. If you want to turn it off, just click the Close button in the top-left corner of the keyboard.

How to use a virtual keyboard on Mac
Now, you can click on any key on the virtual keyboard, and it will place that character in a currently active document, web browser, or anything else that takes text input. You can press the Shift or Option keys on the virtual keyboard and see the characters change to their shifted or alternative versions. But you can only click on one button at once. You can use Caps Lock to hold shifted characters while you select them. If you want to click on alternative characters, such as the ˚ or ® symbols, you can hold the Option key on your physical keyboard and select the symbol from the virtual keyboard.
In fact, the Keyboard Viewer virtual keyboard is a good way to discover where obscure characters are on the physical keyboard. If you press Shift, Control, Command, or Option, the virtual keys’ labels will change to show their alternative versions. So, you can teach yourself, for example, that the degrees symbol ˚ is Option-k by pressing the Option key and scanning the virtual keyboard.
If you only have one keyboard listed in System Settings, Keyboard Viewer will use that. If you have more than one, it defaults to the one you selected in System Settings. However, you can change that, even when the virtual keyboard is on screen, by clicking on the Input Sources menu bar item and choosing another keyboard.

To add another keyboard in System Settings, click Edit next to Input Sources under Text Input and then click the “+” at the bottom of the left sidebar. Select the keyboard you want to add from the list, and then click Add. Once you’re finished with adding languages, click Done. It will now appear in the menu bar item.
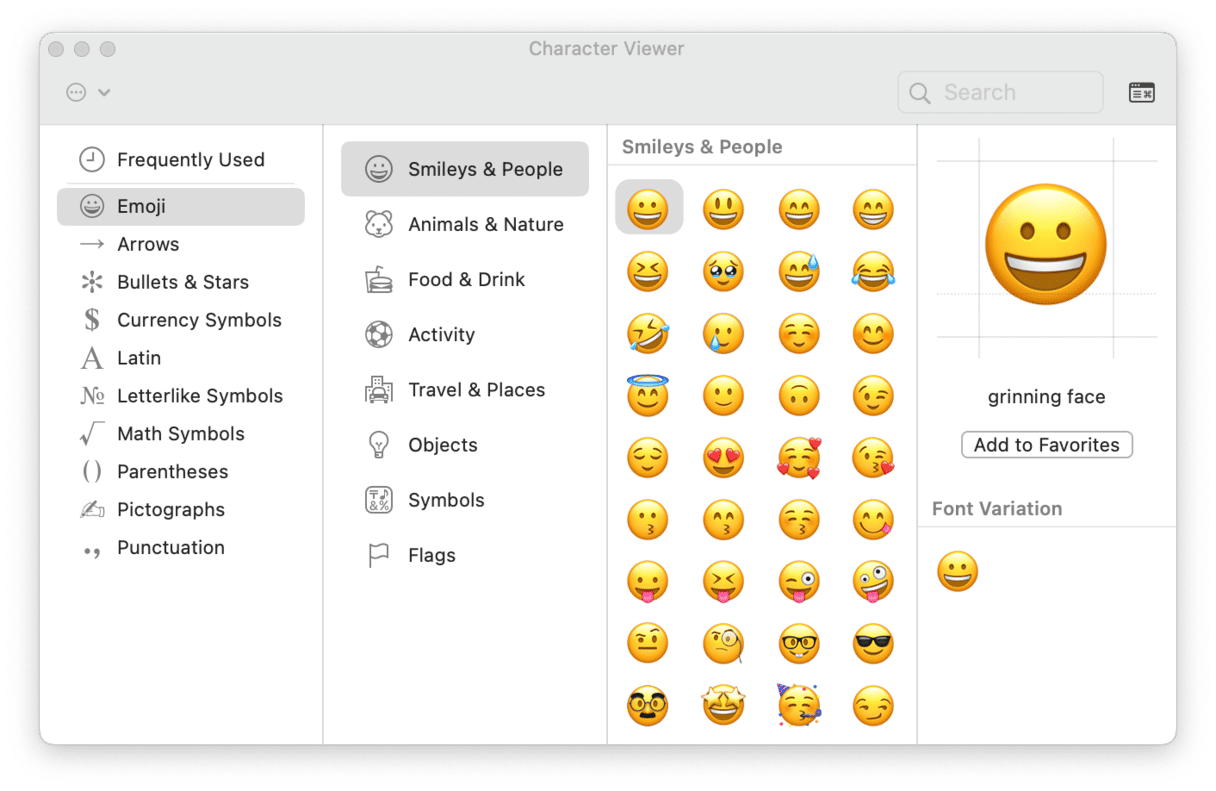
You can’t use Keyboard Viewer to type emojis or other symbols like pictographs. To do that, click on the Input Sources menu bar item again, but this time, choose Show Emoji & Symbols. This pulls up the Character Viewer. From there, you can navigate to the section you need, locate the emoji or symbol, and double-click on it to add it. Pressing Command-Control-Spacebar also shows the Character Viewer. Like the virtual keyboard, the Character Viewer isn’t treated as an active window by macOS. So, although you can click on it and select symbols or characters, the document underneath remains active, so you can continue typing and working on it with the Keyboard or Character Viewer on the screen.

To hide the Keyboard Viewer or the Character Viewer once you’re finished with them, you can either choose “Hide Keyboard Viewer” or “Hide Character Viewer” from the input sources menu bar item or click on the red traffic light in the top left of the window.
The Keyboard Viewer virtual keyboard on Mac is a useful tool for discovering where obscure characters live or invoking keys when your physical keyboard is proving problematic. Learning how to use it is a useful skill, especially if you regularly switch between keyboards in different languages or geographical locations.


