If you've ever searched which remote access solution is built into macOS? Then, you're likely trying to control your Mac from another device without third-party software. It's a common need, especially in 2025, when hybrid work, remote troubleshooting, and at-home server setups are everyday realities.
macOS Sequoia includes a native remote access solution that's more capable than it often gets credit for. So, here's a breakdown of what's built into your macOS, how to set it up, and what to expect based on current macOS performance and features.
What is remote access, and why would you even use it?
Simply, remote access lets you control your Mac or lets someone else control it from another device. Think about troubleshooting an issue and managing files; it's a way of stretching your workspace beyond the physical machine.
In 2025, remote work is still very much a thing, but so is remote tech support, personal server setups, and digital nomadism. I've noticed more creatives and developers I talk to using it for running heavy workflows on home setups while traveling light. Here's what I've found it's great for:
- Accessing files or apps from your main Mac while away
- Helping family members troubleshoot their Mac issues
- Running scripts or dev environments remotely
- Controlling a Mac set up as a home server
So, what are the options? Which remote access solution is built into macOS? Well, keep on reading.
Which remote access solutions are built into macOS?
Well, macOS doesn't just have one; it has two built-in remote access options, and they serve slightly different needs: Screen Sharing and Remote Management. I've used both in real-world scenarios, and here's what's changed or stood out in macOS Sequoia.
1. Screen Sharing
Screen Sharing lets you see and control your Mac's screen from another device. It's built into macOS, so you don't need to install anything extra. Think of it like sitting in front of your Mac, just from a different location.
Where to find it
- Go to System Settings > General > Sharing.
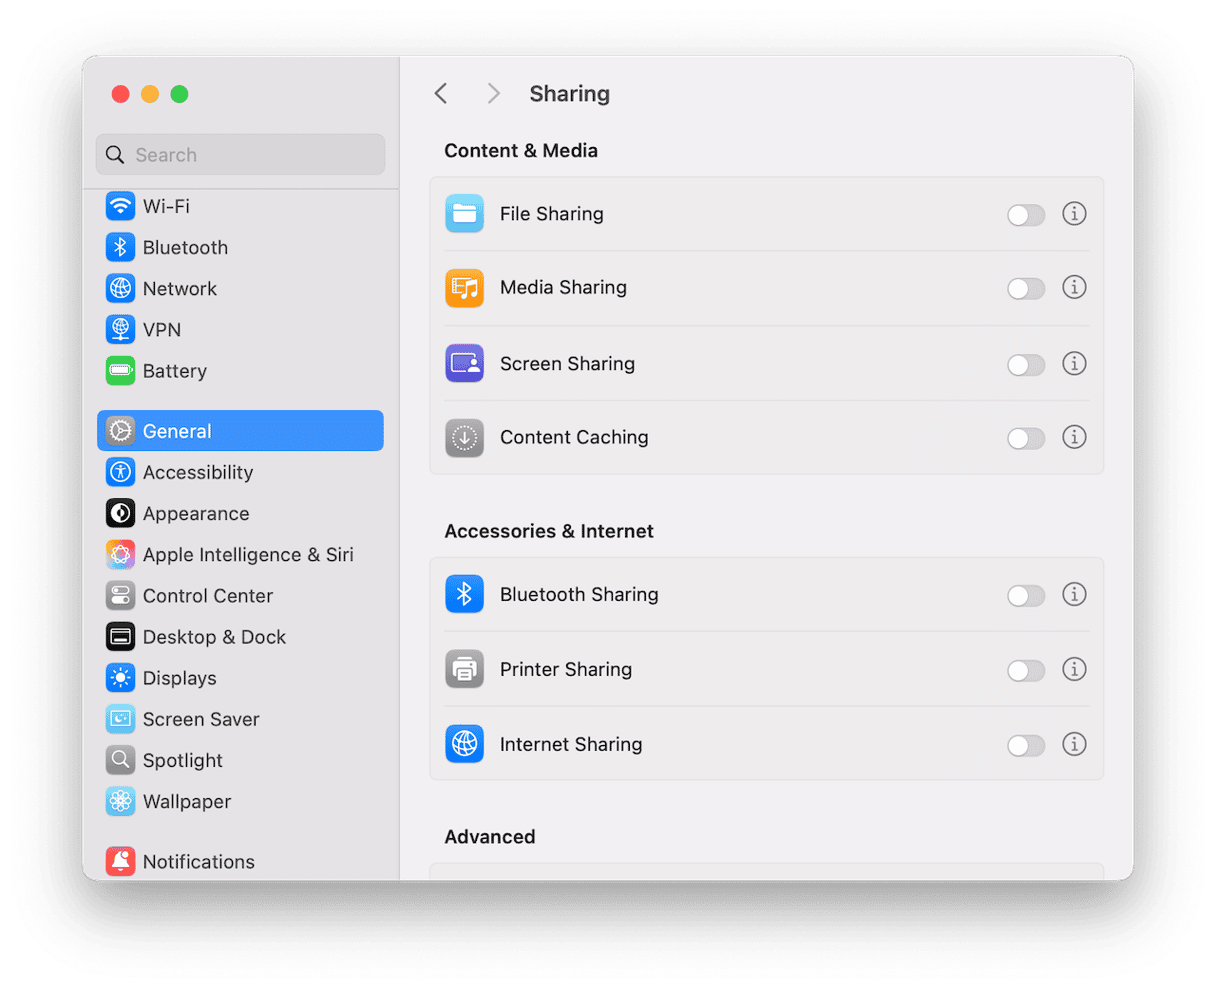
- Find Screen Sharing and turn it on.
- Click the Information button to set permissions and passwords.


Once it's enabled, you can connect to that Mac using another Mac and even from a Windows or Linux computer if needed. No extra apps are required, just the right login info.
How it works in 2025
- It works smoothly over Wi-Fi or your home network.
- If you're connecting from outside your home (like from another city), the quality depends on your internet speed, especially your Mac's upload speed.
- macOS now gives warnings if your network settings might block remote access, which is a nice safety net.
A couple of extra tips to keep safe:
- Use a strong Mac login password.
- Only allow access to specific users, not All users.
- It's a good idea to use a VPN (virtual private network) to keep the connection private.
2. Remote Management
Remote Management is the second, more advanced tool built into macOS. It gives you more control than Screen Sharing does, and it's often used by IT professionals. You can control the screen and also manage and send files, run system tasks, and even manage multiple Macs if needed.
Where to find it
- Go to System Settings > General > Sharing.
- Find Remote Management and turn it on.
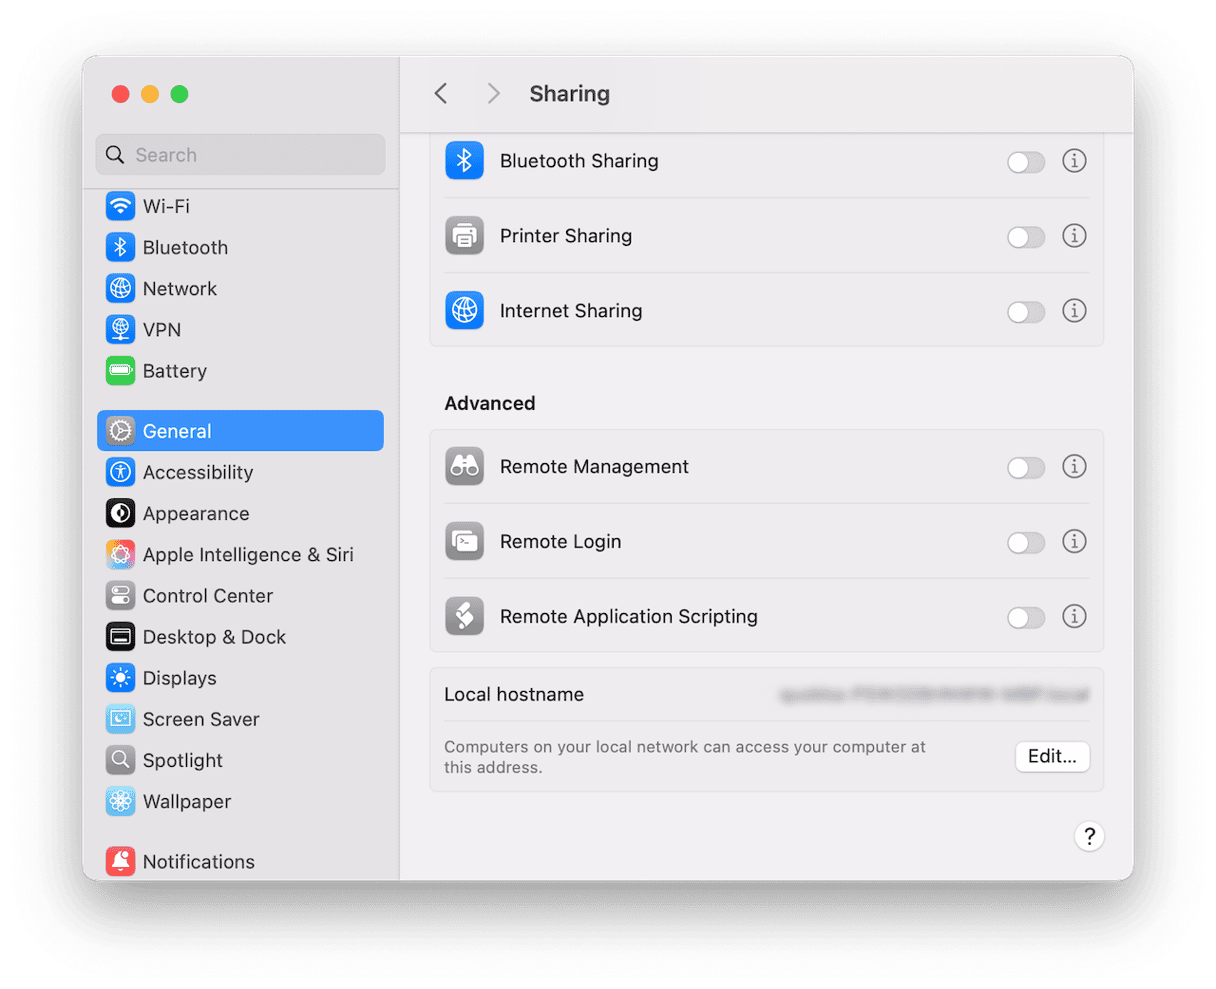
- Confirm with your password or Touch ID (if asked).
- Click the information button to set access, passwords, and computer information.


When it's useful
- Managing a Mac remotely as if you're sitting right in front of it
- Sending or receiving files without using AirDrop or iCloud
- Helping someone troubleshoot an issue more deeply than Screen Sharing allows
- Controlling several Macs in a professional or lab setting.
In my experience of using Remote Management, it's a reliable option that handles more advanced tasks than Screen Sharing. Performance stays smooth, even when working with high-resolution external displays, and it's especially useful in complex support situations or when managing a Mac set up as a home server. Just a quick tip: only enable the specific features you need, like Control or Copy Items. Avoid selecting everything unless absolutely necessary; it keeps your system more secure and avoids opening up access you don't actually need.
A 2025 perspective: Which remote access tool to use?
There's still a common belief that you need something like TeamViewer or AnyDesk to control a Mac remotely. But for most everyday users in 2025, especially if you're running a newer Mac with Apple silicon, macOS already gives you what you need right out of the box.
With macOS Sequoia, remote access doesn't feel quite as clunky as it used to. Moving between desktops is quicker now, and the CPU doesn't seem to struggle like it did in older versions. It's not flawless, but it's noticeably better.
How to keep your Mac safe when using remote access solutions
When you turn on remote access in macOS — either Screen Sharing or Remote Management — you're creating entry points into your system. That's useful, but it also means it's time to double-check what your Mac is allowing behind the scenes. CleanMyMac's Protection Manager, powered by Moonlock, is a simple way to review those areas before opening the door.
It's not an antivirus; think of it as a security checkpoint that helps make sure nothing unwanted is already active or overly permissive.
- Get started with a free CleanMyMac trial.
- Open the app, go to the Protection tab, and click Scan.
- Review all the categories, and click Manage Privacy items for a deep look.


It's a small step, but it helps make sure that while you're opening up your Mac for remote access, you're not also opening the door to things you didn't intend.
Which remote access solution is built into macOS? In most cases, the answer is already sitting in your System Settings — no extra downloads are needed.