Gemini 2 has a comprehensive set of configuration options that allow you to adjust its scanning and cleanup processes according to your needs and expectations.
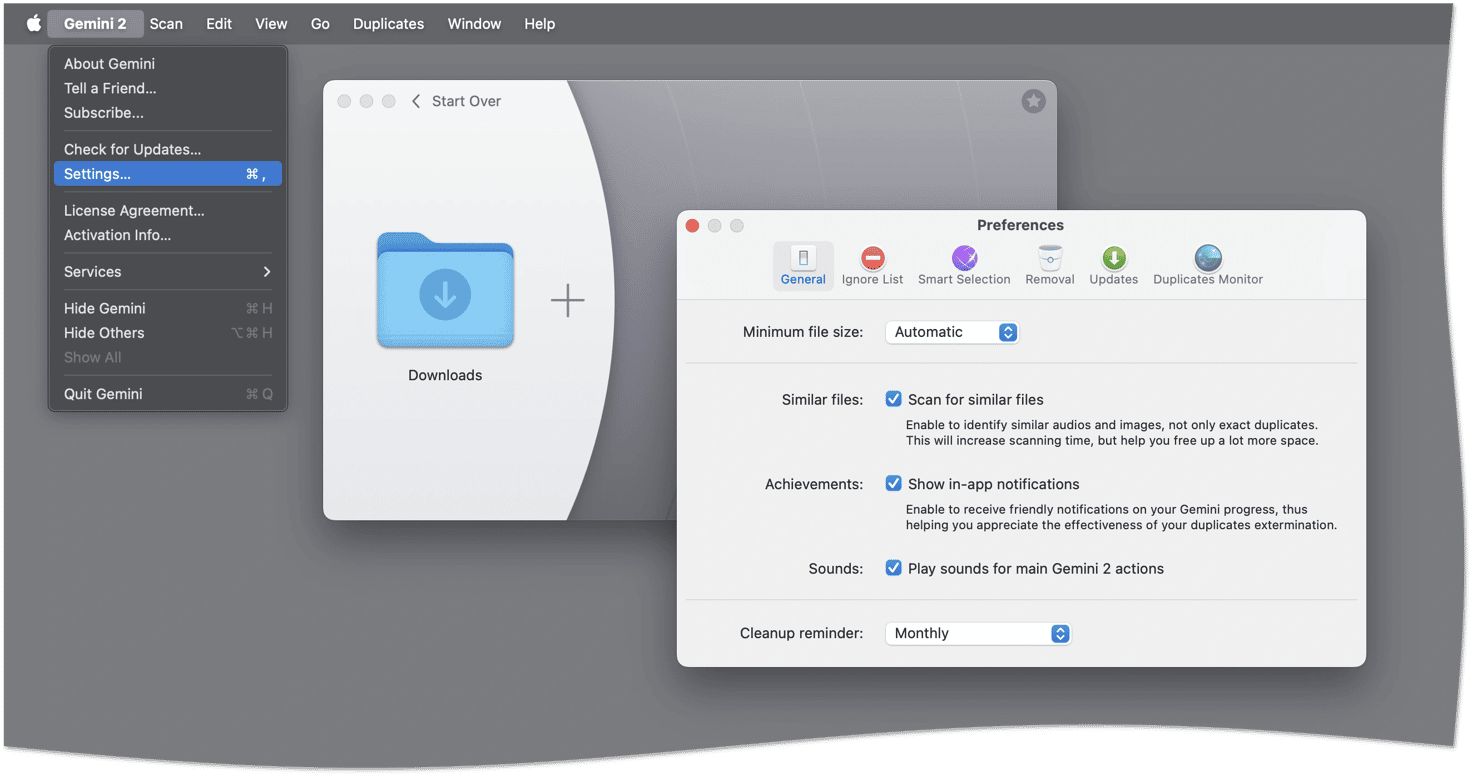
You can change all configurations in Gemini 2 Preferences. Just open Gemini 2 and click on the Gemini 2 app menu in the upper-left corner of the display, and then choose Preferences. All changes described below are performed in the Preferences window.
Configuring the scanning process
Minimum relevant file size
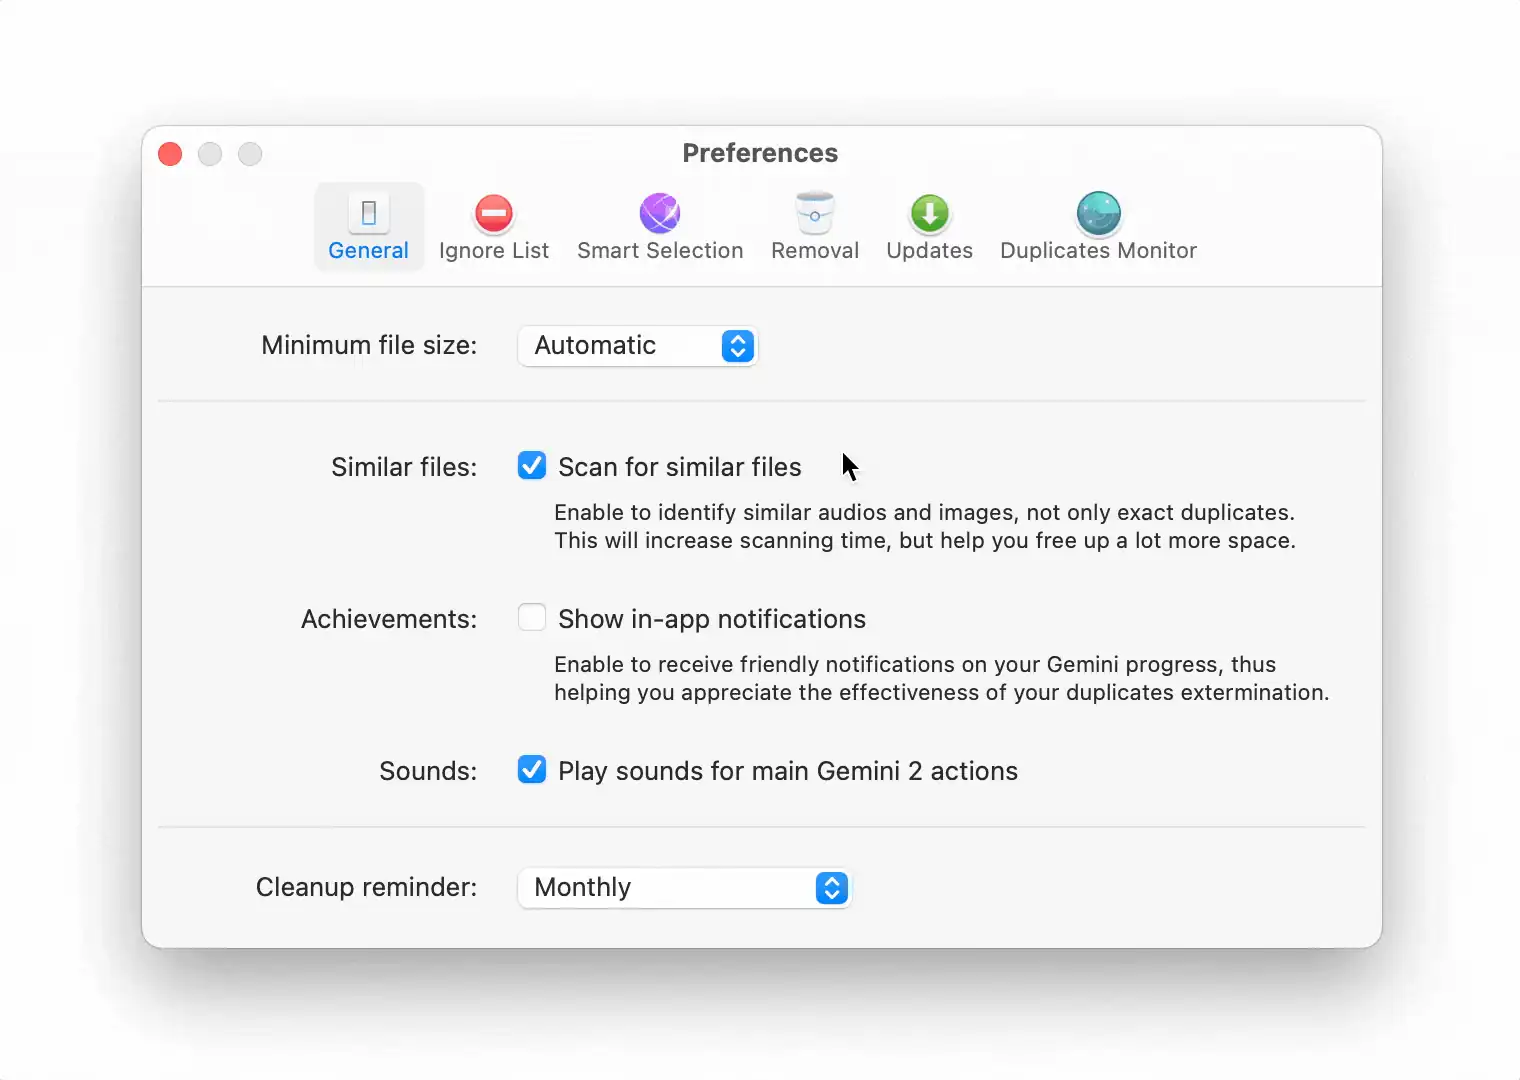
You can define the minimum relevant size of a file that Gemini must take into account while scanning your Mac. If you set the minimum size, files of smaller sizes will be ignored during scanning. To do this, click the corresponding menu on the General tab of Gemini 2 Preferences and then choose the appropriate value from None to 200 MB. By default, Gemini determines the minimum relevant file size automatically based on the total number and size of files to be scanned.
Searching for similar files
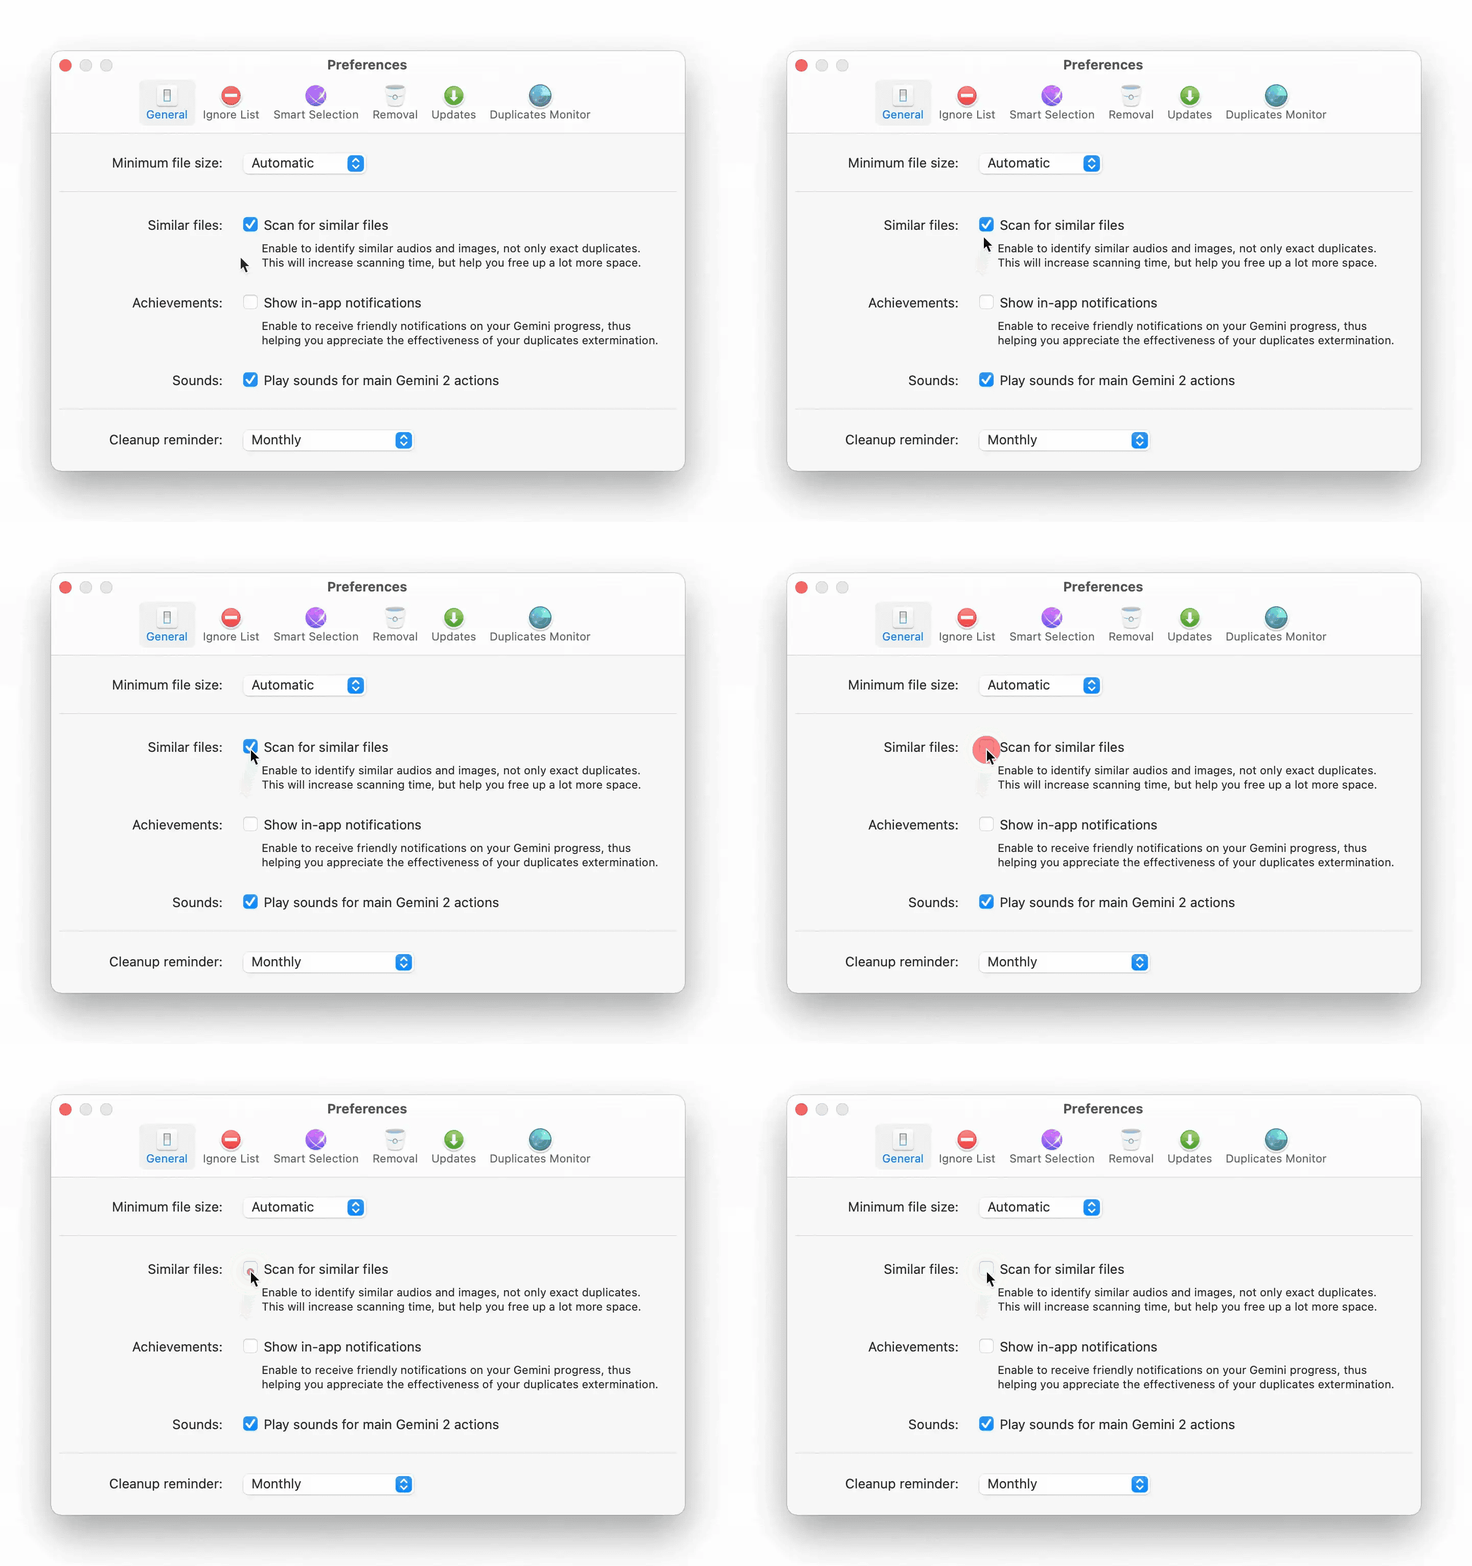
Gemini 2 finds not only absolutely identical files ("duplicates") but also files that have minimum differences. The latter items are called "similar files." Gemini 2 doesn't select them for removal automatically and lets you determine their destiny. Anyway, if scanning takes too much of your time or you just don't want to deal with similar files, go to the General tab of Gemini 2 Preferences and then deselect "Scan for similar files" checkbox.
Adding files to the ignore list
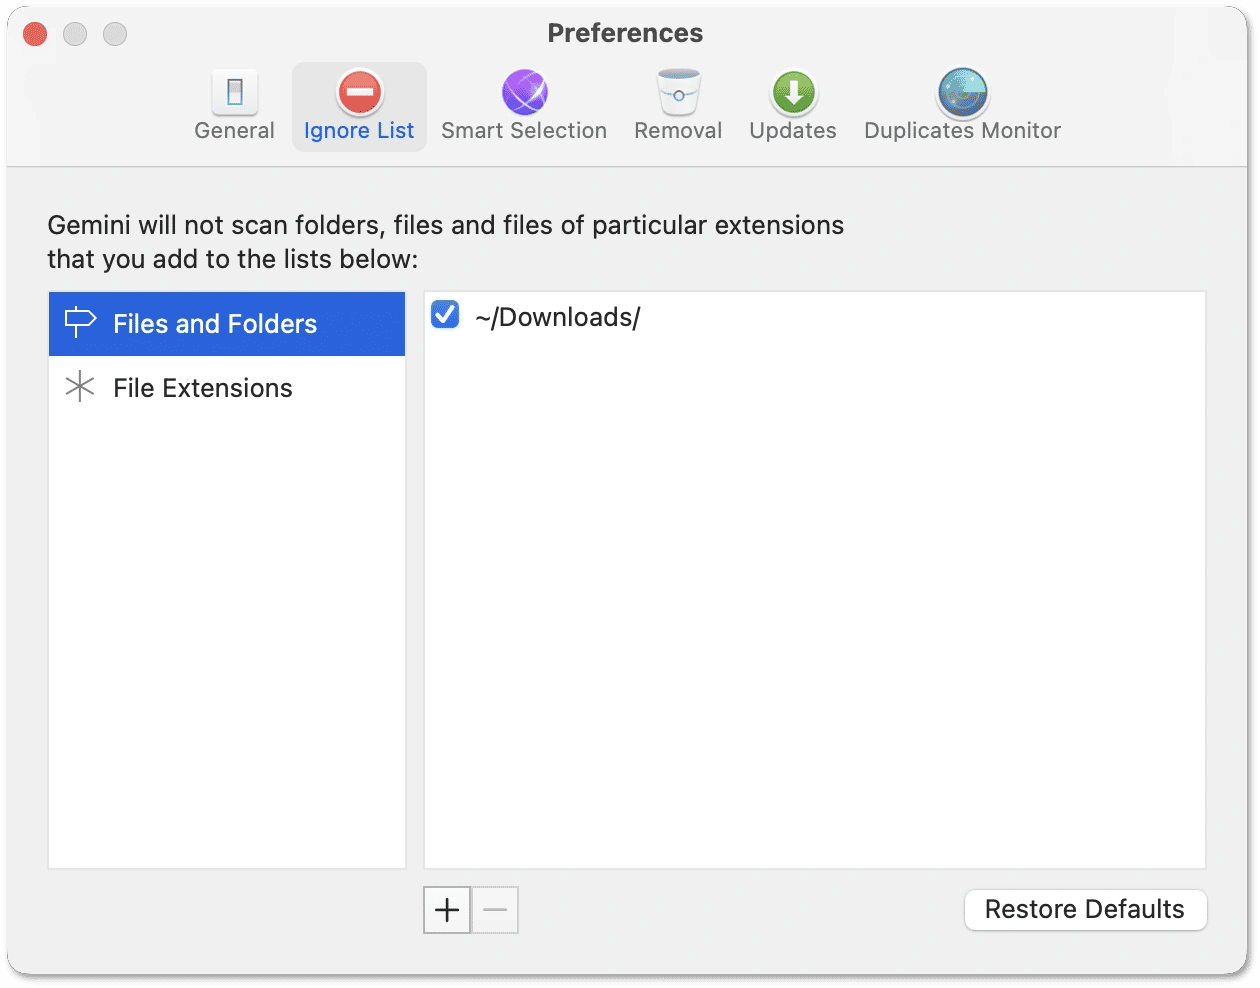
Gemini 2 has a separate Preferences tab that allows you specify files, folder, or extensions you'd like to be ignored during the scanning. So, if you want Gemini to avoid some items, open the Ignore List tab and add those you don't want to be scanned. More information about the Ignore List functionality is available in Gemini 2 User Guide.
Changing Smart Selection rules
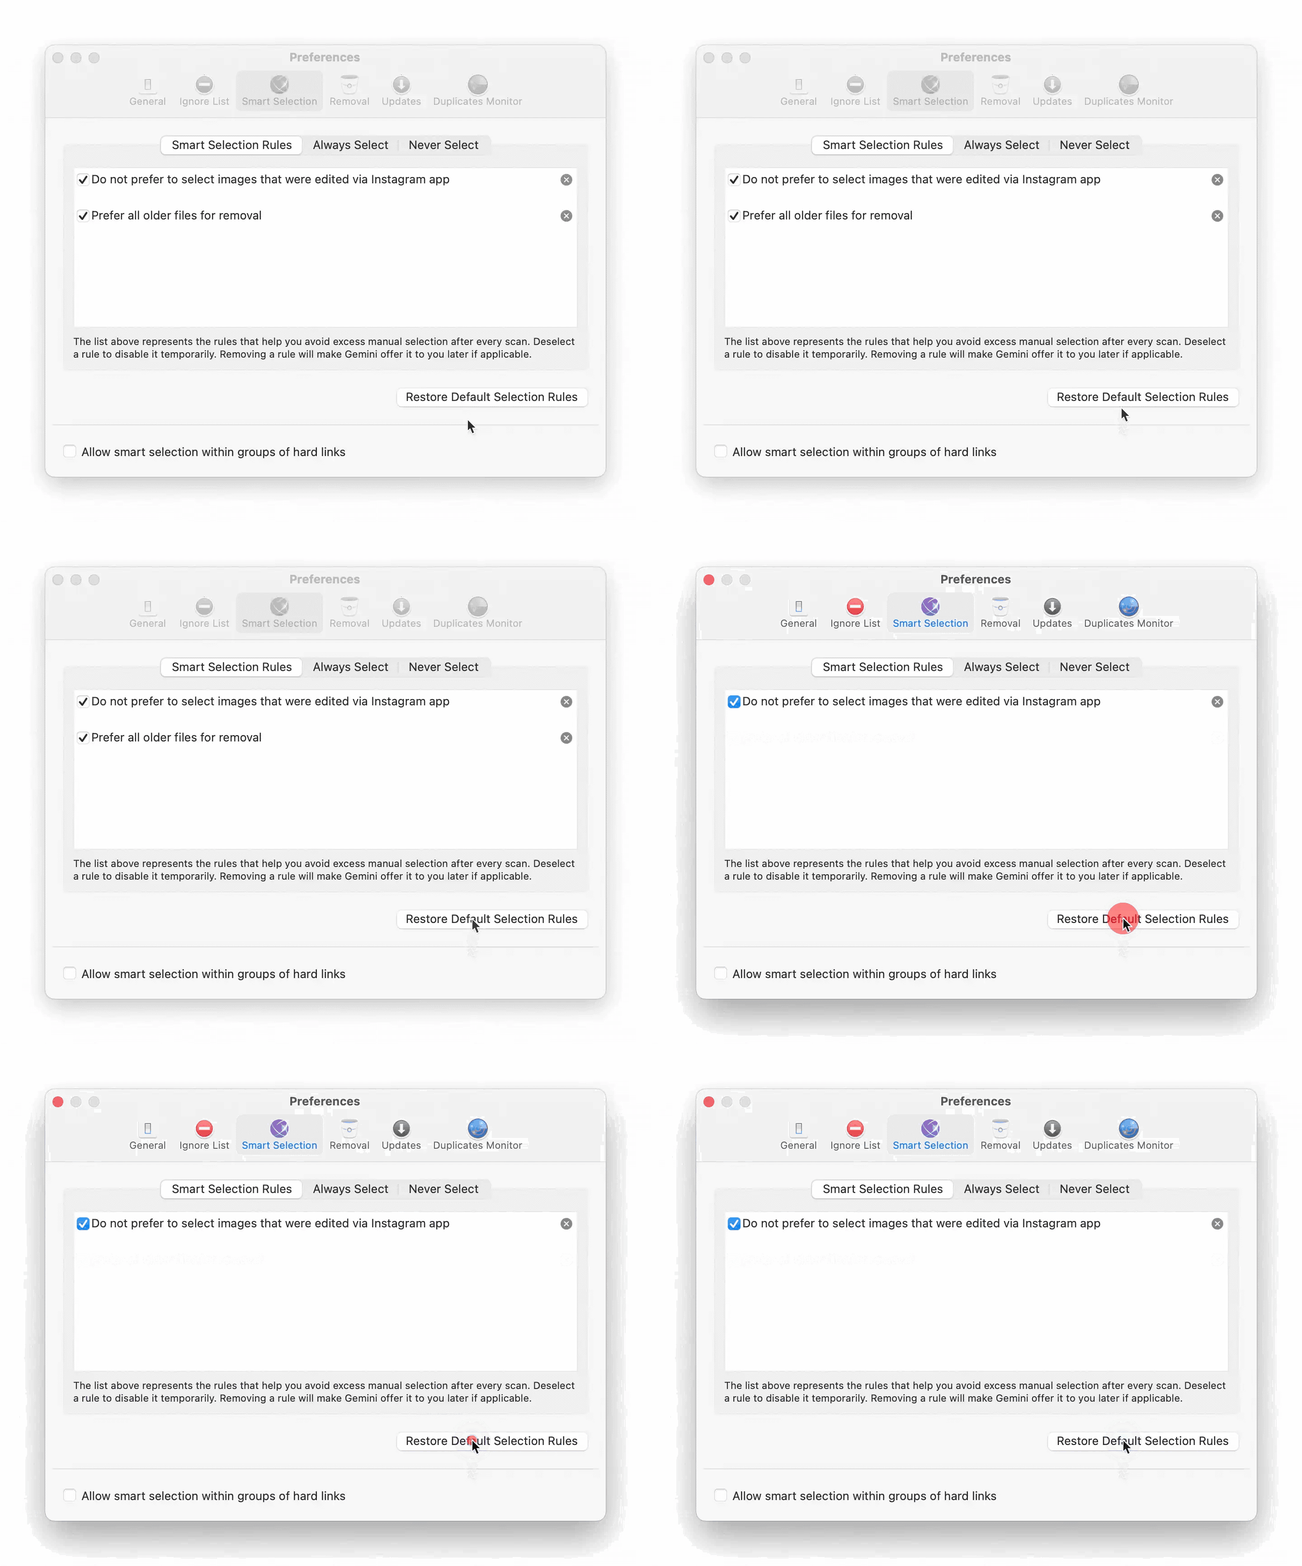
While using Gemini 2, it learns your selection preferences and offers to add new "smart" rules. All rules you accept are saved on the Smart Selection tab of Gemini 2 Preferences. Here you can check the existing rules or restore the default ones. Also, you can switch to Always Select and Never Select sub-tabs to manually add some locations you want to be treated correspondingly.
Changing the removal process
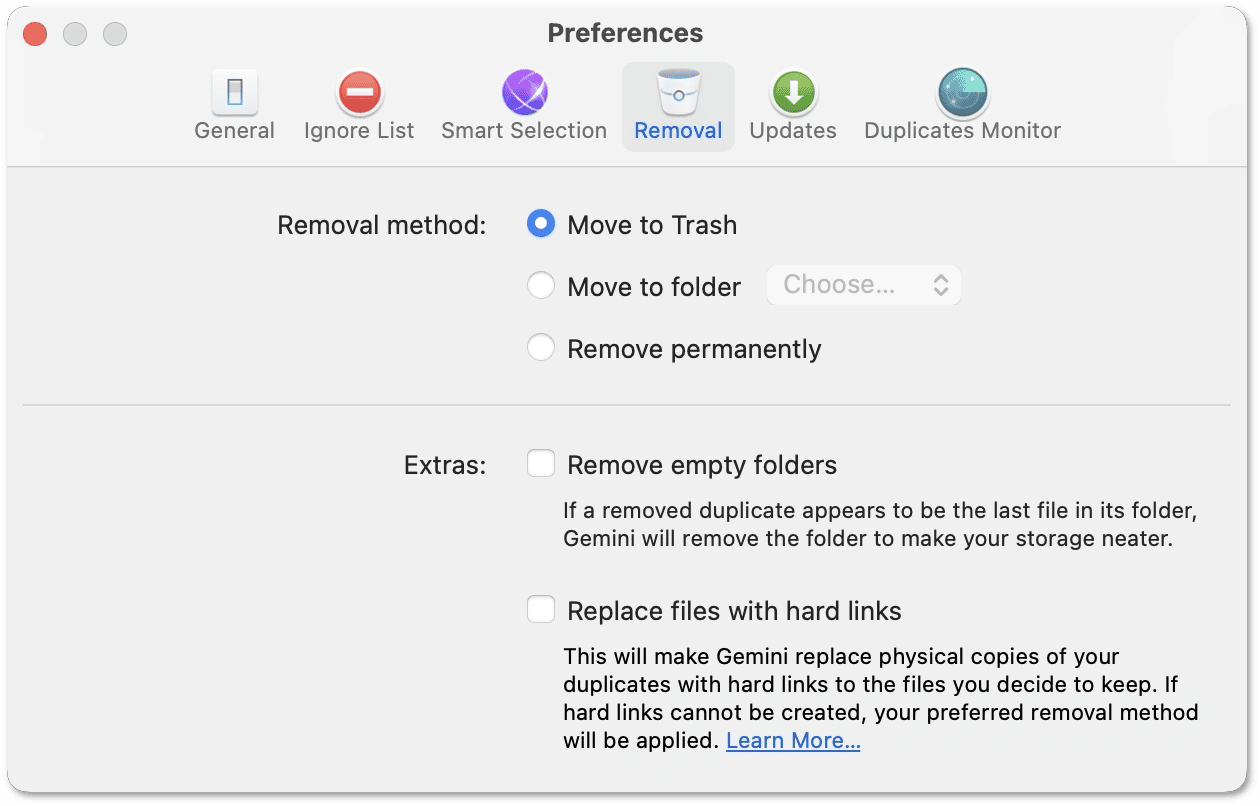
The Removal tab of Gemini 2 Preferences lets you adjust the cleanup. By default, all files are placed to the Trash folder so that you could easily restore them. However, you may prefer to move files to some appropriate folder or replace duplicate files with their hard links.
Moreover, you can set Gemini to delete your files permanently and make them gone for good with a couple of clicks.
If you'd like to find out more about Gemini's functionality, please read Gemini 2 User Guide.