Gemini 2 is an intelligent duplicate finder that frees your Mac from identical and similar files of various kinds. The app has the Smart Selection feature that lets you remove duplicates instantly or after review. Gemini 2 also puts together all items that look and sound alike but are slightly different.
To install and activate Gemini 2, use one of the following methods.
MacPaw Store
-
Go to the MacPaw website and download the latest app version.
-
Double-click the newly downloaded file (
Gemini2.dmg), then drag the app to the Applications folder -
After installation, open the app and activate it.
Click Unlock Full Version in the upper right corner and do either of the following:
-
Sign in with your MacPaw account credentials; or
-
Enter an activation key from an order confirmation email (you don't receive a key if you have a MacPaw account).
-
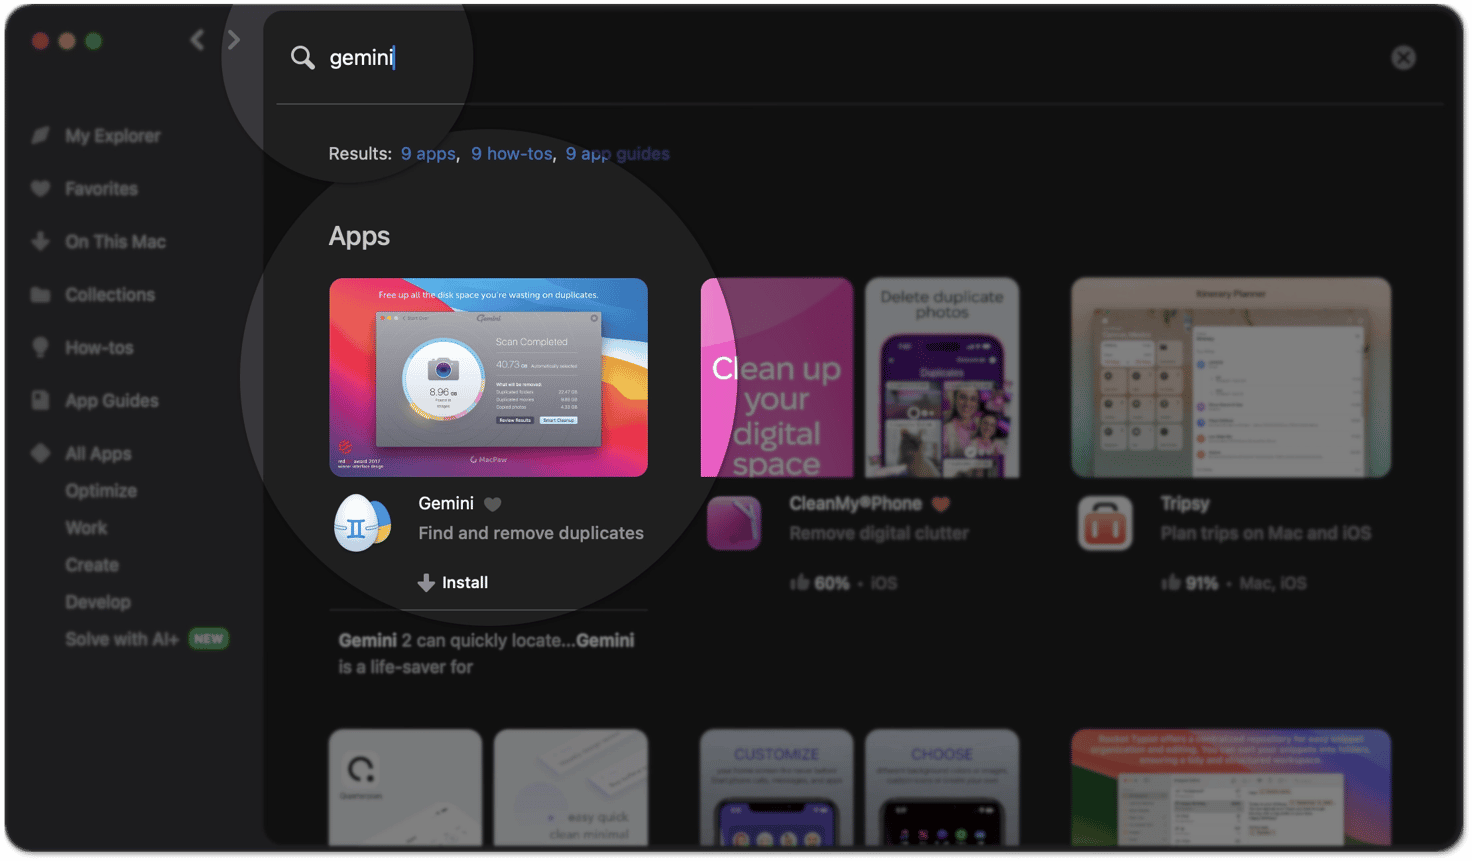
Setapp
If you have Setapp, you already have Gemini 2. All you need to do is find the app in the Setapp catalog on your Mac and install it.

That's it. You're ready to free up space on your Mac.
App Store
-
Open the App Store and find Gemini 2.
-
Install the app, then open it.
-
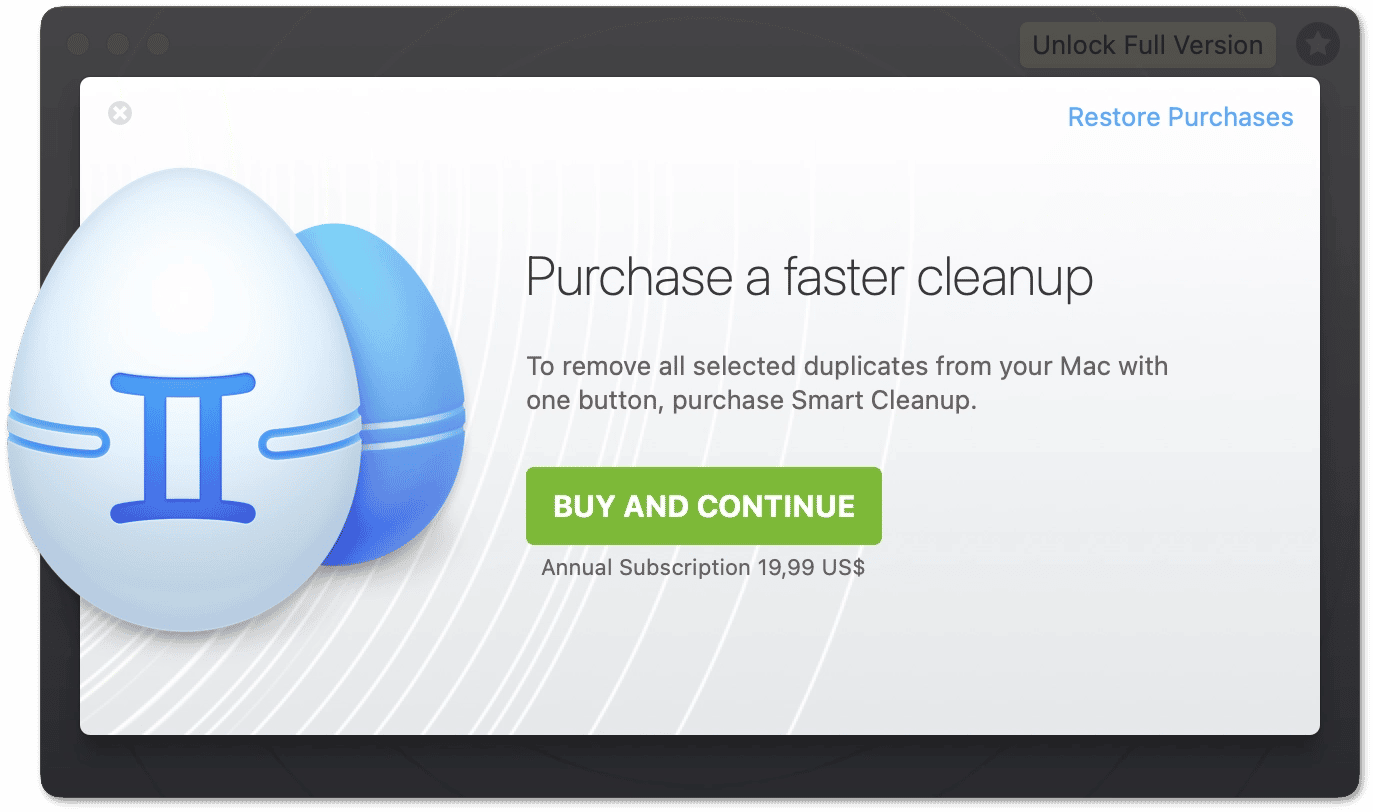
To activate Gemini 2, click Unlock Full Version in the upper right corner:
-
To purchase the full app version, click BUY AND CONTINUE; or
-
To restore your purchase if you already have Gemini 2 on your Apple ID, click Restore Purchases.
-

Done. Gemini 2 is set and ready to help you.