What is the Net folder?
An automounter references the underlying systems macOS puts in place when running a new application or program. Or you may have accessed an external hard drive via the cloud (iCloud), a third-party, or a plugged-in external hard drive. In any of those scenarios, macOS uses the special map -hosts to mount the application or external drive.
As a result, the automounter contacts the relevant third-party or Apple server. It attempts to mount the export and temporarily store it in the Net directory. That map (-hosts) contains exports from the named server so that whenever your Mac contacts a third-party server or web-based application, it exports and stores that data in the Net folder.
Most of the time, the data stored is a temporary cache, although some Mac power users have found this to be a shortcut to accessing network drives through the command line (via Terminal).
Why and how to access the Net folder?
For the most part, this is one of those folders you probably won't need to access. However, if a program or networked/connected hard drive isn't performing as it should, you might be able to find the solution in the Net folder. It could be the case that there is a cache problem preventing an external drive from working properly. You can solve this through the Net folder if you clear the cache and reboot.
How to find Net folder using Terminal
- Go to Terminal in the Utilities folder (alternatively, launch it from Spotlight or ask Siri to do it).
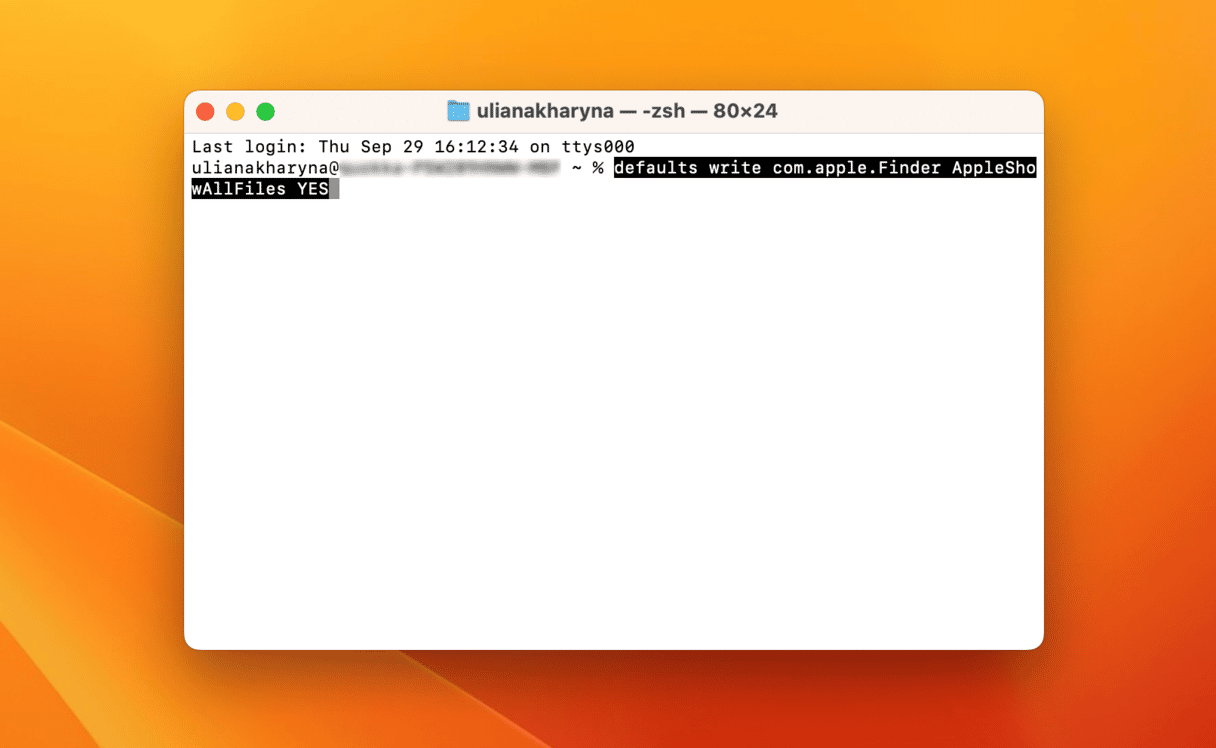
- Type in the following command:
defaults write com.apple.Finder AppleShowAllFiles YES - Now, Reinitialize the Finder, either by rebooting or clicking the Finder while holding down the Option key, then selecting "Relaunch."
- Now, this should show every hidden folder, including Net.
- Once you are ready to hide them again, go to Terminal and input the following command:
defaults write com.apple.Finder AppleShowAllFiles NO

How to access the Net folder using the Finder
- Open Finder.
- Press Command+Shift+G to open the dialogue box.
- Input the following search: /net or /private/net/folders
- Now you should have temporary access, so you should be able to drag it into the Finder favorites if you want to access it again.
Through either route, you should be able to gain temporary access to this folder, and within that, it should show any files that have been stored in this data cache /net path. Now, you can delete anything that is causing a problem or slowing down the operation of any third-party hard drives or applications.
How to access Net folder easily with Space Lens
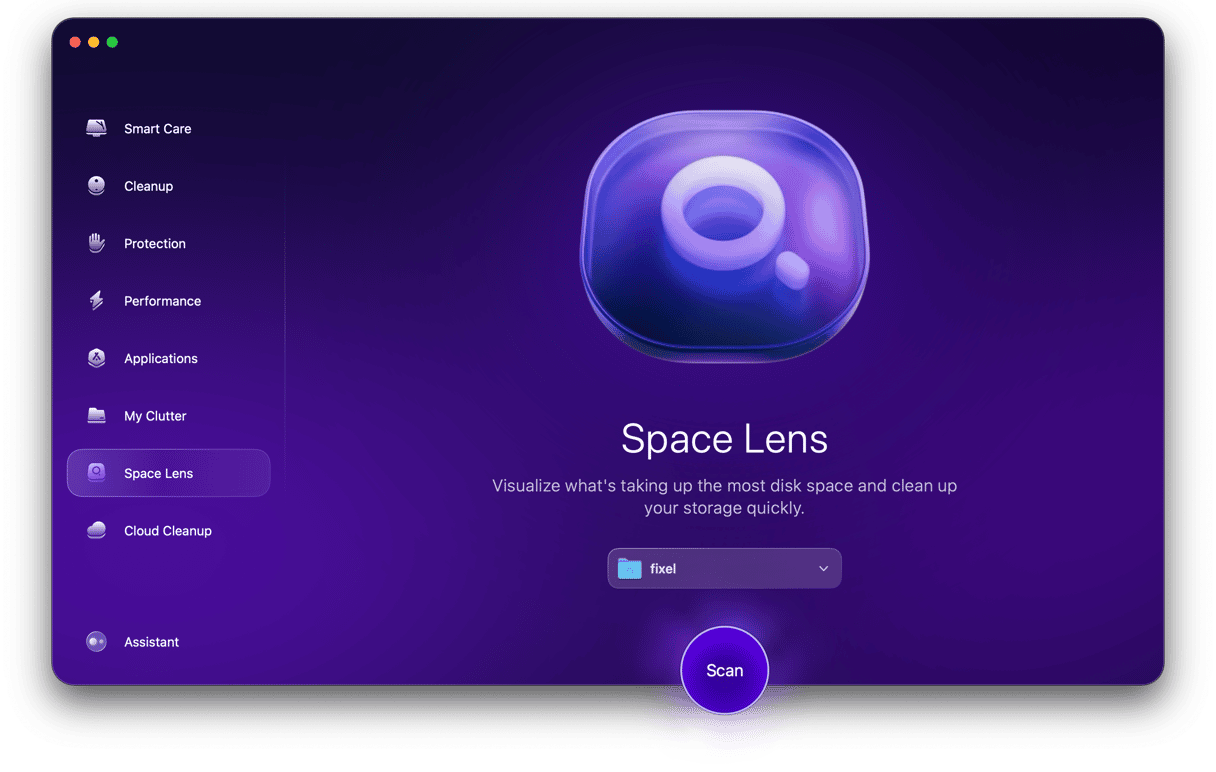
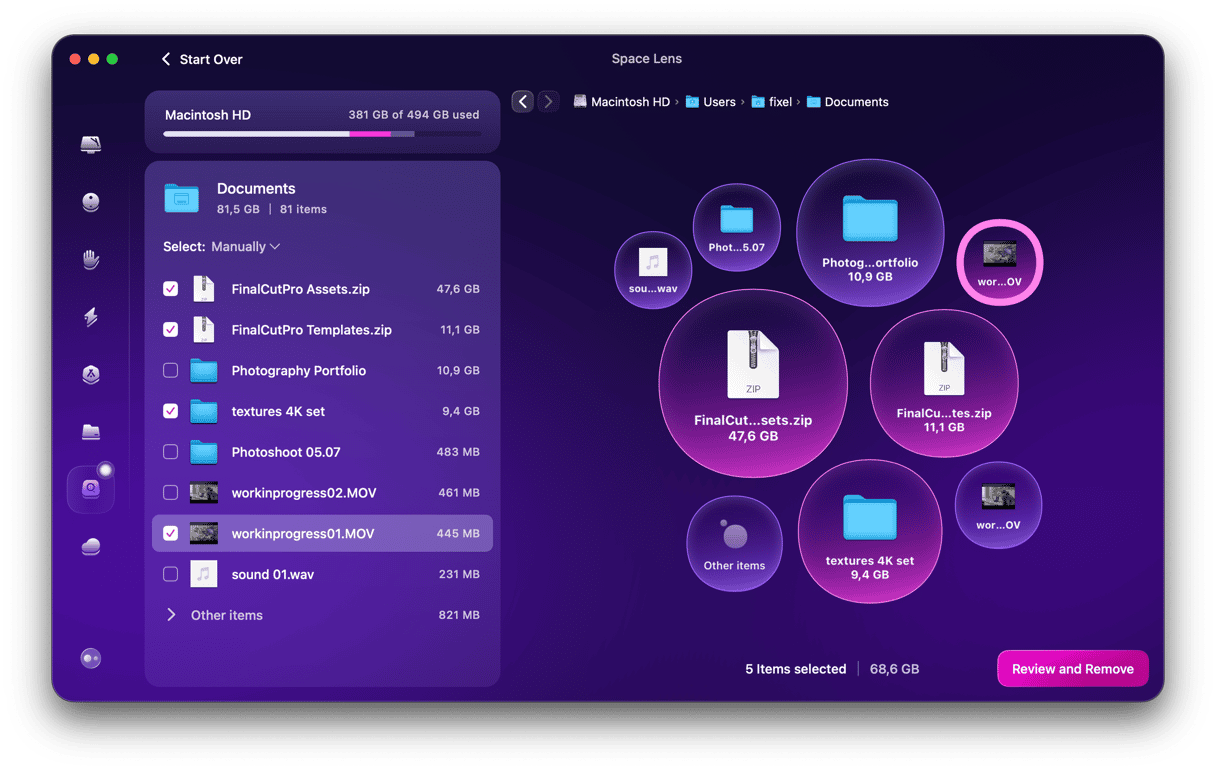
If you don't like the manual way of looking for files on your Mac, try a quick and easy solution — the Space Lens tool in CleanMyMac. With its help, you can visualize your storage and get a detailed overview of all files and folders on your drive, including the Net folder.

- Start your free CleanMyMac trial.
- Click Space Lens and run a scan.
- Look for the Net folder in the list.

Once you've found the Net folder, consider reviewing all other files the Space Lens tool has uncovered. You may find long-lost items that waste gigabytes of space on your hard drive. Remove them in a click and enjoy your clean and fast Mac.
Thanks for reading, and stay tuned!


