There was a time when a printer was the most common accessory you could connect to a Mac. However, these days, few of us print very much, if at all. There are still things that we need to print, though, whether it’s address labels, invoices, photographs, or even a letter to send to friends or family. Before you can print anything from your Mac, you need to first connect a printer to print from. You might connect it via USB or Wi-Fi, over a network, and even by Bluetooth. However you need to connect, we’ll show you how to add a printer to your Mac.
Before you start
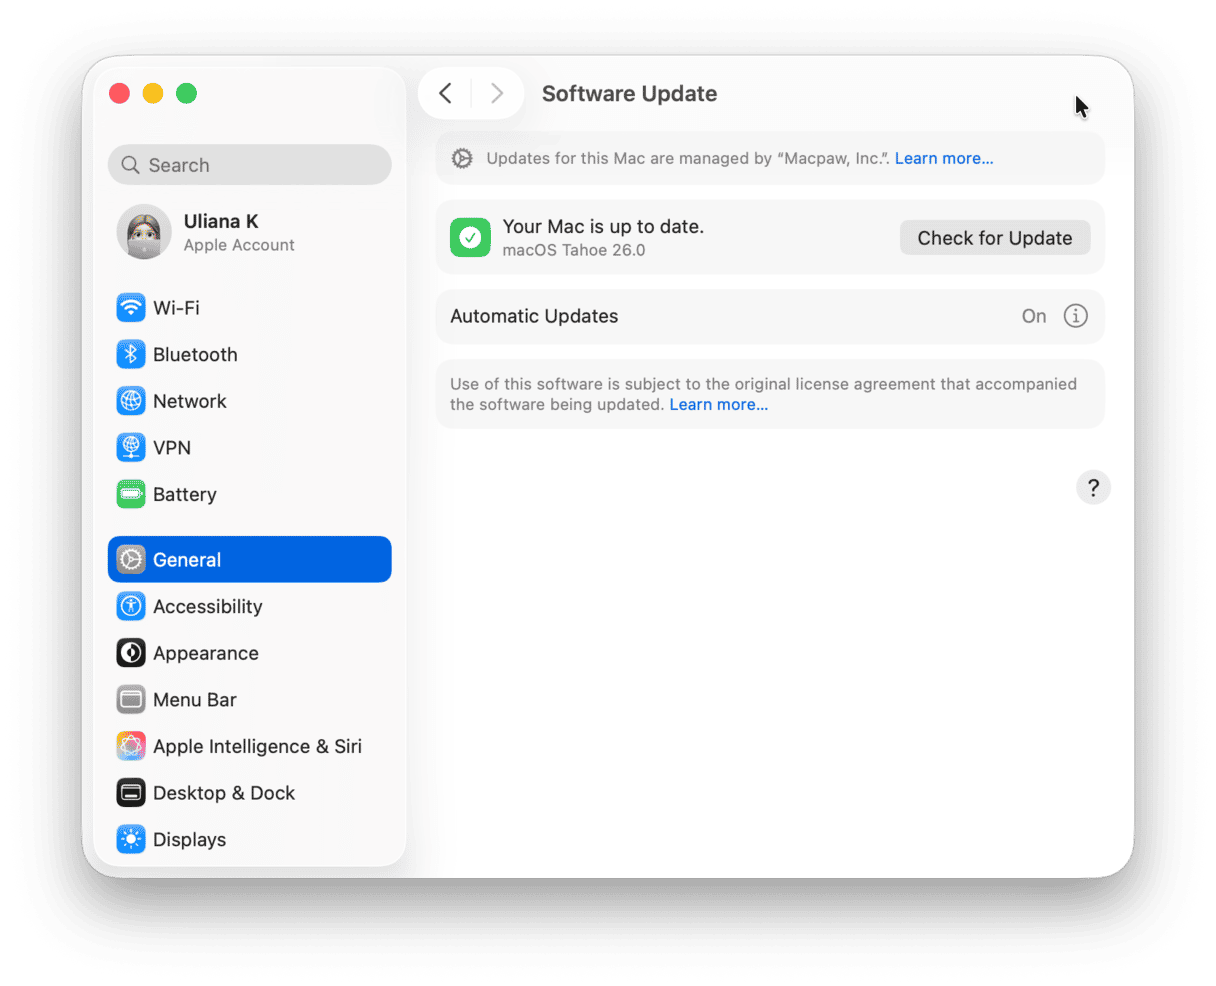
You should update macOS before you try to add a printer to your Mac. That way, you can be sure you have the latest drivers and bug fixes. Here’s a quick reminder on how to do it:
- Click on the Apple menu and choose System Settings.
- Select General > Software Update.
- Wait for your Mac to check for updates.
- If there is one available, click Update Now and follow the instructions on the screen to install it.

How to add a printer on a Mac via Wi-Fi
Many wireless printers support AirPrint, which means that as long as they are on the same Wi-Fi network as your Mac, they will appear in the Print dialog in any application. First, though, you have to connect them to your Wi-Fi network.
- Plug the printer into the mains and switch it on.
- If it has a WPS button, press it and then press the WPS button on your router.
- If it doesn’t have a WPS button, follow the instructions in the printer’s manual to add it to your network. This will normally mean navigating the settings on the printer to go to the network settings, selecting your Wi-Fi network, and then entering the password.
If the printer supports AirPrint, you don’t need to do anything else to add it. If it doesn’t, follow the steps below:
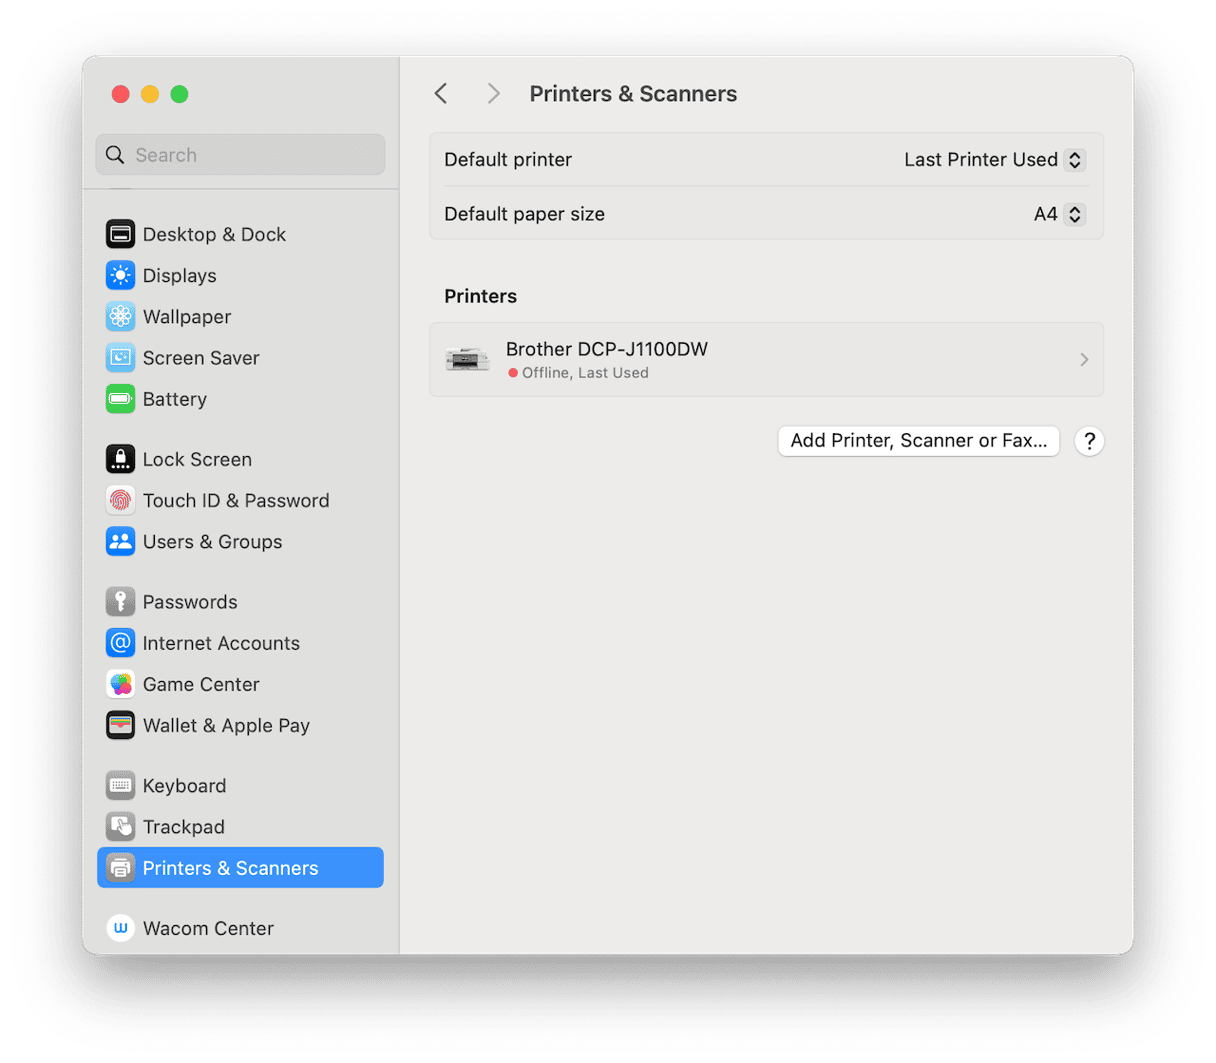
- Go to System Settings > Printers & Scanners.
- Select the printer if it’s there. If not, choose Add printer, wait for it to appear, then select it.

If a printer is misbehaving
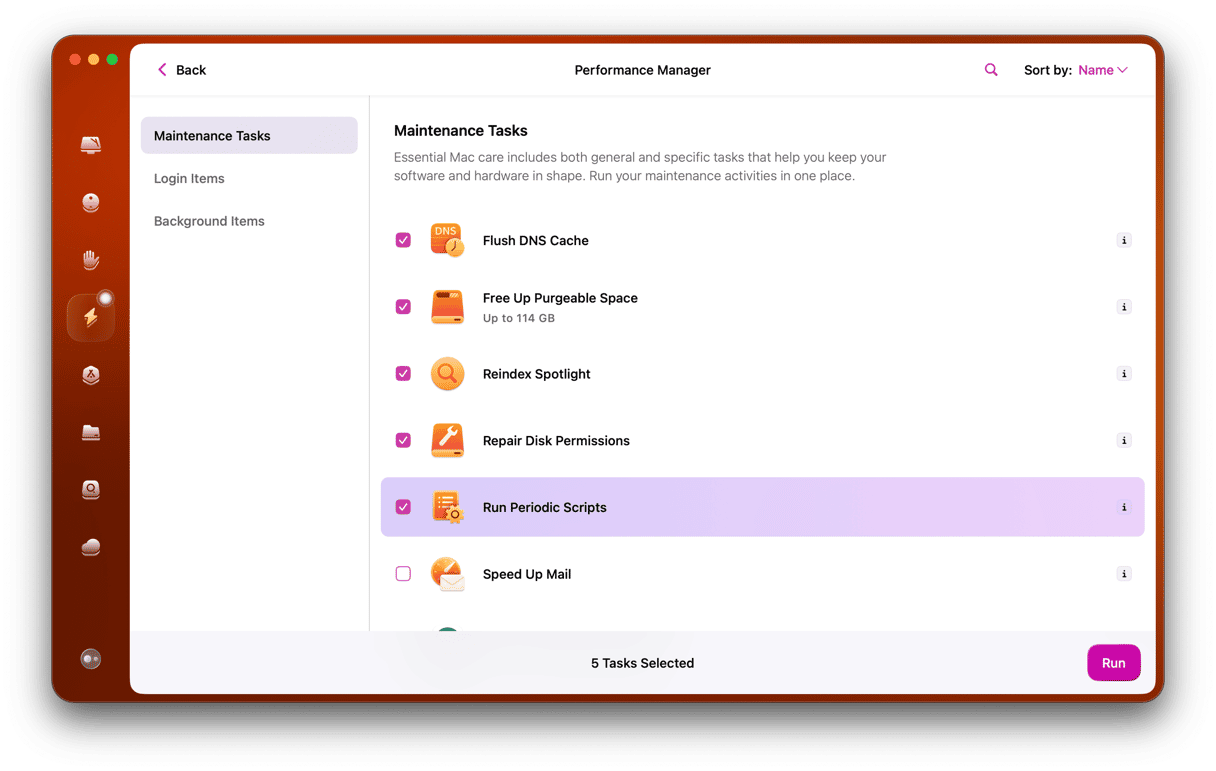
Sometimes, adding a printer to your Mac is not as easy as it should be. There are lots of possible reasons for this, and one way to eliminate them is to carry out maintenance on your Mac. Maintenance tasks include running macOS maintenance scripts, freeing up RAM, repairing disk permissions, and clearing the DNS cache.
Carrying out all of these tasks manually is time-consuming and laborious, but you don’t have to — CleanMyMac’s Maintenance module can run all of them with a couple of clicks. It can also repair disk permissions, reindex Spotlight, and thin out Time Machine snapshots. You can download CleanMyMac for free here and try it for yourself.
- Open CleanMyMac.
- Click Maintenance > View All Tasks.
- Click Run Maintenance Scripts > Run.

How to connect printer to MacBook by Bluetooth
Some printers — usually small photo printers or label printers — use Bluetooth to connect to your Mac. To add them, you need to pair them with your Mac:
- Follow the instructions in the printer’s manual to put it into pairing mode.
- On your Mac, click Control Center in the menu bar. Click Bluetooth > Bluetooth Settings.
- You should see your printer at the bottom of the window. Click Connect next to it.
- The printer, when it has successfully connected, should appear in the print dialog in any app, and you can select it from there.
How to set up a printer on Mac by USB
You can also connect a printer to your Mac via USB cable:
- Once your Mac is updated, plug in the printer, connect the USB cable to the printer, and switch it on.
- Connect the other end of the USB cable to your Mac. If you have a Mac with USB-C sockets, you will need to use a hub or dock if the printer is not USB-C.
- You will be prompted to allow permission for the printer to connect to your Mac. Give it permission.
- Go to System Settings > Printers & Scanners.
- If the printer is there, select it. If not, click Add Printer. Wait for the printer to appear, select it, and click Add.
- There may be a delay while your Mac downloads and installs drivers if it doesn’t already have them installed.
- To set the printer as your default printer, select it in Printers & Scanners and choose Set Default Printer.
How to add a printer using its IP address
Sometimes, you will have to connect to a printer on a network you’re connected to, and your Mac won’t discover it automatically, so you’ll have to add it using its IP address. Here’s how:
- Acquire the IP address of the printer. You may be able to get this from your network administrator. Or if you’re at home, you can do it by logging into your router’s admin page and looking at the IP addresses of connected devices.
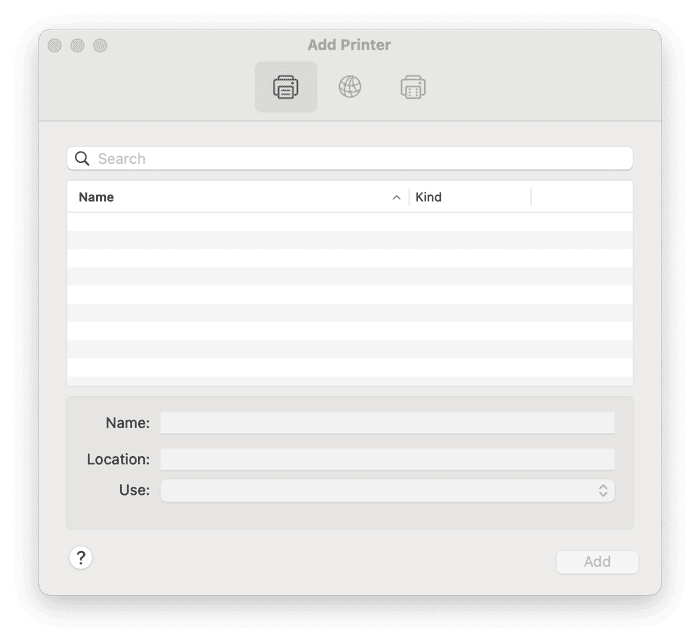
- Go to System Settings > Printers & Scanners and click Add Printer, Scanner or Fax.
- Click the Globe icon at the top of the window and type the IP address of the printer into the Address box.
- Choose a protocol – AirPrint if it’s an AirPrint printer; otherwise, choose Internet Printing Protocol.
- Wait for the printer to appear, click the Use menu, and choose a driver.
- Click Add.

How to connect a printer to a MacBook using a direct wireless connection
If none of the methods we’ve described so far works, there is one more option. Some printers allow you to connect to them directly over Wi-Fi. That requires setting up a wireless hotspot on your printer and, to do that, you’ll need to follow instructions in the printer’s manual. Once you’ve done that, click on the Wi-Fi icon in the menu bar and choose the printer if it’s there. If it’s not, choose Other Networks and type in the name of the printer.
As you can see, there are several different options for adding a printer to your Mac. Wi-Fi is the easiest and most convenient, especially if you’re using a MacBook. However, if the printer doesn’t support Wi-Fi or the Wi-Fi connection isn’t working, you can try one of the other methods above.


