Apple released its newest operating system for Mac computers, macOS Mojave, for developers and members of the Apple Beta Software Program at the end of June 2018, and now it is available for all Mac users.
What can you expect from the upgrade?
- New apps: News, Stocks, Voice Memos, and Home.
- OpenGL and OpenCL will still be supported but are no longer being maintained in favor of the Metal library instead.
- Safari gets a Tracking Prevention improvement to block social media widgets and tracking without consent.
- A more optimized dark mode will offer an even more immersive way of consuming content.
- A dynamic desktop that changes its background depending on the time of day.
- Files can be organized (either manually or with tags) into stacks for a cleaner desktop.
- A Gallery View replaces Cover Flow in Finder for a more visual way of browsing files.
- Group FaceTime supports up to 32 participants, with users being able to join mid-conversation.
What is a clean install?
Instead of simply rebooting your Mac with the latest operating system, a clean install completely overwrites all your existing data. It's basically like getting a brand-new Mac straight out of the box.
Performing a clean install clears your Mac from all of the junk files that have accumulated as you've used it. If you loathe to delete a couple of apps you're not quite ready to get rid of, you'll find it easier to identify which ones you do need when it comes to reinstalling them. Old files take up space and slow down your Mac, and most of the time, you won't even know they're there.
The only downside is that you have to reinstall your personal files on the new macOS, but if you've backed up your files, this shouldn't be a problem — especially when you consider the benefits of a clean install.
How to сlean install macOS Mojave
Here's a complete guide on how to have a fresh start with macOS Mojave. Just follow these six easy steps:
1. Check compatibility
First of all, check that your Mac is compatible with the new upgrade. The basic requirement is for Metal API support, but if you're not sure, the following models are suitable for macOS Mojave:
- MacBook: early 2015 or newer
- MacBook Air: mid 2012 or newer
- MacBook Pro: mid 2012 or newer
- Mac Mini: late 2012 or newer
- Mac Pro: late 2013 or newer (although some mid 2010 and mid 2012 models have Metal-capable GPU, so it's worth checking)
- iMac: late 2012 or newer
- iMac Pro: late 2017 or newer
If your Mac can handle macOS Mojave, great — but don't start yet.
You need a backup of every important file that you'll want to reinstall on your new system. But there's no point in running a straight clone of your previous files: you'll just end up with the same junk floating around your new operating system.

2. Back up your hard drive for a clean install
It doesn't particularly matter where you save the files you want to keep, as long as you're certain you have a backup. Once your Mac has been formatted, there's no way of getting those files back.
Copy them over to at least one other location (preferably two, just in case), which may be physical hard drives or Cloud computing. If you have a lot of files or large files like movies, be aware that you may need more than one type of storage — iCloud only comes with 5GB free, for example, so you may need to pay for more or split your files between iCloud and OneDrive.

3. Clean up your hard drive
A fresh macOS needs a fresh drive to run at peak performance. There are tons of redundant files on any computer, such as old downloads, apps you never used, hidden cache files, etc. Usually, these files keep migrating from one macOS to another, slowing your Mac down. Now is probably the best moment to sort through old garbage before you move on to the new OS. For major hard drive cleanup, I recommend CleanMyMac, which I have been using for a few years now. It cleans:
- System junk
- Old downloads (and DMG installers)
- Hidden adware
- Temporary caches and logs
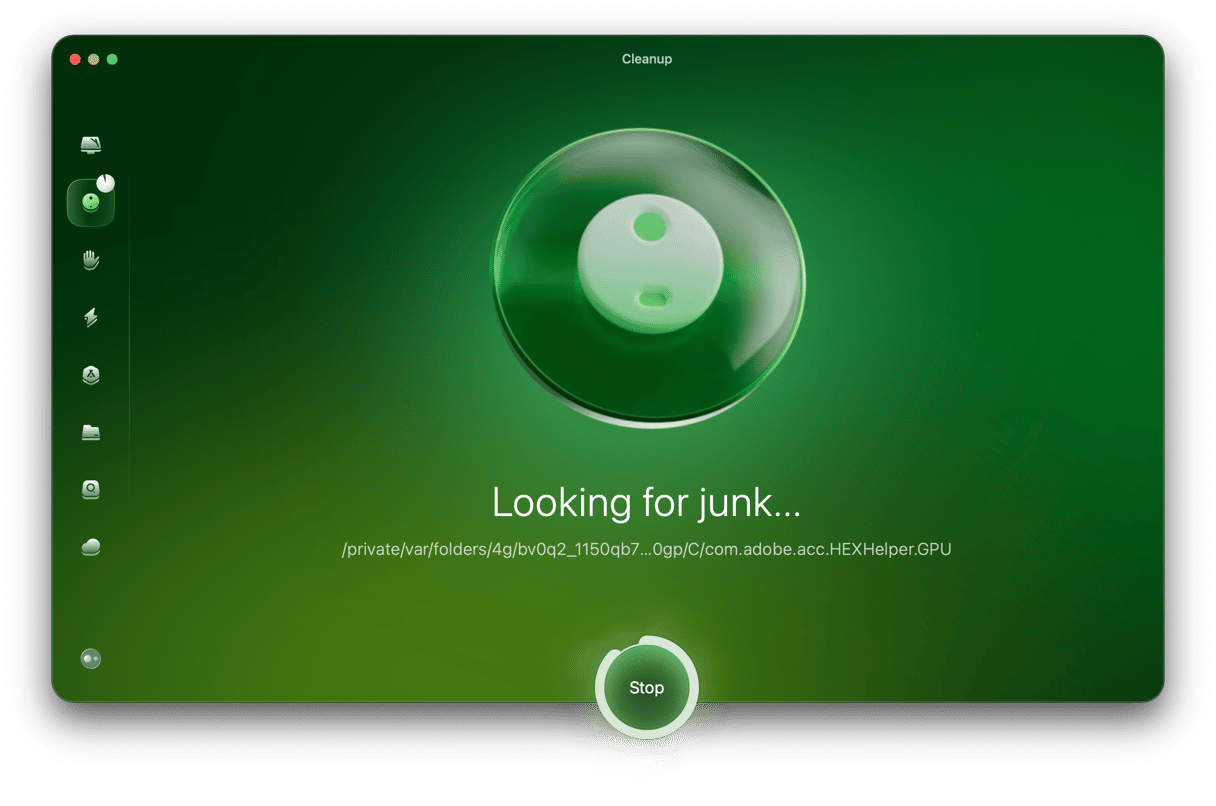
The developer states that during the full scan with CleanMyMac, users find, on average, about 74 GB of potential junk to remove. I couldn't reach that amount, but still, the results were pretty solid.
BTW, the free version of this app can be downloaded here.
4. Download macOS Mojave to a bootable USB drive
Although your files are saved, don't wipe your system until you've downloaded macOS Mojave ready to use; otherwise, you just have an empty Mac. You'll need an empty USB drive with at least 8GB of space to create a bootable copy of macOS Mojave:
- Download macOS Mojave.
- You don't want macOS Mojave on your Mac just yet, so close the installation window when it appears with Command + Q.
- In Finder, locate Applications and right-click on 'Install macOS 10.4…' The file name may change depending on whether you're a beta or developer user.
- Select 'Show Package Contents.'
- Open 'Contents' and then select 'Resources.' Leave this window open.
- Launch Terminal (Applications > Utilities > Terminal).
- In the Terminal window, type sudo followed by a space.
- In Terminal, type –volume followed by a space.
- Open Finder, and then select 'Go' > 'Go To Folder...'
- In the Go To Folder box type /Volumes and select 'Go.'
- Take the USB drive and connect it to your Mac.
- The USB drive should appear in your window. Drag it into the Terminal window.
- Press Return to run the Terminal command.
- When prompted, type 'y' to continue and press Return.
- Your USB drive will be wiped off any remaining data, and the macOS Mojave installer files will then be transferred. This could take twenty to thirty minutes.
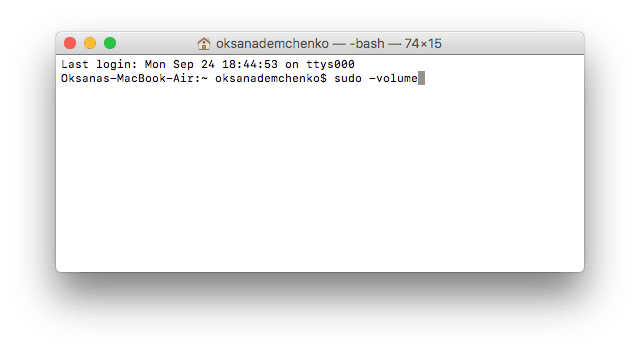

You now have macOS Mojave ready on a USB drive to be installed on a clear Mac.
5. Format the drive
If you've definitely saved the files you need and securely transferred them to an external location, then it's time to format your drive ready for macOS Mojave:
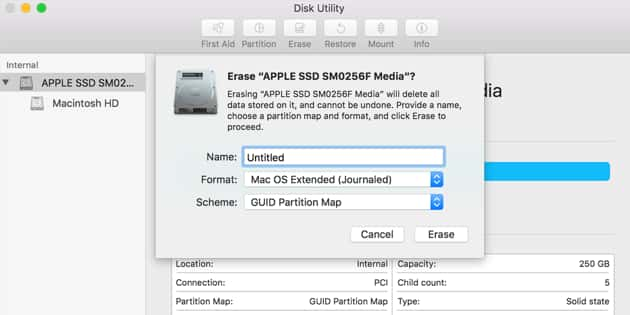
- Go to your Applications and select 'Utilities.' From there, select 'Disk Utility.'
- This will bring up a list of internal drives on the left-hand side. Select your own drive, which will be labeled something like 'Apple SSD.' Click 'Erase.'
- A new window will open with a couple of fields, including Name, Format, and Scheme. Select 'Mac OS Extended (Journaled)' under 'Format' if it isn't already. Click 'Erase' again to confirm.
6. Install macOS Mojave
Now that you've got your file backup, a blank system, and the latest macOS on a USB drive, it's time to bring them all together.
- Connect the USB drive with the version of macOS Mojave to your Mac.
- Restart your Mac while pressing the Option key.
- The Startup Manager will launch. Select 'Disk Utility' and then erase your hard drive.
- Return to the main menu and select 'Install.'
- Follow step-by-step instructions on the screen to launch macOS Mojave from your USB drive.
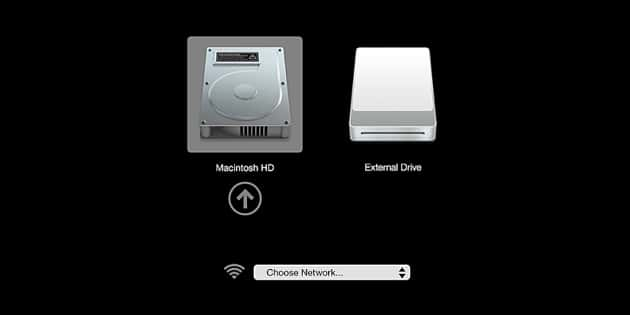
You now have a clean install of macOS Mojave to explore on your Mac. Get to know your new and improved OS, and don't forget to download your files from your external storage.
BONUS: One extra tip to help you upgrade
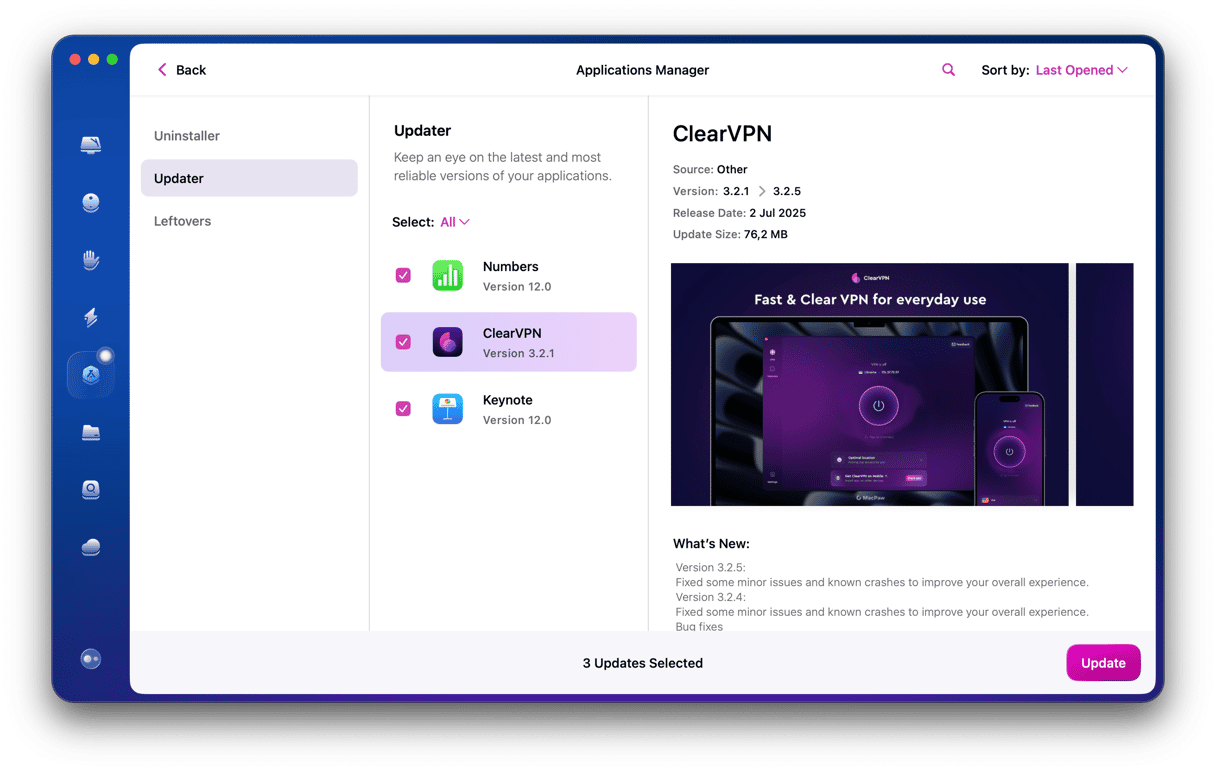
Keep in mind that not all app developers have managed to update their apps for 10.14. After you have clean-installed Mojave, you may notice that some of your apps have stopped working completely (Ouch!). To help you get through this transitional period safely, make sure to update all your apps to the latest available versions. Luckily, there is an automatic way to do it that doesn't involve visiting every developer's site. I've found that CleanMyMac has a built-in app — Updater. It, in fact, works for ALL your apps.
So, you just run Updater, and it fetches you Mojave-ready versions of your apps, if such are available, of course.
- Download Updater tool (in CleanMyMac X).
- Install the app.
- Click on the Updater tab and then choose apps to update.
That's it, looks like you're all set to run a successful install of macOS Mojave. It's way more superior than previous macOS versions and runs much faster, as you will soon see.
Hope you find this article helpful. Stay tuned!


