Most of the time, when you upgrade to a new version of macOS, it, to use a well-worn phrase, just works. Occasionally, it doesn’t. And when it doesn’t, it can be very frustrating, especially if you are keen to get started using the brand new features. There are several different ways in which it can go wrong, including failing to find the update when Software Update looks for it, failing to download it, and then getting to the end of the installation and it not working. In this article, we’ll show you what to do if you see the message “macOS Sequoia cannot be installed on Macintosh HD”.
Why do I get the message “macOS Sequoia cannot be installed on Macintosh HD”?
As error messages go, this one is not very helpful in explaining the reason for the failure to install macOS Sequoia. There’s no indication of what went wrong. Usually, however, it’s one of these:
- Your Wi-Fi network is unstable.
- There’s a problem with your broadband connection.
- There’s an issue with Apple’s upgrade servers.
- Your Mac is not supported to run macOS Sequoia.
- There is not enough space on your Mac to complete the installation.
Usually, if lack of space is the problem, macOS will tell you that. However, it’s worth checking, just in case.
How to fix it when you see “macOS Sequoia cannot be installed on Macintosh HD”
First, we need to rule out the most obvious and easy to fix possibilities. Then we’ll dive deeper and show you what to do if those don’t solve the problem.
1. Check your Mac is compatible with Sequoia
Apple publishes a list of Macs that are supported to run Sequoia. Even if your Mac is technically capable of running Sequoia, if it’s not on the list below, it won’t install.
- iMac: 2019 and later
- Mac Studio: 2022
- Mac mini: 2018 and later
- Mac Pro: 2019 and later
- iMac Pro: 2017 and later
- MacBook Air: 2020 and later
- MacBook Pro: 2018 and later
2. Run maintenance on your Mac
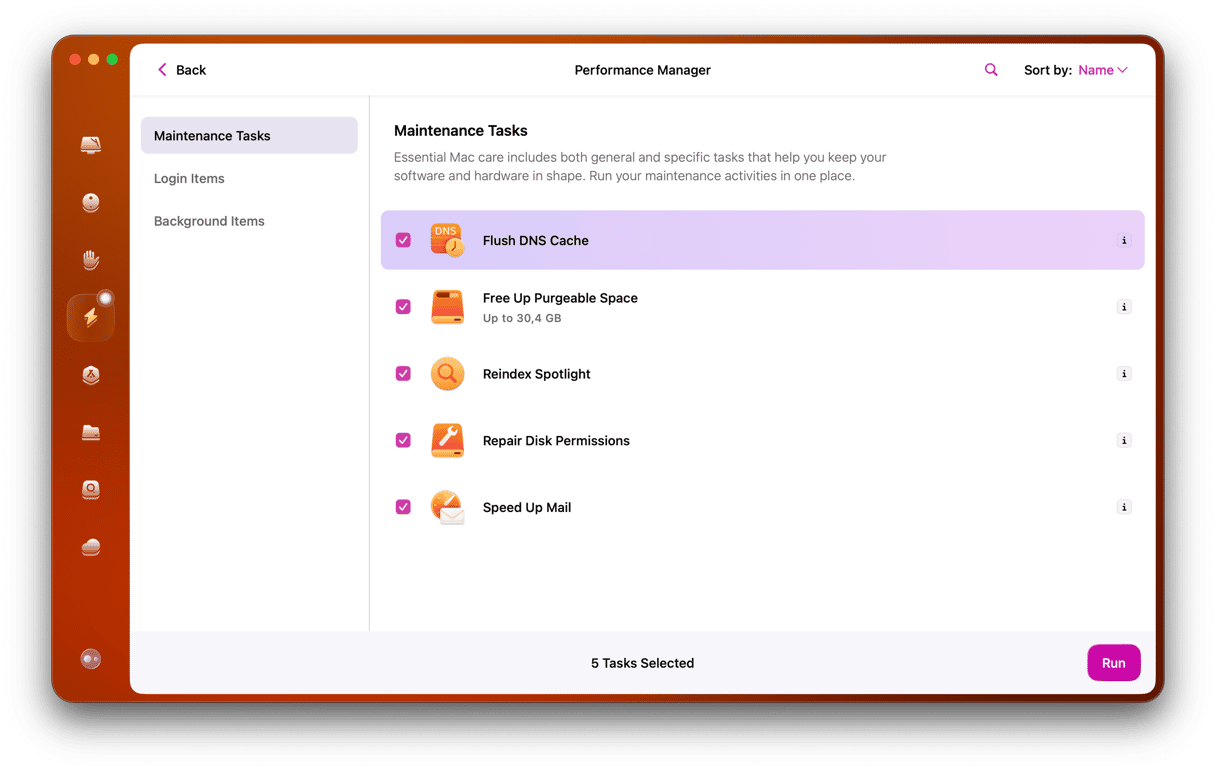
Running maintenance tasks like reindexing Spotlight and clearing DNS cache is a good way to fix lots of problems on your Mac, including Software Updates not working. However, running tasks manually is time-consuming and difficult. We recommend using CleanMyMac’s Performance feature. With a couple of clicks, it can run all those tasks, as well as repair disk permissions and speed up Mail. You can download CleanMyMac for free here. Then, follow these steps:
- Open CleanMyMac.
- Click Performance > Scan > View All Tasks.
- Select the tasks you want to perform and click Run.
3. Check your Wi-Fi and broadband connection
Can your Mac load web pages in Safari? Do other devices work on your network? If Safari loads web pages, there’s clearly no problem with Wi-Fi or broadband. If not, try turning Wi-Fi on your Mac off and then on again. If that doesn’t work, check other devices connected to your Wi-Fi network. If they don’t work, restart your router. Still no connection? Call your broadband provider.
4. Check Apple’s server status
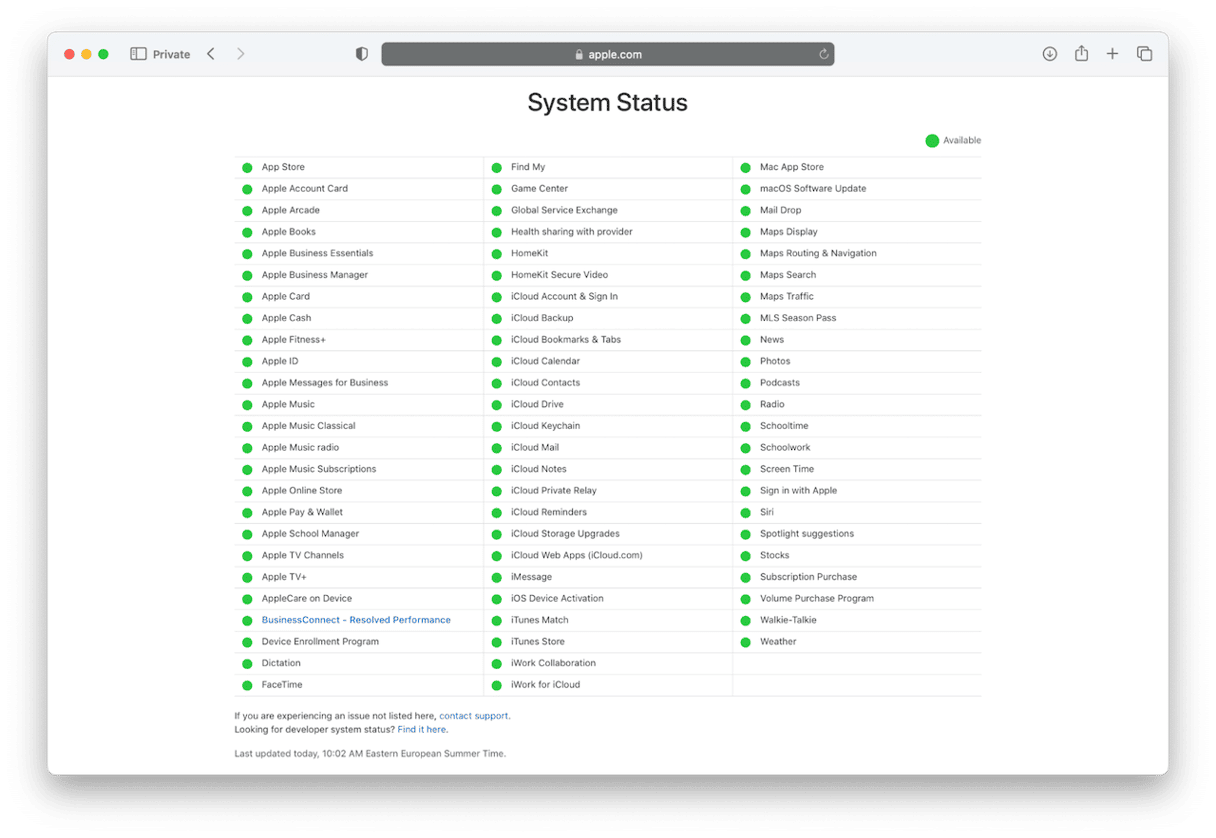
Apple has a support page where you can check the status of all the servers it uses for its services. Click here and then look for macOS Software Update. If it’s green, it’s working properly. If not, you’ll have to wait until it is.
5. Check free space on your startup disk
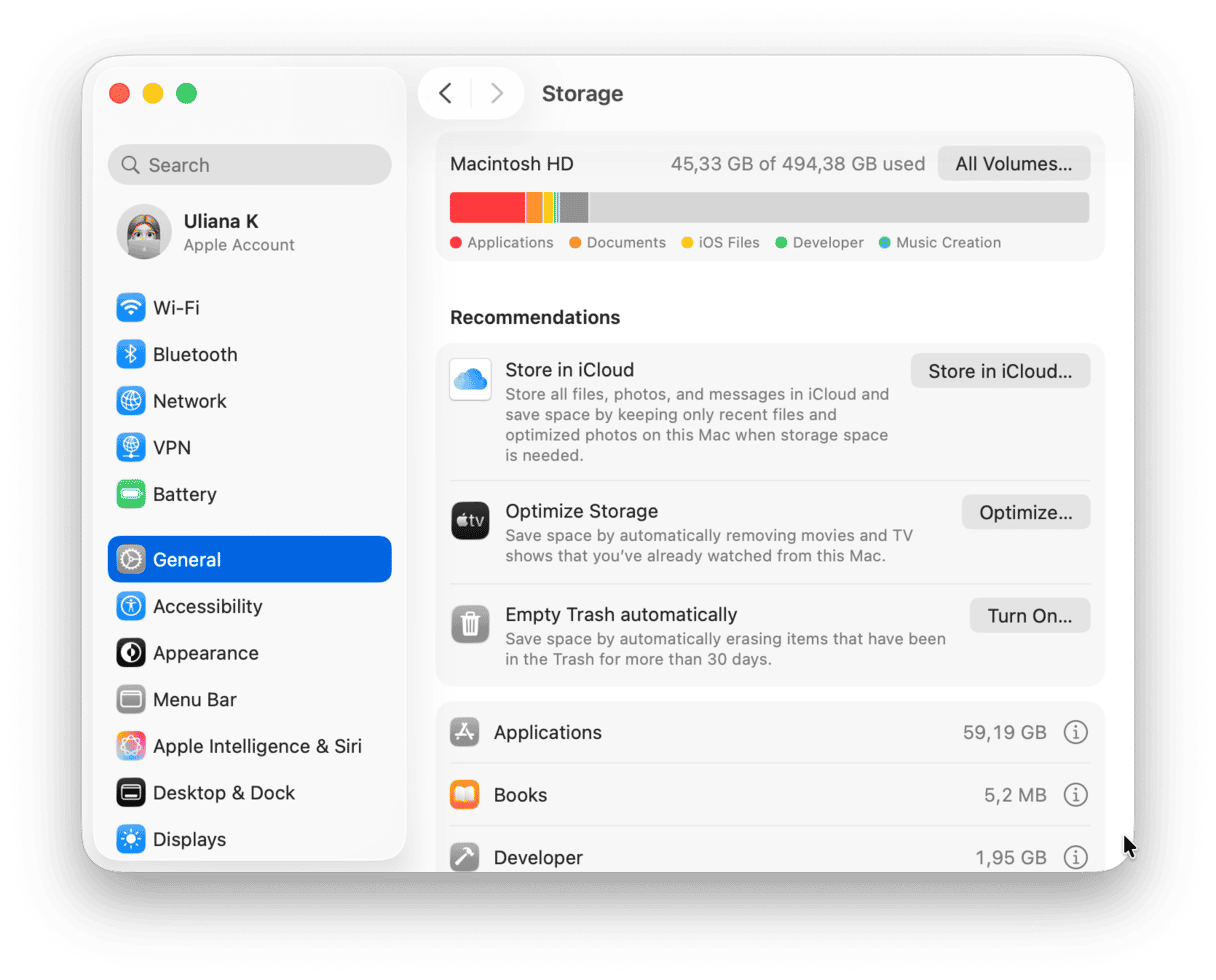
You’ll need at least 25GB of free space to install Sequoia. Go to System Settings > General > Storage to see how much is available. If it’s less than 25GB, follow the recommendations on that page to free up more space.
6. Try re-downloading the installer
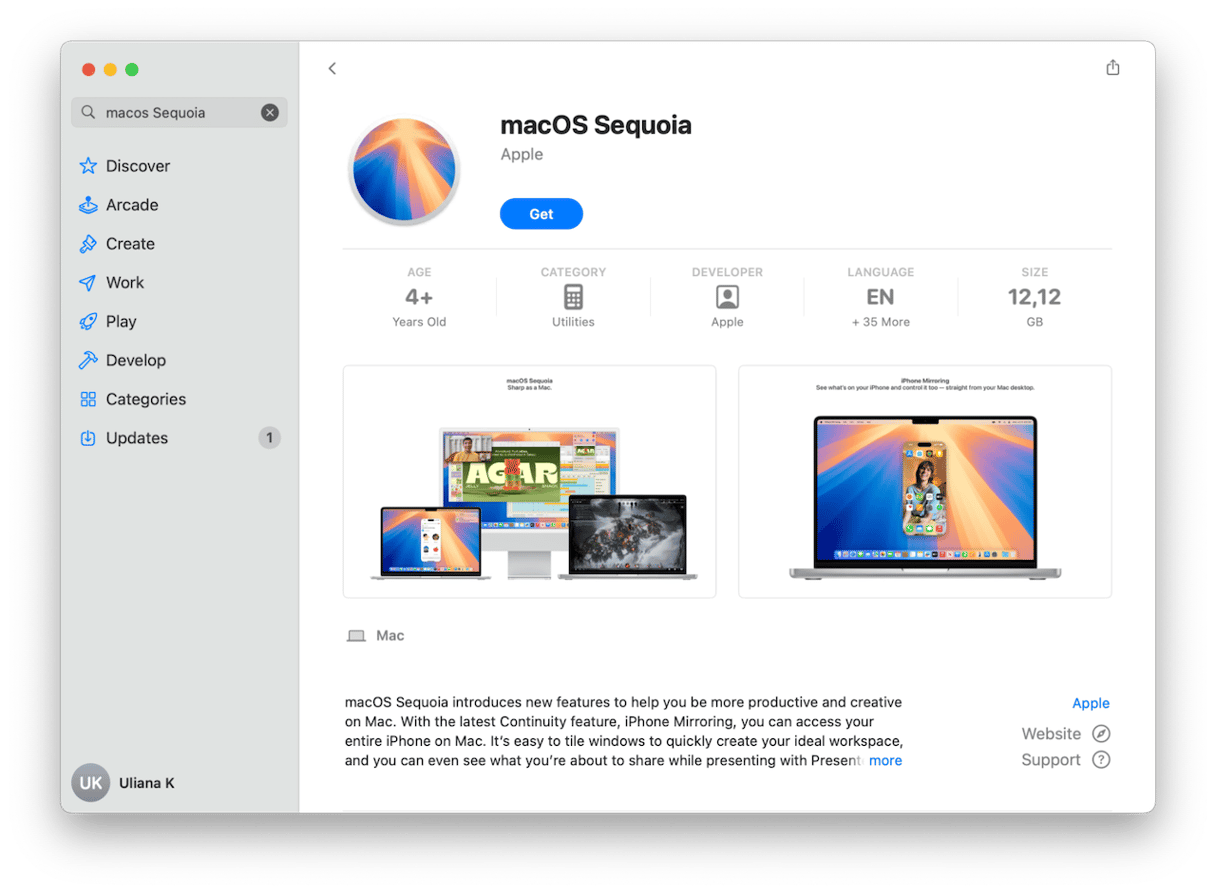
One possible cause of the error message is that the installer you downloaded is corrupt. Quit the installer and, if you downloaded it from the App Store, go to your Applications folder and drag the installer file to the Trash. Then, empty the Trash. Restart your Mac and then try to download the installer again. Go through the process of installing Sequoia.
7. Repair your startup disk
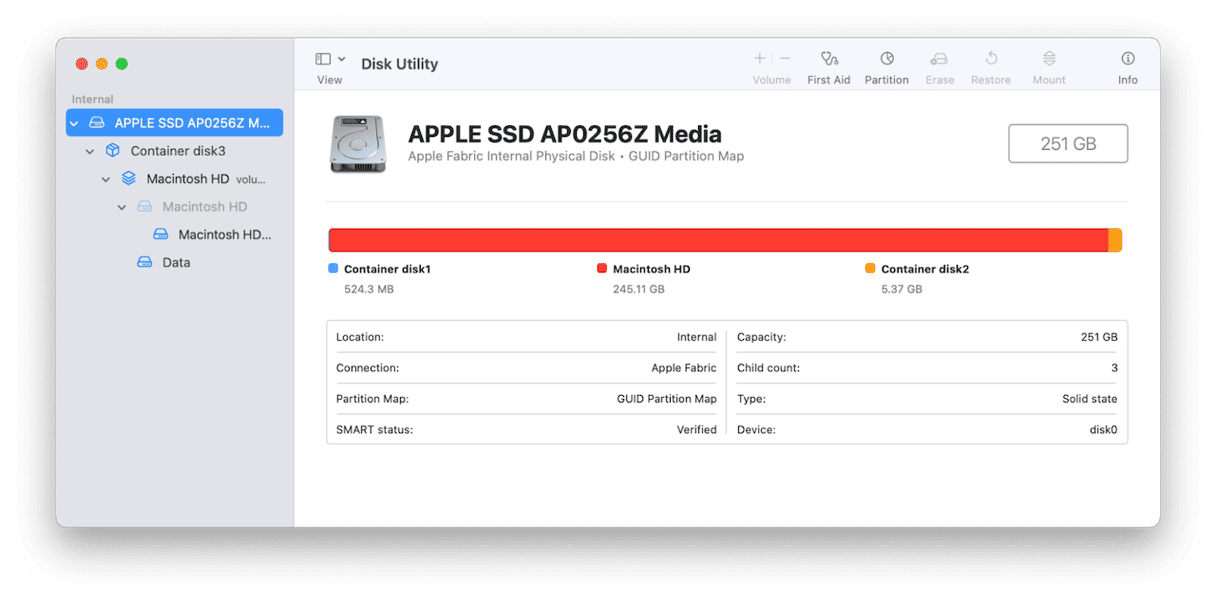
Go to Applications > Utilities and open Disk Utility. Select your startup disk in the sidebar, then choose First Aid in the toolbar. Click Run and wait for it to finish. When it’s done, try installing Sequoia again.
8. Try installing in safe mode
Safe mode disables all extensions except for those needed to boot your Mac. It also performs checks on your startup disk and fixes problems it finds. If a third-party extension is causing the error message when you try to install Sequoia, installing it in safe mode should work.
The process for booting your Mac in safe mode is different for Intel-based and Apple silicon Macs. Follow the steps for your Mac below, and when you have booted in safe mode, try to install Sequoia again. You can find the steps for your Mac on Apple’s website here.
9. Install from a bootable USB stick
If nothing so far has worked, the next step is to create a bootable USB Sequoia installer and then boot from that and choose Install macOS in macOS Utilities.
If that doesn’t work, the final option is to do a clean install. You’ll have to use Transfer and Reset in System Settings > General to wipe your startup disk. Then, boot from the USB stick and install macOS. You can find the steps for creating a bootable USB installer and using it to perform a clean install here. You should back up your Mac, preferably using Time Machine, before you begin.
Installing a new version of macOS is exciting. All those new features and improvements are waiting to be explored and enjoyed. That makes it all the more frustrating when you try to install it and get the error message telling you that “macOS Sequoia cannot be installed on Macintosh HD”. If that happens to you, follow the steps above in order and you should be able to fix the problem and install Sequoia.


