PDF is one of the most widely used document formats on Mac and PC. Receive an invoice by email? It’s probably a PDF. Download a receipt from an online shop? It’s probably a PDF. Read a magazine-long document in digital form? It’s… you get the idea. And Apple added new PDF features in macOS Sonoma, including better support for storing and reading PDFs in Notes and better features for filling in PDF forms. And, of course, you have long been able to print any document to PDF from the Print dialog box in any Mac application. For all its usefulness, however, PDF files have one downside — they can be very large. If a PDF has lots of photos and other graphics, its file size can be hefty. So, in this article, we’ll show you how to compress a PDF on your Mac.
What is PDF?
PDF stands for portable document format. It’s a format created by Adobe so that users of its creative tools could create, share, and print documents in the knowledge that the document the recipient saw on their screen looked exactly the same as the one they created. By using the PDF format, they didn’t need to worry, for example, whether the recipient had the correct fonts installed on their computer because they were embedded in the document.
Why compress a PDF?
The simplest reason for compressing a PDF on a Mac is that you have a lot of them and want to reduce the disk space they use. But it could also be because you want to send one by email or transfer it by other means. Or you might want to put multiple PDFs in a folder. For whichever reason you want to compress a PDF, we’ll show you how to do it.
How to free up space easily on your Mac
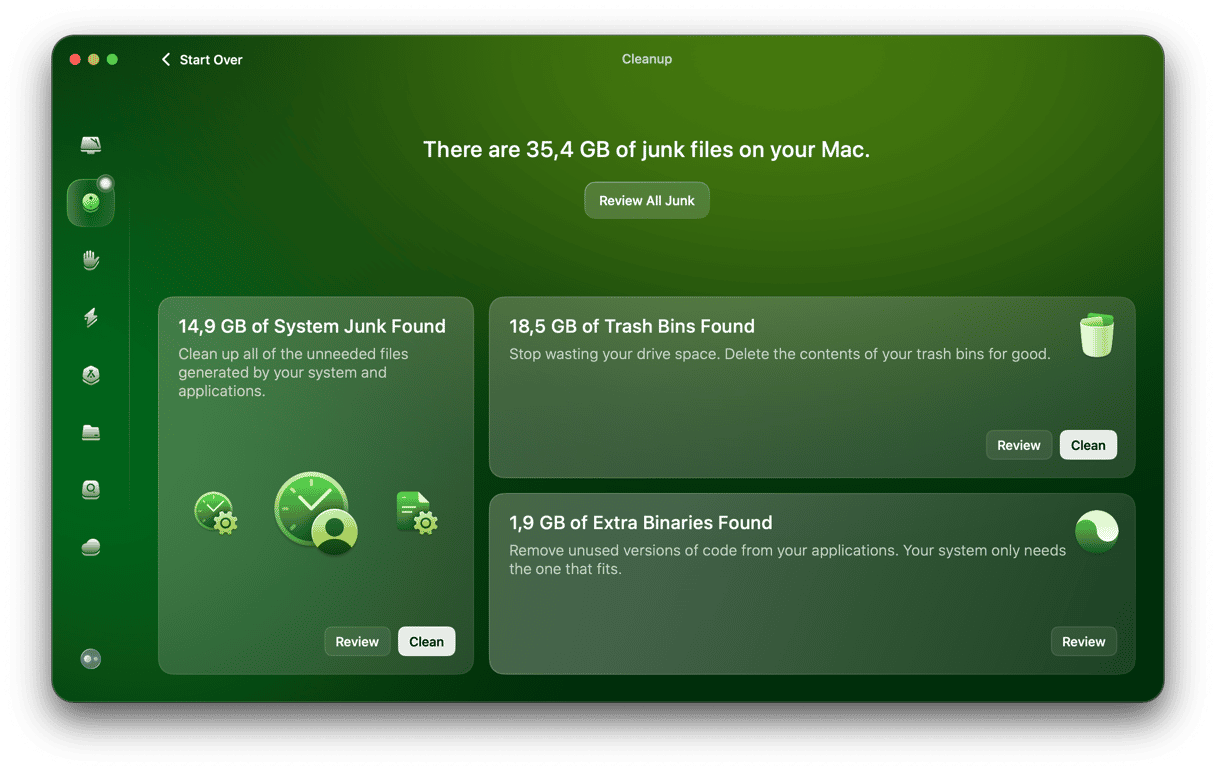
If the reason you want to compress PDF files on your Mac is that you’re running out of space on your startup disk, there is an easy way to create more space. Your Mac is full of junk files, like temporary files that were never deleted, old cache files, settings files for applications you long ago removed from your Mac, and language files for languages you don’t use. Together, these files can take up several gigabytes on your startup disk.
You could try and track them all down yourself and delete them, but that would be hugely time-consuming. Thankfully, there is an easier way — CleanMyMac’s System Junk module can scan your Mac and identify all those files in a few seconds. You can then choose to delete them all in one go. Or review what it has found and decide what to delete yourself. Best of all, CleanMyMac is free to download here. Then, follow these steps:
- Open the app.
- Click System Junk > Scan > Clean.

You can also archive PDF files you rarely open as another way to free up space. Just select all of these files, right-click or control-click, and choose Compress. Alternatively, you can add them to the folder and compress that folder.
How to reduce PDF size on Mac: Preview
Most Mac users use Preview to open PDFs because it comes preinstalled with macOS, so let’s start there.
- Double-click the PDF if Preview is set to be the default application for opening PDFs on your Mac.
- Alternatively, open Preview, click File > Open, and navigate to the PDF.
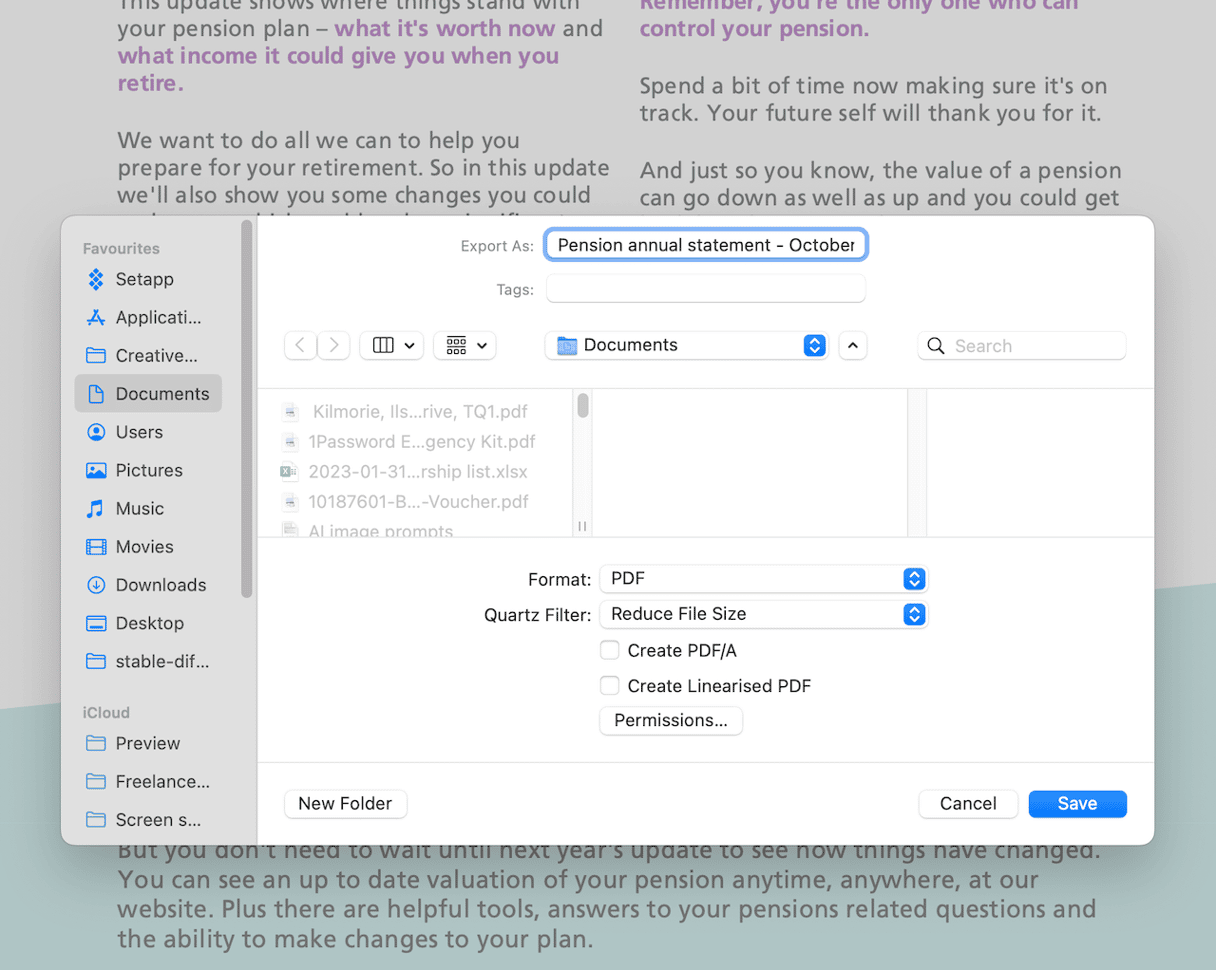
- With the PDF open, click the File menu and choose Export.
- Choose PDF from the Format menu.
- From the Quartz Filter menu, choose Reduce File Size and click Save.

The newly saved PDF will have a smaller file size than the original.
How to compress a PDF file for free using Adobe Acrobat
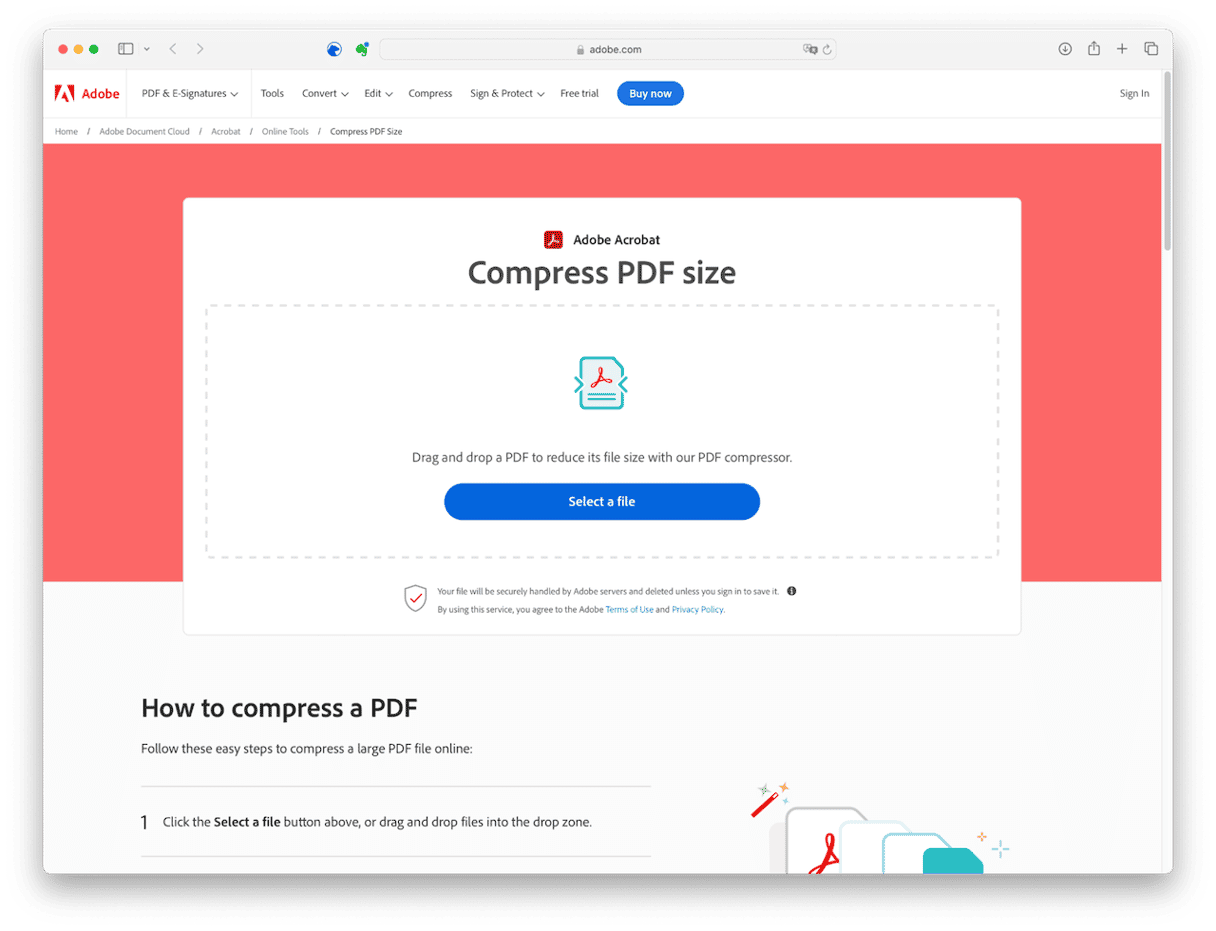
Adobe’s Acrobat is the original PDF creation, editing, and reading tool. And if you want to use all the features of the format, it’s still the best tool to use. However, as we’ve seen, you can read PDFs in Preview on your Mac, and now you can compress them using Acrobat without having to download either the full version or the free Acrobat Reader. Adobe has a web tool that allows you to upload a PDF, compress it, and download the compressed file. Both files are then deleted from Adobe’s servers. However, if you have an Adobe account, you can sign in and save the PDF in your account. Here’s how to compress a PDF without an account:
- In a web browser, go to this web page
- Drag a PDF onto the page and drop it in the drop zone, or choose Select a file, navigate to the file on your Mac, and click Upload.
- Choose a compression level.
- Click Compress.
- When the compression has finished, click Download to download the compressed PDF to your Mac.

How to compress a PDF file using PDF Compressor
Like the Acrobat online compression tool, PDF Compressor allows you to compress PDF files for free in a web browser. You can compress up to 20 PDF files simultaneously, and it deletes all the files an hour after you upload them. Unlike the Adobe tool, you can’t choose a compression level.
- In a web browser, go to PDF Compressor
- Click Upload Files.
- Navigate to the files you want to compress and Command-click them to select multiple PDFs.
- Click Upload.
- When you have uploaded all the files you want to compress, click Download All, or select individual files to download and click Download.
There are lots of reasons why you might want to compress a PDF file on your Mac and several ways to do it. If you only have a couple of PDFs to compress, Preview does a great job. But if you have lots of them you need to compress quickly, one of the two online tools from Adobe and PDF Compressor might be quicker.


