If you have a Nintendo Switch games console, you may prefer not to hook it up to your TV but also want to use it with a bigger screen than the one built into the device. The solution is to connect it to your Mac. You could connect Switch to MacBook or iMac and use its screen. Whichever Mac you have, you can connect your Switch to it. We’ll show you how to do it in this article.
Can you connect Switch to MacBook?
Yes, and the main reason you might want to connect a Nintendo Switch to your Mac is that you want to play on a bigger screen than the one on the Switch itself but don’t have access to a TV to which you can connect the Switch dock. Perhaps you share an apartment or house with other people and aren’t able to use the shared TV. Or maybe you don’t have a TV at all. Whatever the reason, connecting a Nintendo Switch to your Mac is a good solution.

How to connect a Nintendo Switch to your Mac
There are two parts to connecting a Switch to your Mac. The first is to connect the console itself so that you can see its screen on your Mac’s display. The second is to connect the controllers to your Mac using Bluetooth. You don’t have to connect the controllers to your Mac to play Switch games and see them on your Mac’s screen, but if you want to use the controllers for other things, like playing macOS games, you will need to connect them to your Mac using Bluetooth.
How to play Switch on MacBook
The process for playing Switch games on your Mac involves additional hardware and software. Here’s an outline of what you need to do:
- Connect the Switch’s HDMI output to an HDMI cable.
- Connect the other end of the output to a Mac-compatible capture device, such as those made by Elgato.
- Connect the capture device to your Mac.
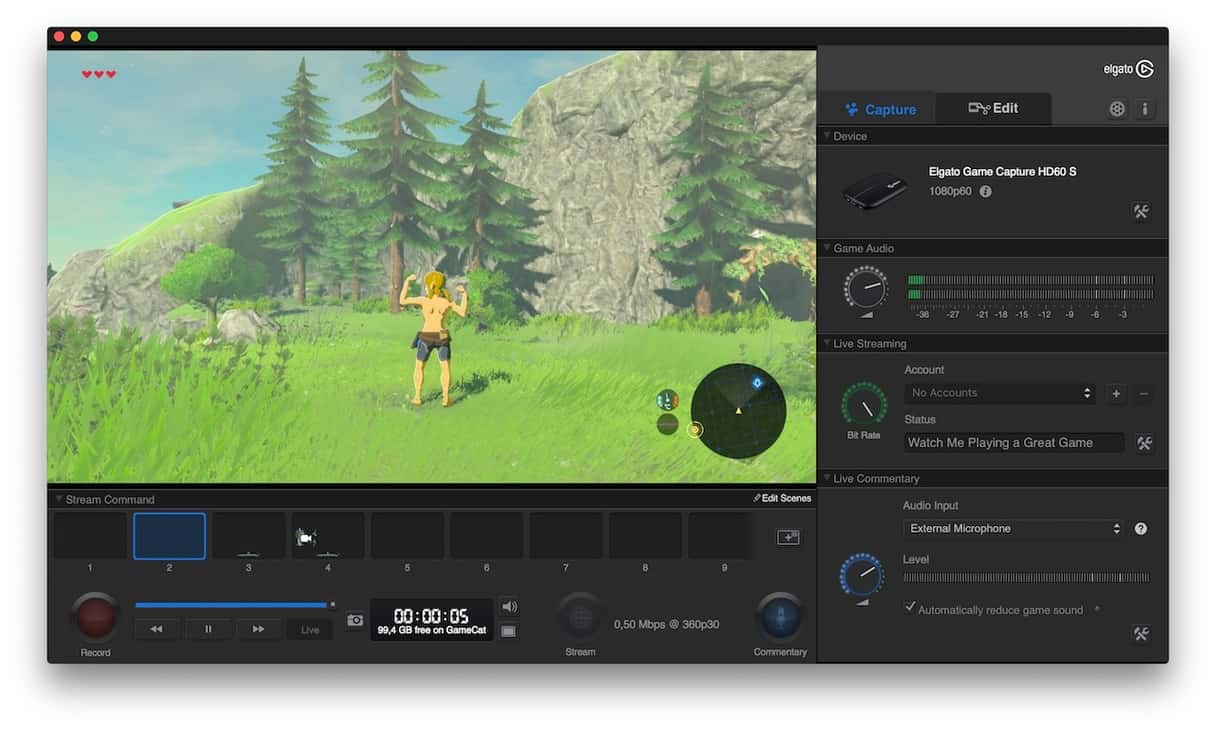
- Use software to display the input from the capture device on your Mac’s screen.
How to choose a capture device
There are several capture devices available. Some connect to a USB-C port, others to USB-A. And there are some that need a PCI slot. The device you choose will depend on the Mac you’re using. If you have a Mac that only has USB-C ports, it makes sense to choose one with a USB-C connector unless you plan to use it with a dock or hub.
The other thing to consider is software. Elgato devices come with their own software, which is part of the reason they are so much more expensive than some of the other devices available on Amazon. If you go for a cheaper option, you may need to source the software separately. But the open source OBS Studio will do the job and is free to download.
How to connect it all together
How you connect everything and get it working will depend on the capture device you bought. Here are the steps for a basic USB-C capture card:
- Connect the HDMI cable from your Switch dock to the HDMI socket on your capture device.
- Plug the capture device into your Mac.
- Go to System Settings > Sound and, under Output & Input, select Input and choose the device you just connected.

- Open OBS Studio or whichever software you’re using.
- In OBS, create a new video channel and a new audio channel.
- Set the input for each channel to the USB device.
- Right-click or control-click the display showing your Switch and set it to full screen.
Elgato capture cards come with their own app. So, if you have one of those, you won’t need to install OBS Studio.
How to improve performance on your Mac
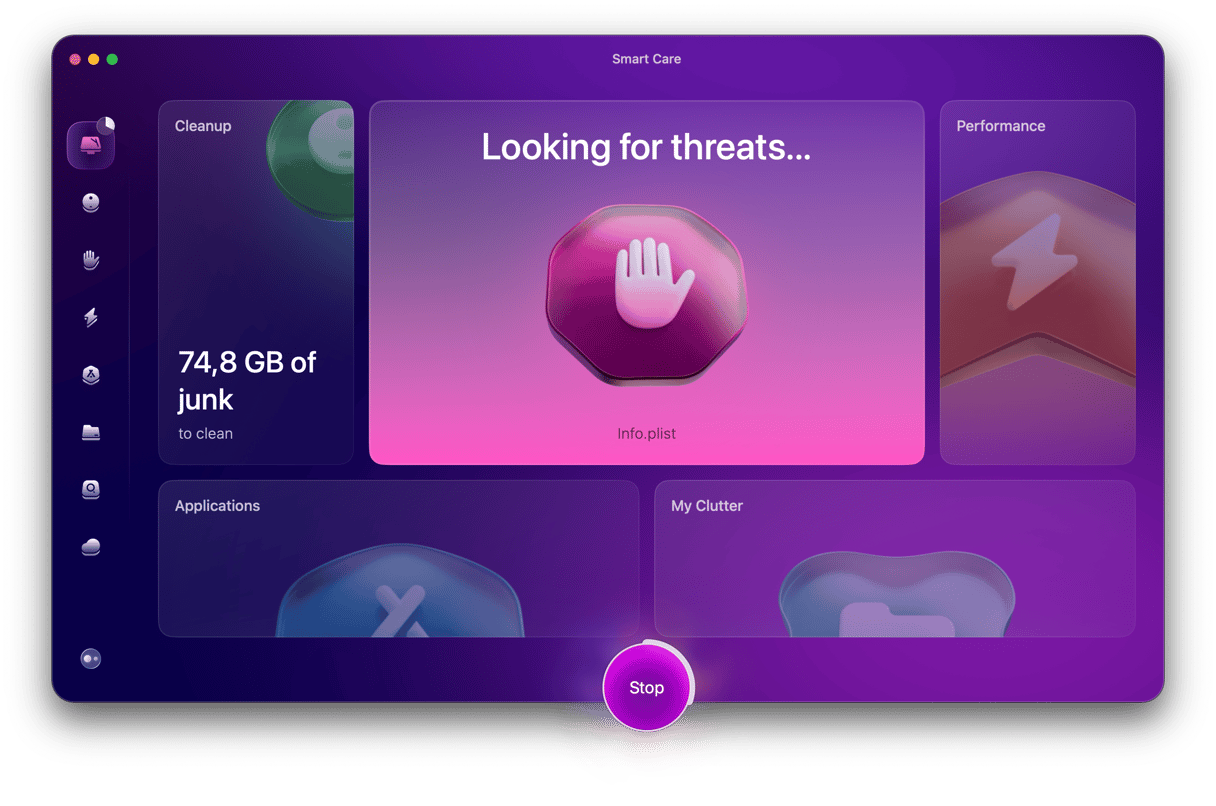
Capturing video input and playing it back on your Mac places heavy demands on its system resources, so you should make sure that your Mac is running as smoothly and speedily as possible before you start. The best way to do that is to clear out junk files, make sure it’s free from malware, and run some maintenance. CleanMyMac’s Smart Scan module allows you to do just that with a couple of clicks. It will scan your Mac for junk files, malware, and opportunities to optimize performance. When it’s done, you can choose to follow all of its recommendations or decide for yourself which ones to implement. You can download CleanMyMac for free here.

You can now play Nintendo Switch games on your Mac.
If you want to use your Switch Joy Con controllers to play Apple Arcade games on your Mac, you’ll need to be running macOS Ventura or later. If you have installed it, follow these steps:
- Go to System Settings > Bluetooth.
- On one Joy Con, on the flat side normally connected to the Switch, press and hold the small black button until you see the green LEDs light up.
- Wait for the Joy Con to appear in the Bluetooth settings on your Mac, then click Connect.
- Repeat steps 2 and 3 for the other Joy Con.
- You can now use each Joy Con as a separate controller.
- To use them together as one controller, press and hold the screen capture and the home button on both controllers at the same time.
Whether you want to connect a Nintendo Switch to your Mac to play games using your Mac’s display or to use the Switch controllers with macOS games, you can do it. Follow the steps above, and you will have your Switch hooked up to your Mac in no time.


