MacOS Ventura is the latest version of macOS and has many improvements over previous versions, as well as some brand new features like the Freeform app (in the 13.1 upgrade) and Stage Manager.
Upgrading to Ventura on your Mac is easy — you can just use Software Update in System Preferences (now called System Settings in Ventura). However, if you want to keep a copy of the installer, install it on several Macs, or install it on a virtual machine, you’ll need to create a disk image, either a DMG file or an ISO. We’ll show you how to download and create a macOS Ventura ISO file.
What is an ISO file?
An ISO file is similar to a DMG file in that both are container formats. That means they are an exact replica of a physical disk and are treated by your Mac as if they were physical media. Mount a DMG or ISO file in the Finder, and it looks like you have just plugged in a physical disk. ISO files are most often used to replicate optical media like CDs or DVDs. They are also readable on Windows PCs as well as Macs, whereas DMG is a Mac-only format. For that reason, if you want to use a macOS Ventura installer on a virtual machine that’s not a Mac, you’ll need an ISO.
Why create an ISO file?
The main reason you may want to create an ISO file is to install macOS Ventura on a virtual machine. But there are other reasons for creating a bootable installer – which could be either a DMG or ISO file – because it makes it quicker and easier to reinstall macOS or to install it on multiple Macs.
How to download and create a macOS Ventura ISO file
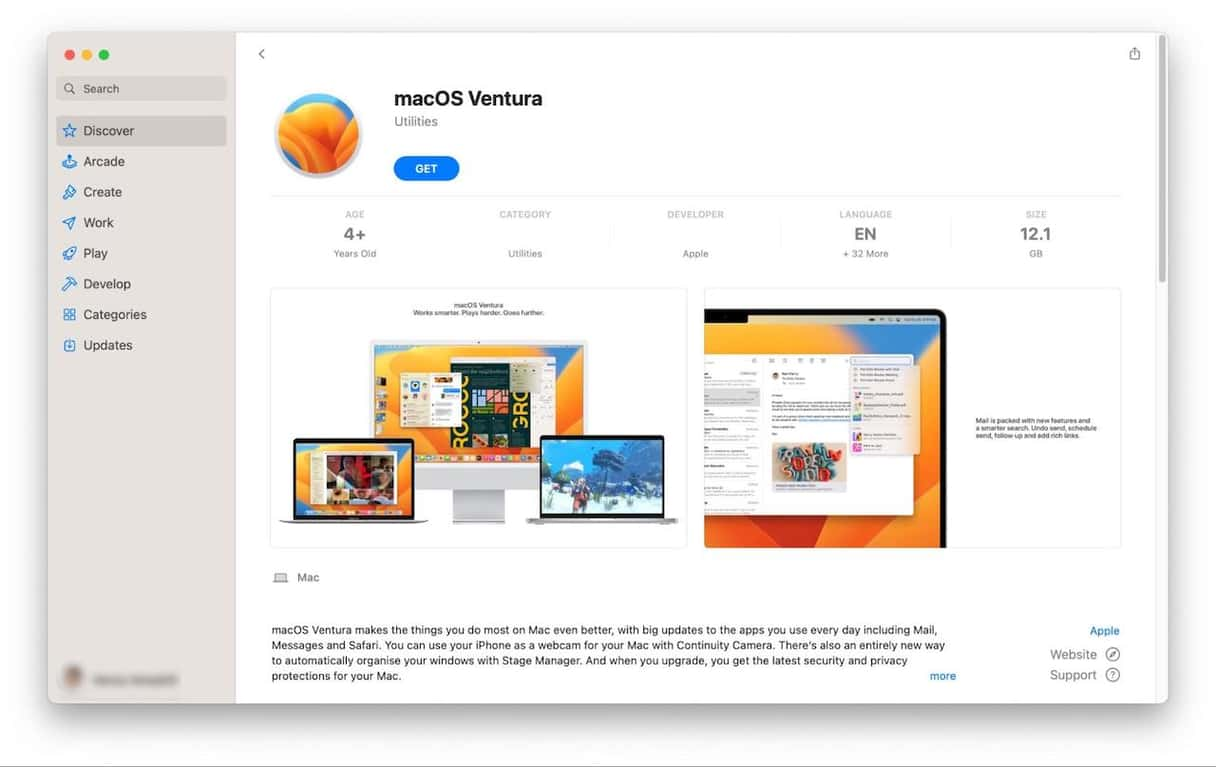
The first step in creating an ISO file for macOS Ventura is to download Ventura from the App store. You can find it here. That link will take you to the macOS Ventura App Store page.

- Click Get to download Ventura.
- When it’s finished downloading, the installer may launch automatically. If it does, click on the installer menu and choose Quit.
- Go to your Applications folder. You should see the macOS Ventura installer there.
We now need to create a disk image or DMG file.
- Go to Applications > Utilities and open Terminal.
- Type the following command to create a 14GB DMG on your Desktop, replacing ‘username’ with your user name:
sudo hdiutil create -o /Users/yourusername/Desktop/Ventura -size 14000m -volname Ventura -layout SPUD -fs HFS+J - You should see the DMG file appear on your Desktop.
- Right-click it and choose ‘Open With’ then ‘Disk Image Mounter’ to mount the image in Finder.
We now need to create an installer from the downloaded version of Ventura and the mounted disk image.
- In Terminal, type
sudo - Go to your Applications folder and locate the macOS Ventura download.
- Control-click on it and choose ‘Show package contents.’
- Go to the Contents folder, then Resources.
- Drag Create Install Media onto the Terminal window. You should see its path displayed after sudo
- Type
-volume after the path. Drag the mounted DMG from the Finder onto the Terminal window and press Return. - Go to a Finder window, locate the mounted disk image in the sidebar, and click the eject icon to unmount it.
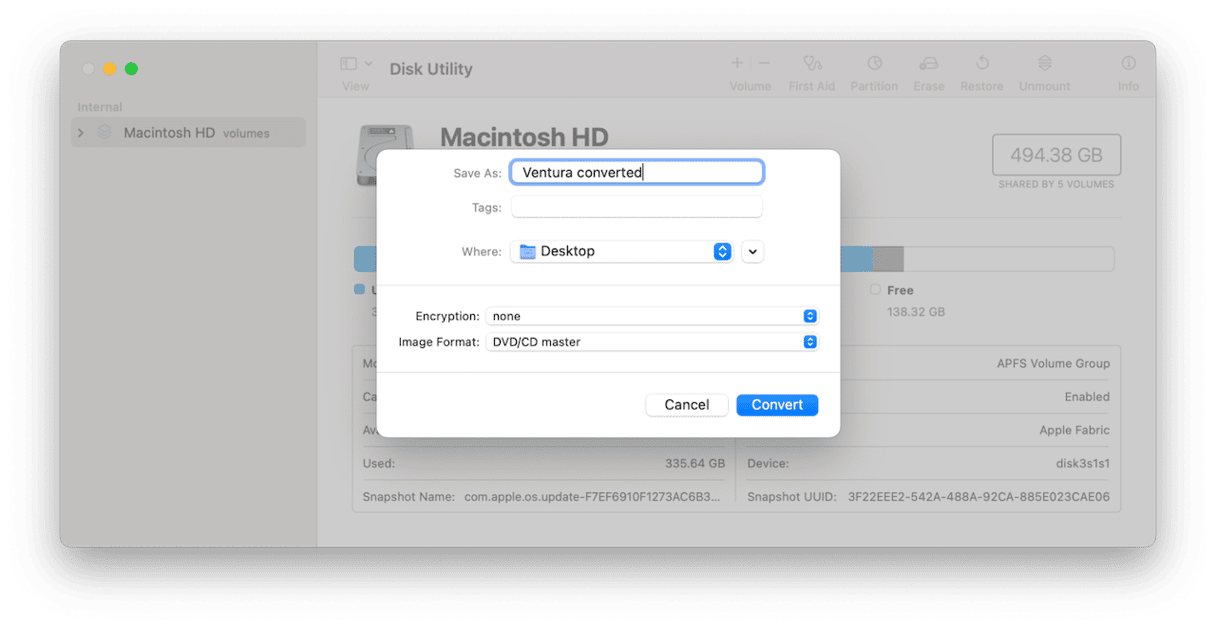
We now have a macOS Ventura installer, but we still need to convert that to an ISO. We do that by first converting it to a CDR file.
- In Terminal, type
hdiutil convert - Drag the Ventura DMG onto the Terminal window.
- Type
-format UDTO -o ~/Desktop/Venturaand press Return. - To convert the CDR to an ISO, type
mv -v ~/Desktop/Ventura.cdr ~/Desktop/Ventura.isoand press Return.
There are several reasons why you might want to create a macOS Ventura ISO file. The most likely is that you want to keep a copy of the installer so you can use it in the future, perhaps on a virtual machine on a computer that doesn’t recognize DMG files. Creating one is straightforward, but there are lots of steps involved, and you’ll need to use Terminal. Follow the steps above one by one and check the commands carefully before you hit Return in Terminal. That way, you’ll have a Ventura ISO in just a few minutes.


