How to download and create macOS Tahoe ISO was the exact problem I ran into when I needed to set up a virtual machine running Apple's latest macOS 26.
Honestly, I thought this would be pretty simple: go to the App Store, grab the installer, and turn it into an ISO. Well, not exactly.
Apple doesn't give you the ISO directly, and the process will change a bit in 2025. It took me a while to figure out all the steps, so I've put this article together, hopefully to simplify the process and save you time.
What is a macOS Tahoe ISO?
An ISO file is, to put it simply, a disk image that acts like a clone of a physical installer or disc. It's used for the following things:
- Setting up virtual machines (VMware, Parallels, VirtualBox)
- Creating bootable USB drives
- Running macOS in recovery/testing environments
- Installing macOS on unsupported Macs (OCLP)
The not-so-good news is that Apple doesn't officially provide ISO files for macOS. They provide the installer via System Settings or the App Store. So if you want a Tahoe ISO, you need to create it yourself using the downloaded installer.
Why download and create macOS Tahoe ISO?
Most people want to create an ISO for virtual testing and trying out beta apps in an isolated environment. But it's also a smart backup strategy.
Another reason to create a macOS 26 ISO is that you can rebuild or restore without waiting for a fresh download. Ok, we've covered all the basics, so let's get into the main event: how to download and create a macOS Tahoe ISO.
How to download and create macOS Tahoe ISO
There are quite a few steps to the process, so take your time. I've tried to break these parts down into bite-sized, followable sections.
1. Prep your MacBook
Before we start, it's worth checking how your Mac's running. Creating and converting disk images can put a considerable strain on your system. I always use the Smart Care feature from CleanMyMac before I do anything like this. It checks for system junk, security issues, and performance slowdowns in one sweep. Here's how:
- Get started with a free CleanMyMac trial — test it for 6 days at zero cost.
- Click Smart Care > Scan.
- Select items and click Run.

2. Download macOS Tahoe
First up, you need to download the macOS Tahoe installer. Get it here via Apple support or via the App Store.
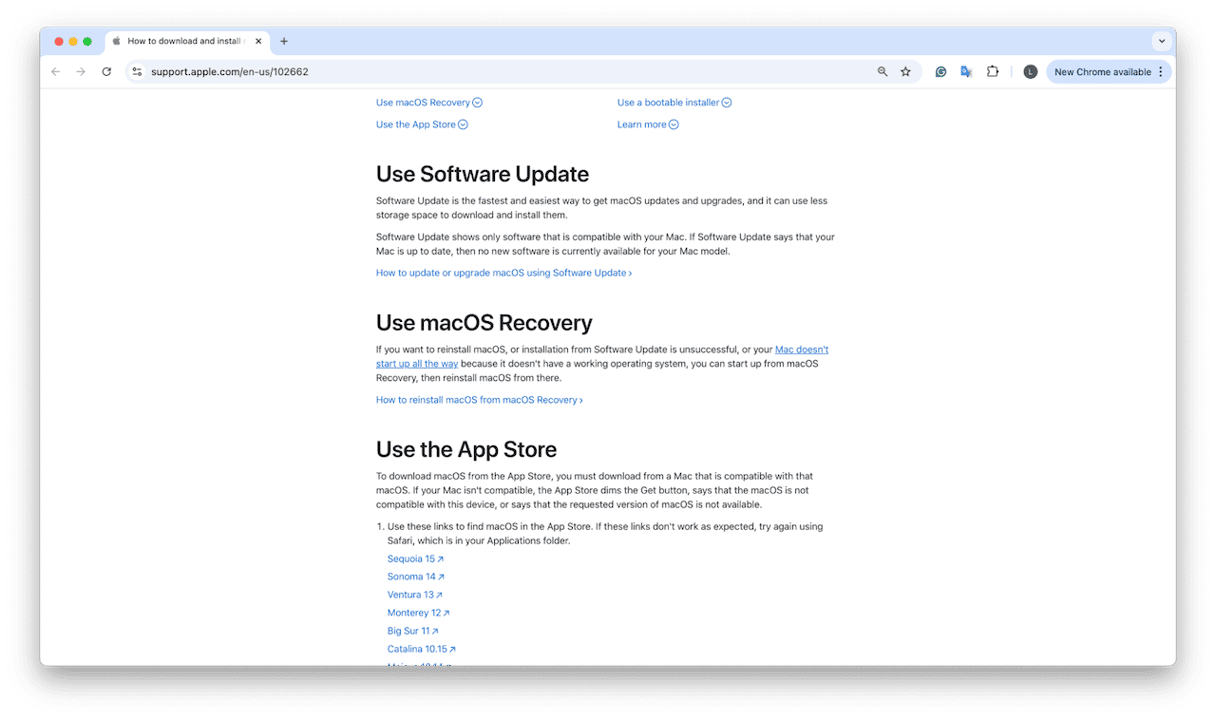
You'll need to wait for the installer to download. If it opens up automatically, press Command - Q to quit it.
You can then double-check in your Applications folder that the installer is there.
3. Convert the installer into a bootable disk image
Now that you've got the macOS Tahoe installer in your Applications folder, the next move is to build a disk image where the installer can live. This will later be turned into an ISO.
- Open Terminal via Spotlight search or from Applications > Utilities.
- Enter this command:
hdiutil create -o /tmp/tahoe -size 16384m -volname TahoeISO -layout SPUD -fs HFS+J - Press Return.
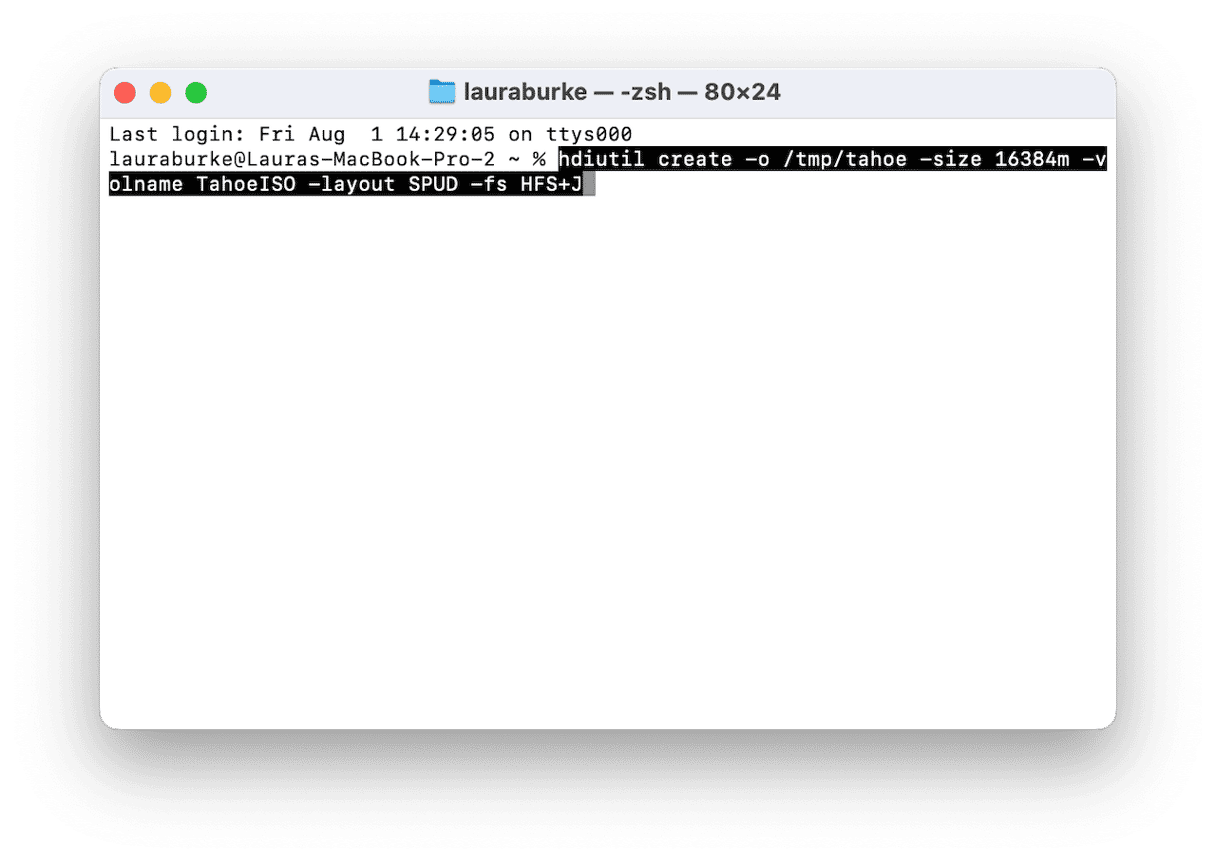
After running it, you'll see a confirmation that says created: /tmp/tahoe.dmg. That means it worked.
4. Mount the disk image
Now we need to "mount" this blank image, basically, make it show up like a physical disk so macOS can write to it. In the same Terminal window, paste:
diutil attach /tmp/tahoe.dmg -mountpoint /Volumes/TahoeISO
If successful, Finder will show a new mounted drive called TahoeISO in the sidebar, just like plugging in a USB stick under Locations.
5. Create the bootable installer on the mounted volume
Now that your blank image is mounted as TahoeISO, we're going to turn it into a bootable macOS installer using a built-in tool called createinstallmedia. So, it's time to run the command that copies everything onto your mounted disk image; here's how:
- Open Terminal, paste the following (make sure the app name matches what's in your Applications folder):
sudo /Applications/Install\ macOS\ 16\ Beta.app/Contents/Resources/createinstallmedia --volume /Volumes/TahoeISO - Press Return, then enter your Mac admin password when prompted.
- Let it run; the process can take up to 15 minutes depending on your Mac's speed.
Once complete, your installer is ready.
6. Convert the disk image into a macOS Tahoe ISO
- Back in Terminal, now run this command:
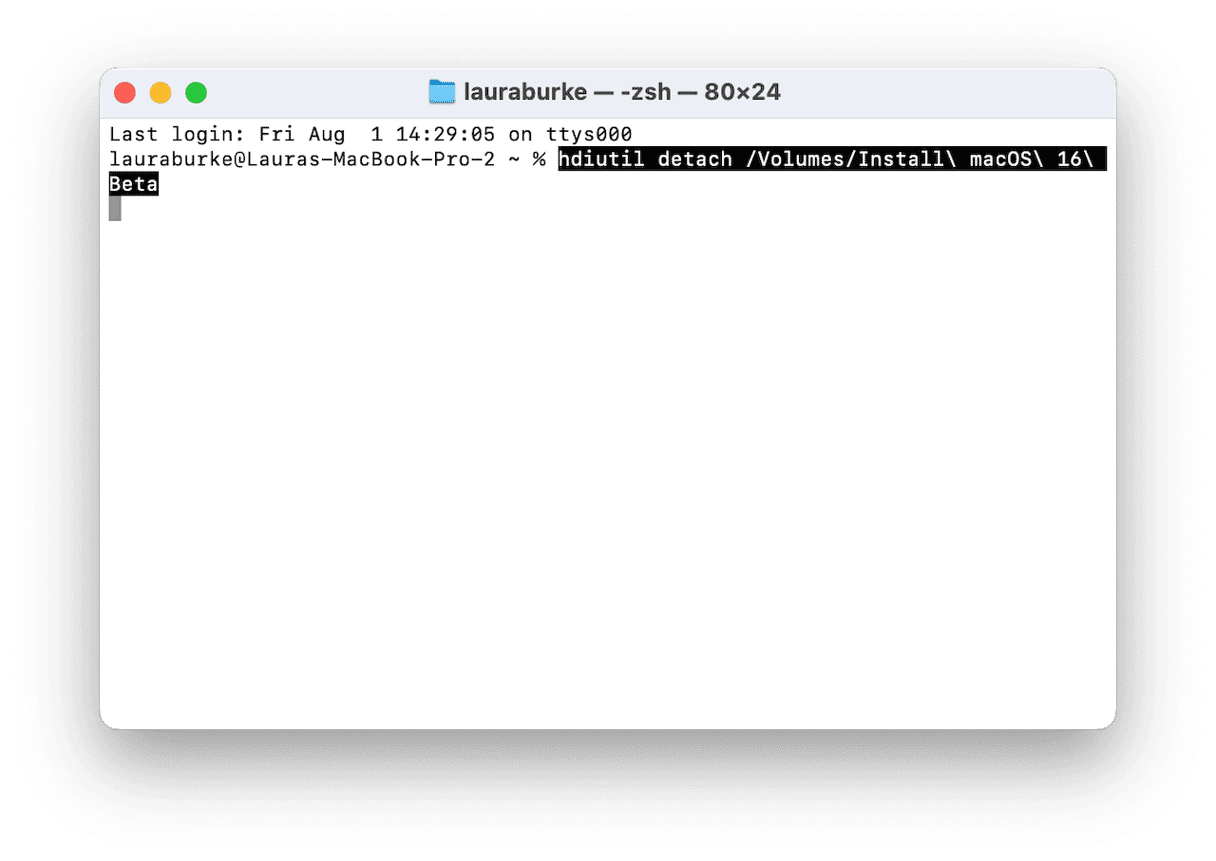
hdiutil detach /Volumes/Install\ macOS\ 16\ Beta - Followed by this command:
hdiutil convert /tmp/tahoe.dmg -format UDTO -o ~/Desktop/macOS-Tahoe.iso - Once it's done, the ISO will appear on your Desktop.
By default, macOS names the converted file with a .cdr extension, so you'll see something like this on your Desktop
- macOS-Tahoe.iso.cdr
But most virtual machine tools (like VirtualBox, VMware, or UTM) expect files to end with .iso. So we need to rename it manually in Terminal.
Open Terminal again and enter this command: mv ~/Desktop/macOS-Tahoe.iso.cdr ~/Desktop/macOS-Tahoe.iso
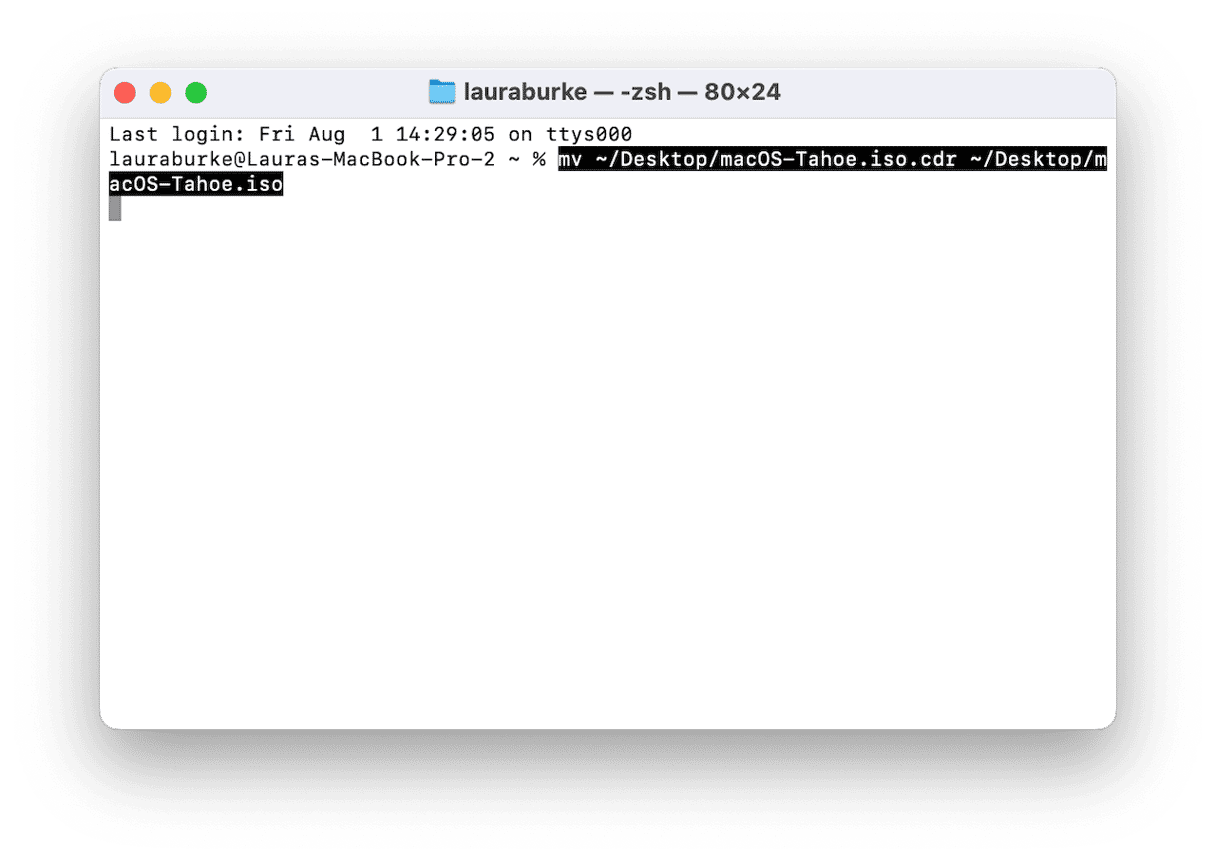
After running this, your file will now appear on the Desktop as:
- macOS-Tahoe.iso
And that's your final ISO, fully built, renamed, and ready to use in any virtual machine or recovery setup.
Knowing how to download and create macOS Tahoe ISO manually isn't complicated once you know the steps, but it's definitely not something Apple hands you out of the box.
Between creating a temporary disk image and converting it to ISO format, there are a lot of little details that can trip you up if you're not careful. If you're building an ISO for recovery, virtualization, or just to keep a clean backup of macOS Tahoe, this guide should keep you out of the weeds.


