Most of us are familiar with the idea of cropping photos on our Macs to remove parts of an image we don’t want or draw the viewer’s attention to what we want them to focus on. But did you know you can also crop video on your Mac? There are lots of reasons why you might want to crop video. For example, you may have shot it in landscape but want to display it in a portrait format, or vice versa. Or there may be something in the video you want to remove before you post it online. Cropping the video is a relatively easy way of doing that. In this article, we’ll show you how to crop videos on Mac.
How to crop video on your Mac
There are a few different options for cropping video on your Mac. Keep on reading to learn how to crop QuickTime video.
Option one: use the Photos app
We’ll start with one that uses an app that we all have because it comes with macOS — the Photos app. Since macOS Ventura, the Photos app has allowed users to edit video as well as photos and we’ll use that feature to crop video.
- If the video is already in your Photos Library, navigate to it and select it. If not, you can either choose File > Import and select the video or drag it onto the Photos window. Note that the video will have to be in a QuickTime-compatible format in order to be imported to Photos.
- Double-click the video to see it in the main window, then click the Edit button at the top right of the window.
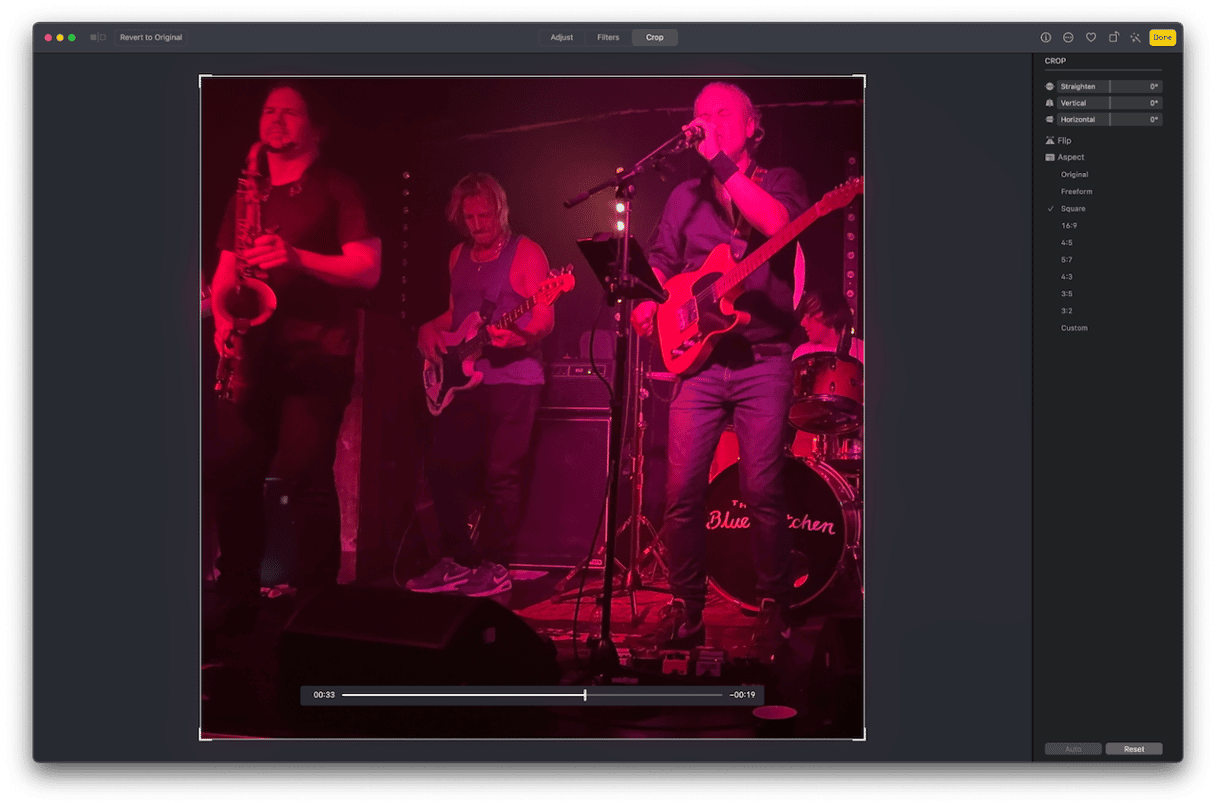
- Choose Crop at the top of the window, then click the portrait or landscape icons at the bottom of the sidebar at the right. You will see a list of aspect ratios. Choose the one you want, or choose freeform to select the aspect ratio by dragging the handles around the video in the main window, or Custom to choose your own aspect ratio.
- Drag the handles of the box around the video into position so they cover the part of the video you want to keep. If you selected an aspect ratio at step four, the shape of the box will be constrained so that the proportions match that aspect ratio.
- If you get it wrong or you’re not happy with the cropped video, click Reset to go back to the original. When you’re happy, click Done.
- Click the back arrow at the top of Photos’ main window to go back to Library view. You can now drag the video you just cropped onto your Desktop or use the Share button to share it or open it in another app.

If you store lots of video files on your Mac, you will fill up your startup disk quite quickly. One great way to free up space is to move or delete the files that take up most space or those you haven’t opened for a long time. Tracking down and identifying those files can be difficult, especially if they are all stored in different folders. However, CleanMyMac has a great tool that can help with that. It’s called Large & Old Files. It scans your Mac, checking the size of all your files, their type, and when you last opened them. It then lists them for you and allows you to filter and sort them according to type (say, video), size, and when they were last opened. You can then easily select the ones you want to delete or move to another disk. You can download CleanMyMac for free here.

Option two: use iMovie
iMovie isn’t a perfect solution for cropping video. In fact, it’s not even a good one. However, if your purpose in cropping is to remove something from a scene or to focus on something specific, it should work. But if you want to change the aspect ratio, you will need to find a different solution. That’s because when you choose the crop option in iMovie and drag the handles on the box to where you want them to be, it cuts out the area you haven’t selected but then expands the area you did select to fill the frame. If the aspect ratio has changed (for example. from landscape to portrait), it fills the empty space with black. When you output the video, it will be the same resolution as the original. If you’re happy with those restrictions, here’s how to crop video in iMovie:
- Open iMovie and create a new project.
- Click Library on the left if your video is there. If not, click File > Import and navigate to it, then import it.
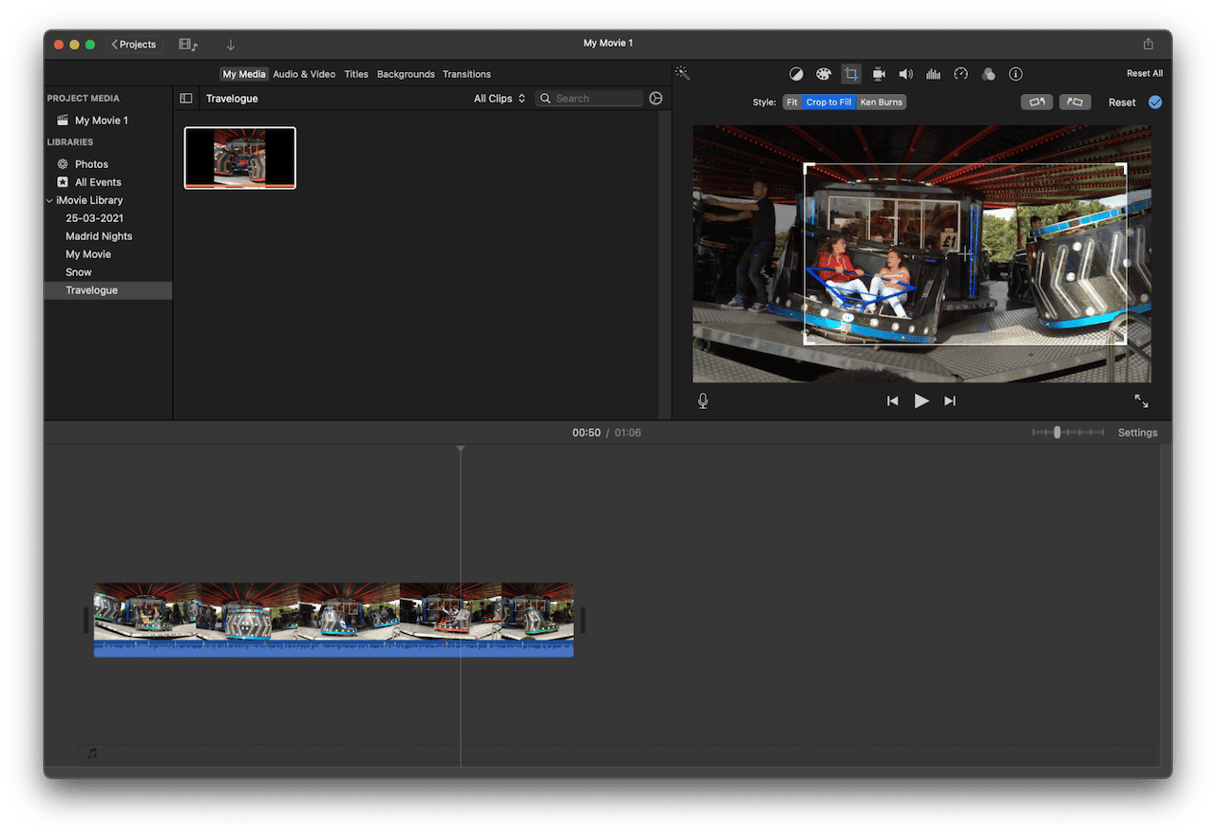
- In the viewer window, click the crop tool. Then, choose Crop > Crop to Fit to maintain the aspect ratio (Fit allows you to change the aspect ratio but will have empty black space).
- Drag the handles of the white box to cover the area you want to keep and click the checkmark to confirm your selection.
- To export the video, click the Share icon and choose Export File. Follow the instructions on the screen to name the video, choose where to save it, and click Save.

Option three: use a paid-for app
The first two options for cropping video on your Mac make use of software that’s already installed or that you can install for free. However, there are several other paid-for apps you can use. These include Apple’s own Final Cut Pro, Adobe Premiere, and less expensive options like Filmage Editor and CameraBag Pro. You can download them from the App Store or the developer’s website.
Until recently, cropping a video on your Mac to change the aspect ratio or remove an unwanted element from the background was a complicated process. However, thanks to Photos, it’s now very easy. If you don’t want to use Photos, you could try iMovie, but it’s more restricted. Choose one of the options above and you’ll no longer ask yourself how to crop a video on your Mac.


