Apple’s tools for making, storing, sharing, editing, and syncing photos have undergone numerous changes over the years, and it can be hard to keep up with them. What remains unchanged, though, is if you regularly take photos on your iPhone, they may start eating up space on your Mac. If that is the case, you may be wondering how you can delete those photos from your Mac but not from iCloud. We’ll show you how to do that.
What is iCloud Photos?
iCloud Photos is the syncing tool that allows photos you take on an iPhone or iPad (or screenshots on your Mac) to appear on all your devices. That’s usually very helpful because it saves you from having to transfer them manually. However, it can also mean that the photos end up taking up lots of space on your Mac, even if you hardly ever use Photos. Thankfully, Apple provides a few options to allow you some control over how photos sync, and by using those, you can minimize the space they take up on your Mac.

How to delete all photos from Mac but not iCloud
There are several ways you can delete photos from your Mac but not from iCloud, and we’ll show them all. The first two methods we’ll show you will remove photos from your Mac completely. The third method retains low-resolution versions but frees up space by removing high-resolution photos. You can then download high resolution versions when you need them.
1. Unsync photos from Mac
The first method is to turn off syncing. Here’s how to do it:
- Click the Apple menu, choose System Settings, and then click your name in the sidebar.
- Choose iCloud.
- Click Photos.
- Turn off ‘Sync this Mac’ and quit System Settings.

Now that you have turned off syncing, changes you make in Photos on your Mac won’t be synced with iCloud, so you can safely delete photos.
- Open the Photos app.
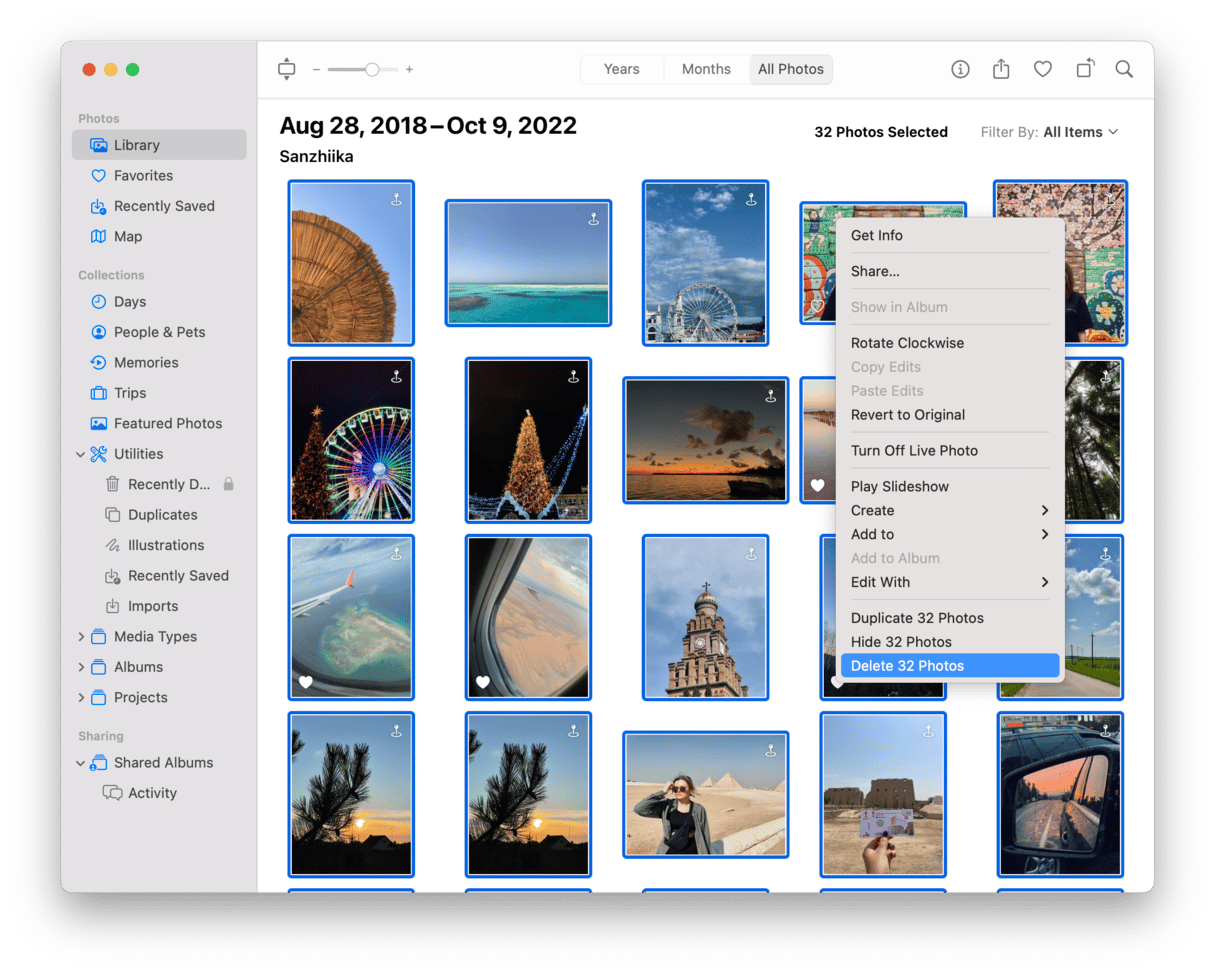
- Click the Edit menu and choose Select All or press Command-A.
- Click Delete, or right-click on a photo and choose Delete ‘xxxxx’ Items.
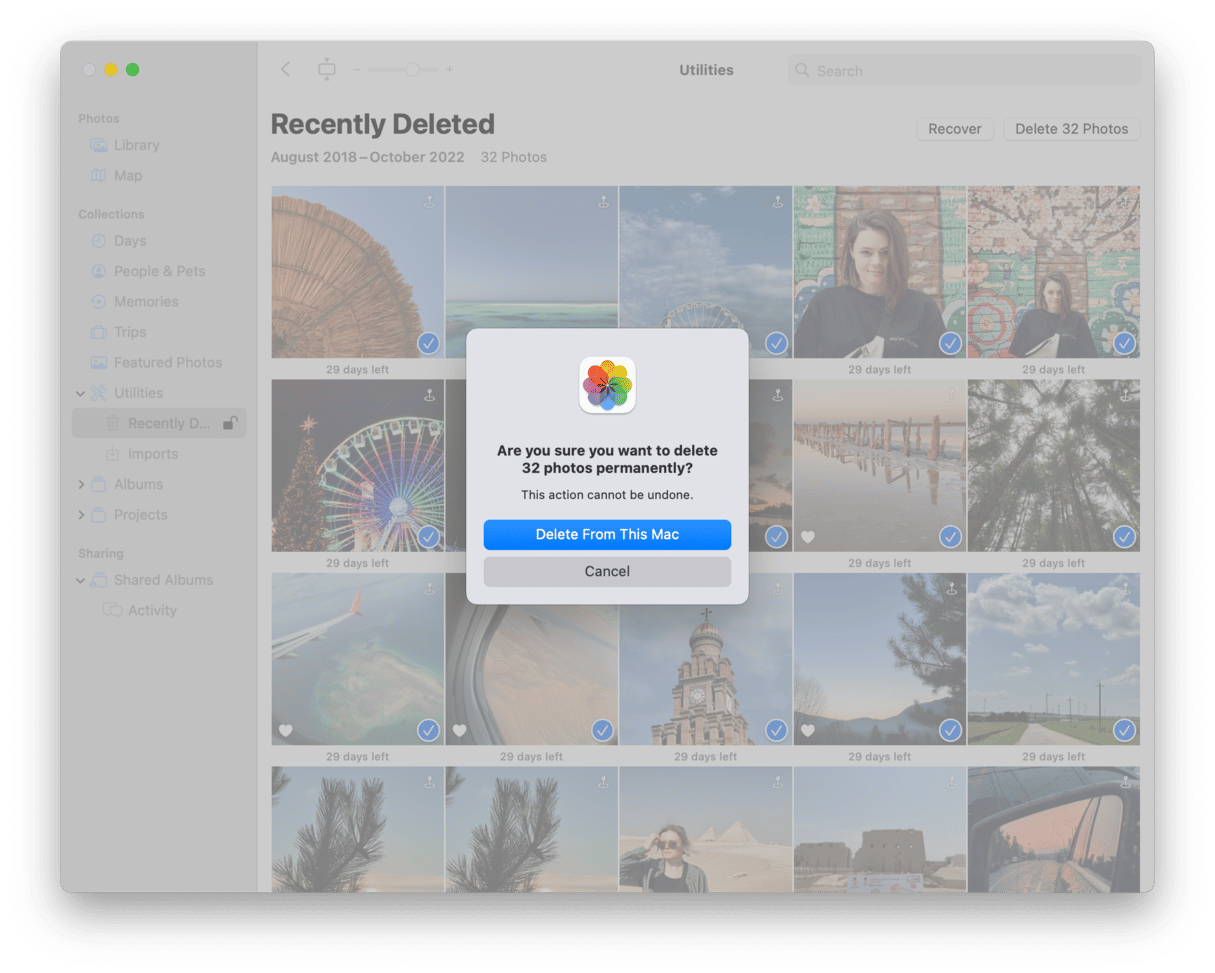
- Click Recently Deleted in the sidebar, then authorize with your password or Touch ID if requested.
- Click Delete All in the top right corner of the window.


2. Move your Photos Library
The second option is to move your Photos Library to an external disk. You can then continue syncing with iCloud, but the photos will not be on your Mac’s hard drive. When you want to use Photos on your Mac, just plug in the external drive. It’s important you don’t use Photos without the drive connected, though, because your Mac will create a new Photos library and sync with iCloud.
- Choose an external USB or Thunderbolt drive with enough space for your Photos library and make sure it’s formatted as APFS or macOS Extended (Journaled).
- Connect the drive to your Mac.
- Go to your Pictures folder in your Home folder (or wherever your Photos Library is stored).
- Drag the Photos Library from there to the external drive.
- When it’s finished copying, drag the original Photos Library to the Trash and empty it.
- Hold down the Option key and click on Photos in the Dock to open it.
- When prompted, choose the Photos Library on the external disk.
- When Photos has opened and you can see your Library, click the Photos menu and choose Settings.
- In the General section, click Use as System Library. If the button is grayed out, the Library is already designated as your system library.

Now, whenever you open Photos, it will open that Library and sync with iCloud. But the photos will no longer be stored on your Mac.
3. Optimize space on your Mac
This method doesn’t delete photos from your Mac, but it does delete the high-resolution versions, keeping only low-resolution copies. That will free up lots of space on your Mac and mean you can still use Photos without moving the Library to an external disk. You can then download high-resolution versions when you need to edit them. Here’s how to do it:
- Open Photos, click on the Photos menu, and choose Settings.
- Go to the iCloud tab.
- Select the box labeled ‘Optimize Mac Storage.’
- Quit Settings.

Get rid of similar images and duplicate photos
When optimizing storage, it is also a good idea to remove similars and duplicates. Of course, you can use built-in tools that come with the Photos app to delete duplicate images, but this way, it will only affect your Photos Library. It means that duplicate images scattered around other folders will not be detected. Neither will similar images.
Luckily, there is an easy way to hunt down these pics — CleanMyMac and its feature named My Clutter. It quickly scans your drive, not only your Photos Library, and finds these files so that you can remove them with a click.
Here’s how it works:
- Get started with a free CleanMyMac trial.
- Open the app and click My Clutter > Scan. You can choose the location of the scan if you want to.
- Click Review All Files.
- In the Duplicates tab, select duplicate photos for deletion and click Remove.
- Repeat for Similar Images.

Your Photos Library can take up a lot of space on your Mac, and knowing how to delete all photos from MacBook but not iCloud will help if you decide to free up that space. Follow the steps above to do that, or choose one of the other options for clearing space.


