If you’re the kind of Mac user who likes to keep things neat and tidy, you may be frustrated to find out that after you’ve installed a few applications, the menu bar at the top of the screen suddenly has lots of extra icons in it that you don’t want. Or maybe you upgraded to a newer version of macOS and found that some menu bar items that you expected to see, like Bluetooth or volume control, are no longer there. The solution to both of these issues is to customize the menu bar on your Mac, and in this article, we’ll show you how to do that.
Why customize the menu bar on your Mac?
The main reason for customizing the menu bar is that it has become cluttered and that you don’t need many of the items that are there. But it could also be that you want to add features to it, like the Bluetooth menu or volume control.
How to customize the menu bar on your Mac
There are two parts to customizing the menu bar. The first is to specify which macOS controls should appear there. The second is to manage third-party menu bar items.
macOS menu bar items
Let’s start with Mac menu bar settings:
- Click the Apple menu and choose System Settings.
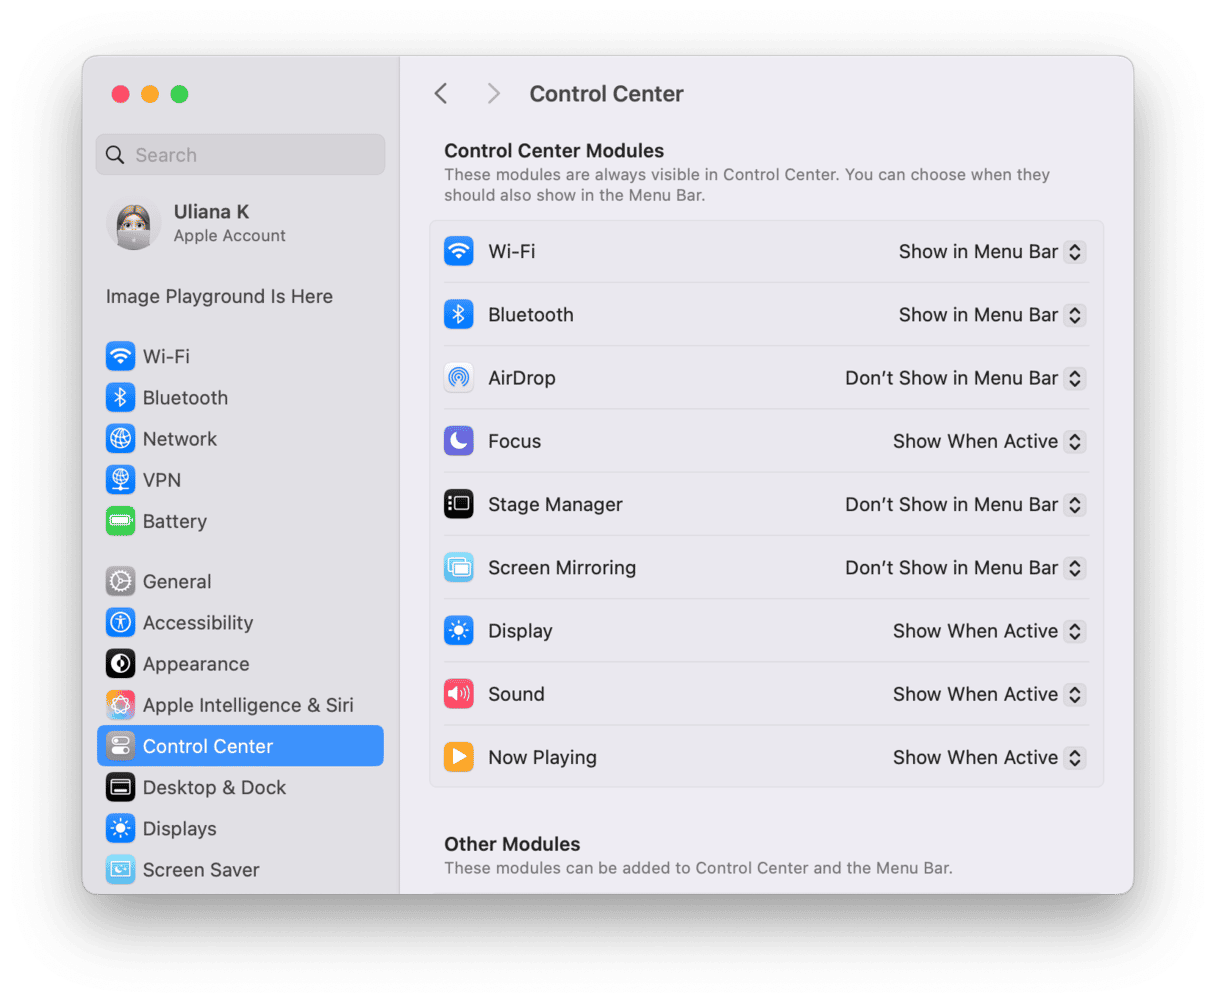
- Choose Control Center. You will see a list of Control Center modules. Click the menu next to one you want to add or remove from the menu bar and choose ‘Show in menu bar,’ ‘Don’t show in menu bar,’ or ‘Show when active.’
- Scroll further down to Other modules. Use the toggle switch next to each module to specify whether it should be displayed in the menu bar.
- At the bottom of the section, you will see a list of modules that are labeled ‘Menu bar only.’ These don’t appear in Control Center. You can still choose whether or not to show them in the menu bar. The first of these is the Clock. By clicking Options, you can choose how the clock is displayed.
- Finally, you can choose whether you want to hide the menu bar when you don’t need it and when it should be shown and hidden.

Wondering how to remove icons from menu bar on Mac? Just follow these steps again and choose ‘Don’t show in menu bar.’
Third-party items
As well as macOS modules, third parties can add items to your Mac’s menu bar. These will usually be add-ons for applications that provide additional features, but they could also be extensions that don’t have an associated app. For example, Microsoft’s OneDrive exists only as a menu bar item. If you don’t want it to appear in your menu bar, you can quit it, but items you place in the OneDrive folder in the Finder won’t sync. Google Drive works in a similar way.

For those applications that use menu bar items to provide additional features, the way in which you manage the menu bar module differs from application to application. Generally, however, if you open the application, click its name in the menu bar, and choose Settings, you should see an option to at least show or hide the menu bar item.
How to rearrange menu bar items
If you want to keep menu bar modules but would like to change the order in which they appear, you can do that like this. Here’s how to edit top bar on Mac:
- Command-click on the menu bar item you want to move.
- Drag it to where you want it to go.
- Release the Command key and the mouse/trackpad button.
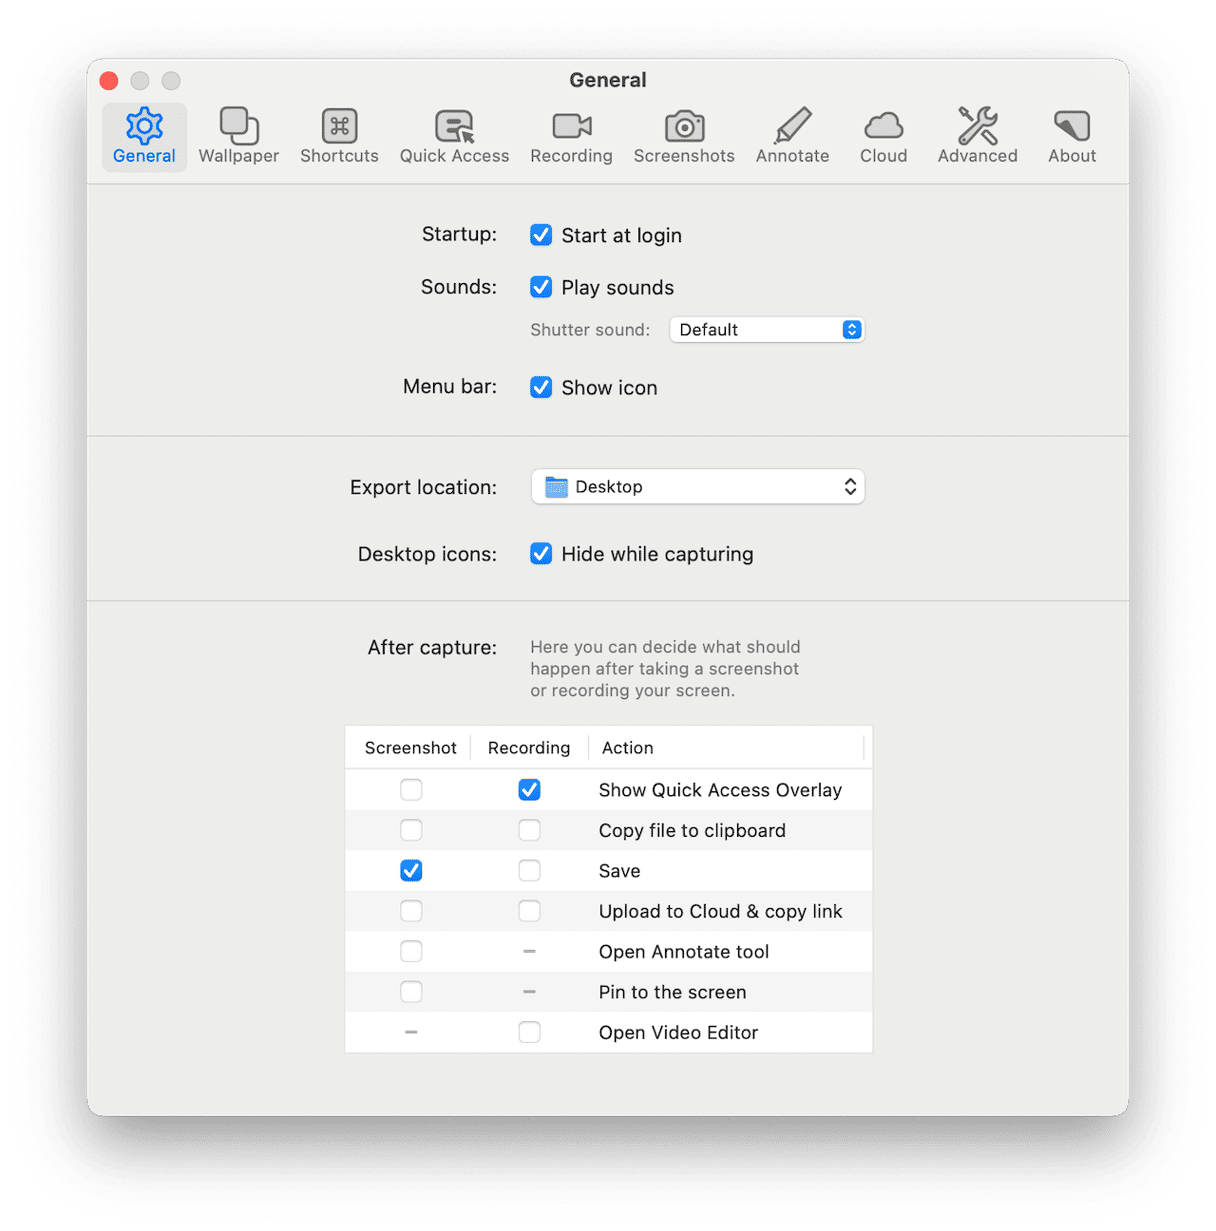
There are also third-party apps that allow you to rearrange menu bar items. Bartender is one such app — it allows you to manage menu bar items by rearranging them or hiding them in the main Bartender menu so that they are accessible but don’t clutter up the menu bar.
The menu bar is host to lots of icons that allow you to control and access lots of different things on your Mac, some more useful than others. If it’s become cluttered, or if there are controls that aren’t there that you wish were, you can change it. Follow the steps above to customize the menu bar on your Mac.


