Collecting memories is great, but there is always a point at which our memories turn into duplicate and similar images that clutter our Macs instead of bringing joy. In the long run, thousands of photos you no longer need keep piling up, and it seems like there’s no escape from it. But there is, and we’ll show you how to find and remove duplicate photos on a Mac.
How to remove duplicate photos on Mac
Finding duplicate photos on your Mac can be tedious and time-consuming, especially if you’re trying to do that manually. The problem with duplicate and visually similar photos has become so commonplace that knowing some tips can really help you put. So, let’s take a closer look at how you can sort your photos, both manually and with the help of the app.
1. Use a duplicate сleaner app
First, you need to find duplicate photographs in your gallery. Then, you have to figure out which version to delete in each case. All that takes loads of time if done manually, and CleanMyMac does 90% of the work for you.
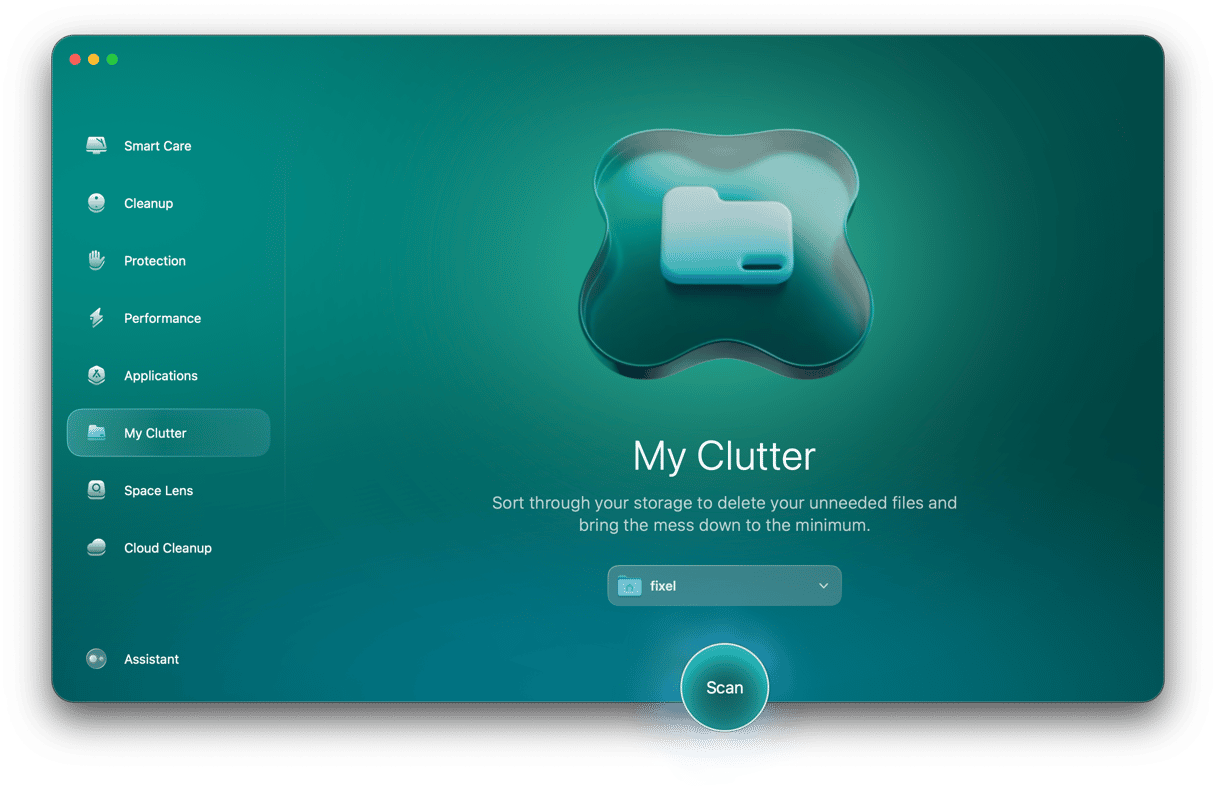
CleanMyMac is an Apple-notarized Mac cleaner app that comes with a smart My Clutter feature that can remove duplicate images with just a few clicks. It scans your computer, looking for such photos and then lets you choose which version to keep and which one to delete. This way, you do not have to browse all folders.
Here’s how to get rid of duplicate photos with CleanMyMac:
- Start your free CleanMyMac trial and open the app.
- Go to My Clutter from the sidebar and run a quick scan. You can select the location of the scan.
- When the scan is over, click Review All Files.
- All duplicate photos you have on your Mac will be grouped under Duplicates. You will see a number of duplicates next to every image. Click the group of photos to view them (CleanMyMac has a built-in photo preview).
- Once you choose which copies you want to delete, check mark them and proceed to the next set of duplicate images.
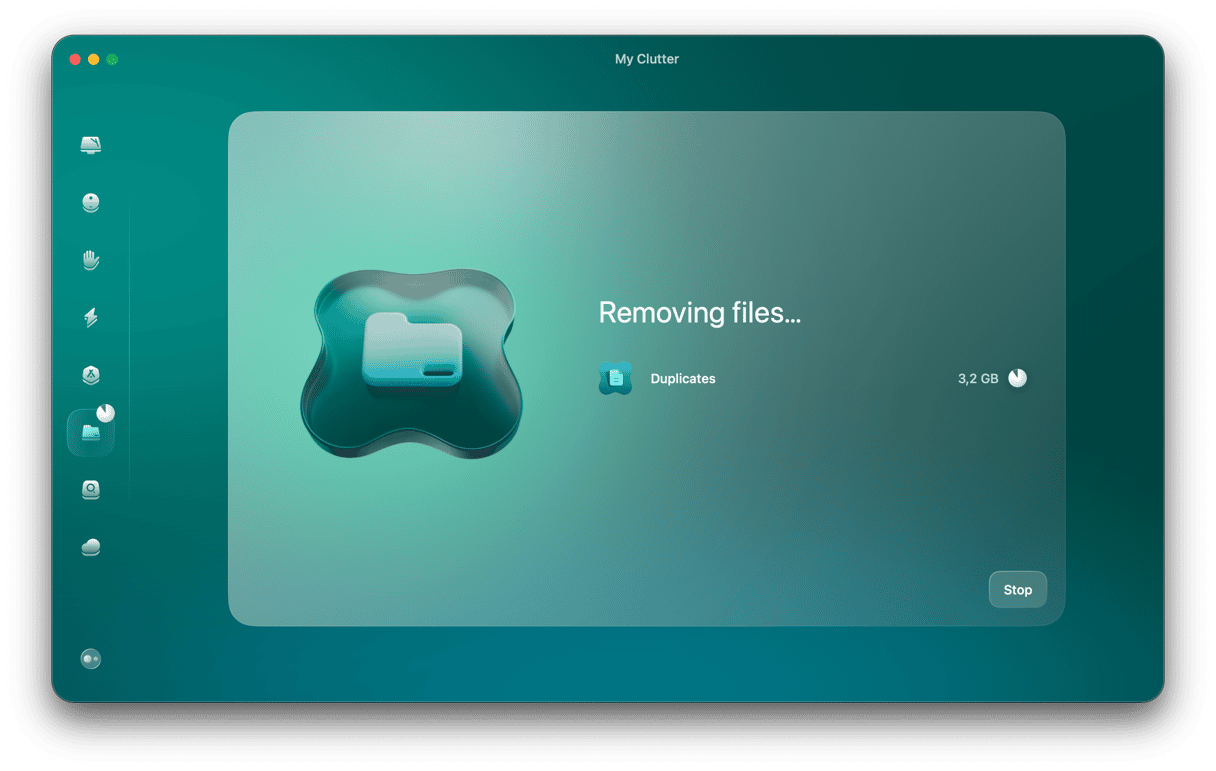
- Finally, click Remove to delete all selected photos. Note that duplicate screenshots are deleted right away, while photos are sent to the Recently Deleted album in the Photos app, so don’t forget to empty it.

2. Remove duplicates from Photos app manually
When you import your pictures, the Photos app automatically detects duplicates, but it won’t help you with the ones already in your library. For those images already in your photo library, you’ll have to take a more manual approach.
It’s safe to assume most of your duplicates were taken at the same time or at least on the same day. Thankfully, the Photos app, by default, sorts your pics by the date they were captured, making duplicate photos a little easier to spot as you’re scrolling through your library.
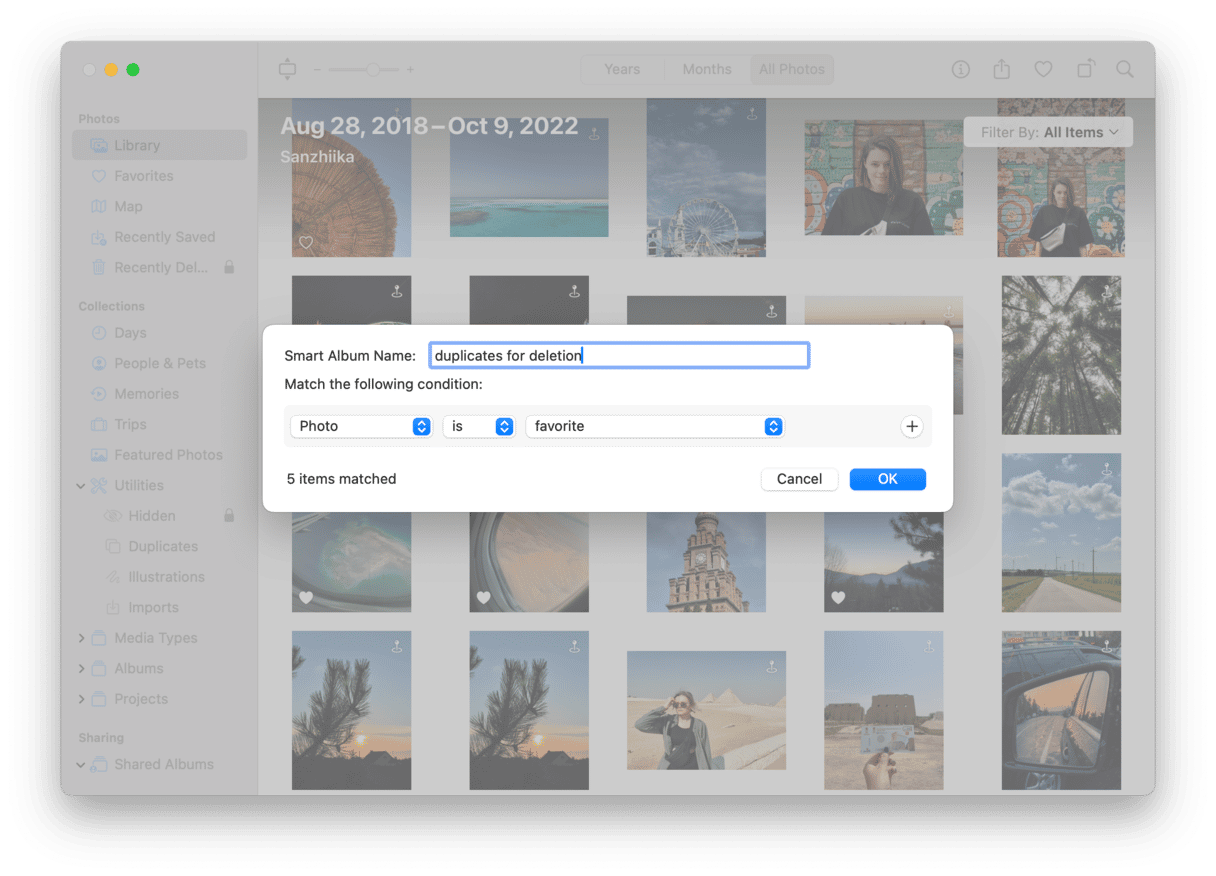
But if you’re still having trouble finding all of your duplicates, you can further narrow down your search by using Smart Albums. You can filter your pictures by filename, camera model, lens type, and other criteria to help you figure out if a photo has been duplicated. Follow these steps to start using Smart Albums in Photos:
- Open the Photos App.
- Click File > New Smart Album.
- In the pop-up window, name your Smart Album and set the filter criteria.
- Select the pictures you want to delete.
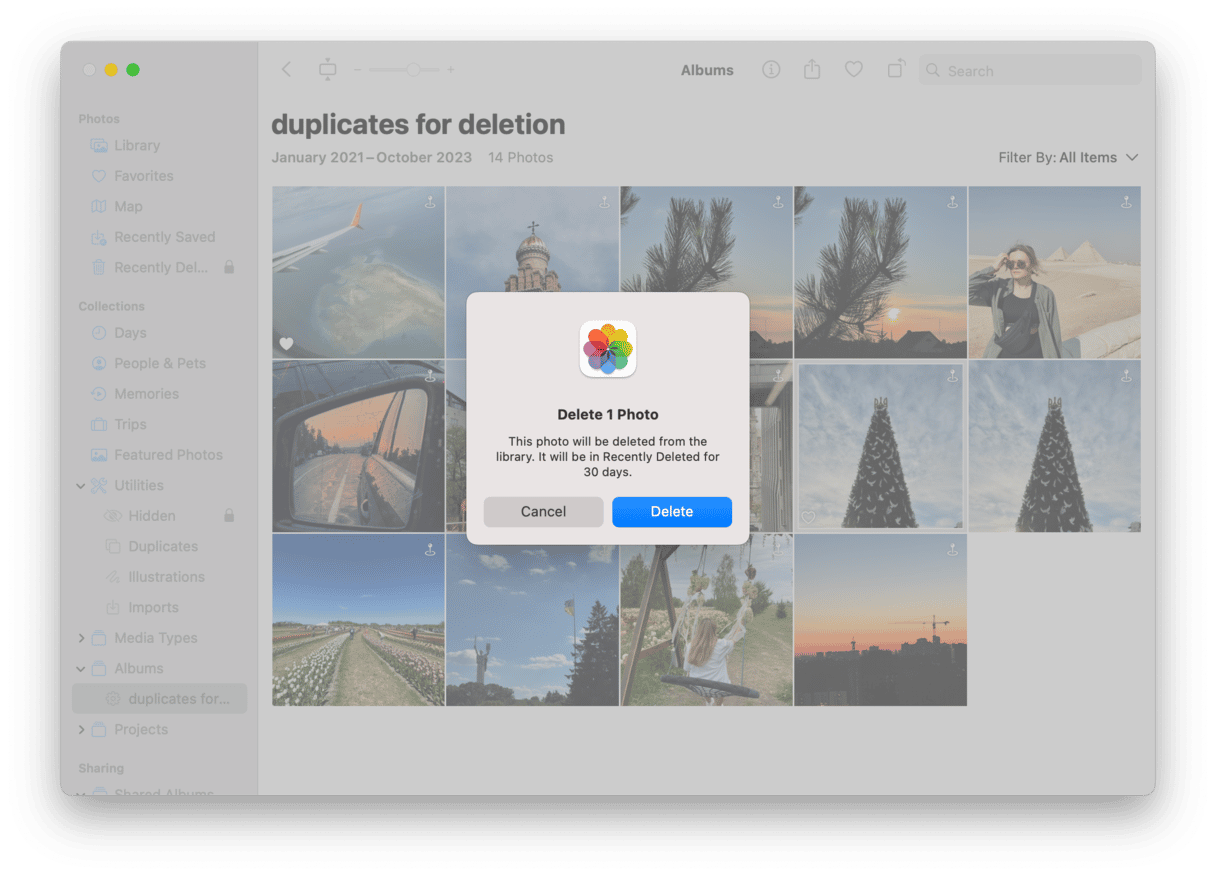
- Right-click (or hold down Command and click) any of those images and click Delete.
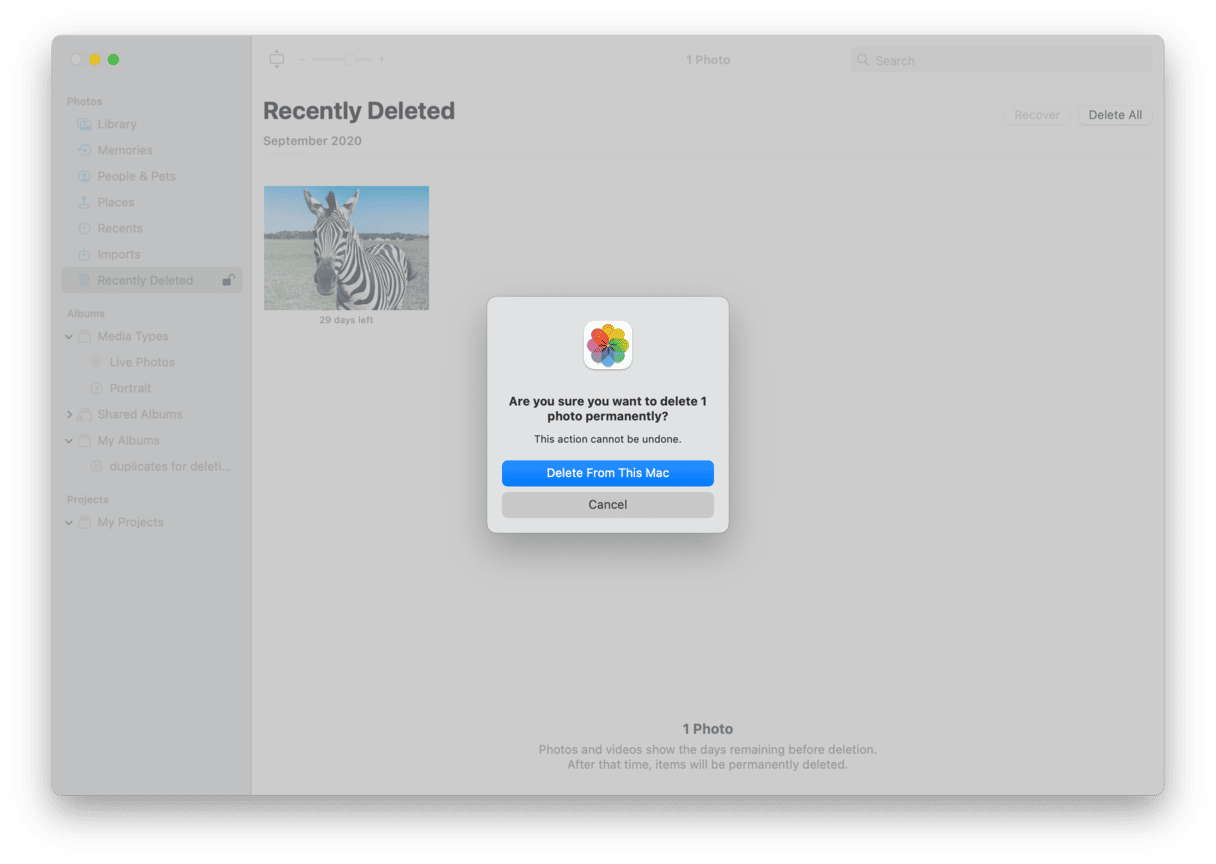
- A window will pop up. Click Delete to confirm.
- In the sidebar, click Recently Deleted.
- Click Delete All in the top right corner.
Smart Albums are saved in the Photos app’s sidebar, so you can return to your cleanup at any time and pick up right where you left off, which you’ll find helpful if you have quite a few duplicates to go through.
Use a built-in duplicate finder
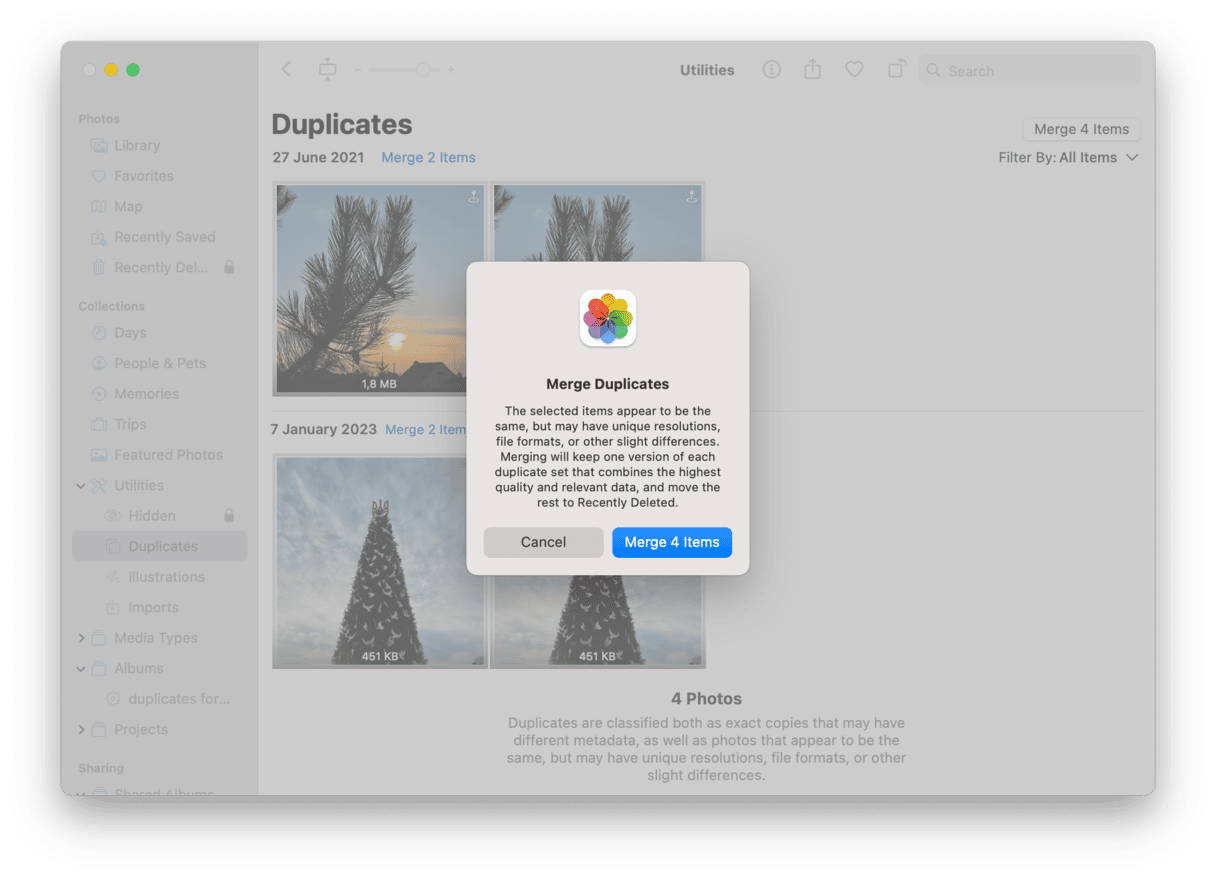
If your Mac operates on macOS Ventura or later, the Photos app comes with a built-in duplicate finder. It can merge identical images. Here’s how to merge all duplicate photos on Mac at once:
- Open the Photos app.
- From the sidebar, click Duplicates. It may take some time for the macOS to analyze your library and find duplicates.
- Select duplicate photos. You can choose one or several photos at a time. Press Command + A to select all.
- Click Merge [x] Items > Merge [x] Items. Deleted duplicates are now in the Recently Deleted album. You can delete them from there following the steps above.
3. Find and remove duplicate photos in Finder
It’s normal for your Mac to fill up with duplicate files of all types, especially images. Sometimes, you edit a photo and save versions of your edits. Or you download the same image from an email multiple times. And because of that, you might not always find your photos in your Pictures folder. They can be spread all over your hard drive from your Downloads folder to your Desktop.
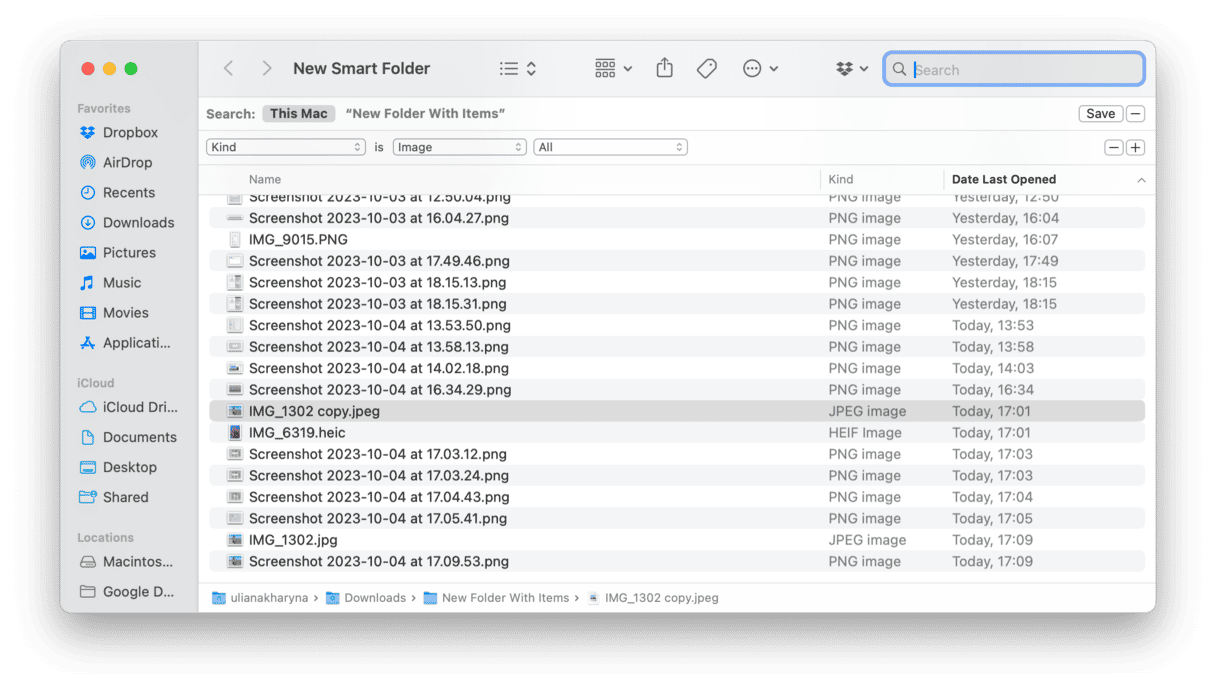
Thankfully, you can set up Smart Folders in Finder to help you find and get rid of duplicates regardless of the specific folder they’re in. To use Smart Folders in Finder to find duplicates:
- Open a Finder window.
- Click File > New Smart Folder.
- Make sure This Mac is selected.
- Click the + in the top-right corner.
- Change the first drop-down menu to Kind and the second one to Image.
- Click on the Name column to sort your files by name. (It’s likely that duplicate images will have identical or consecutive names.)
- Select the duplicate photos you want to delete.
- Right-click (or hold down Command and click) on any of those images and click Move to Trash.
One of the best ways you can try to prevent duplicates is to import your pictures directly into the Photos app. As you read earlier, it automatically detects duplicate images as you import them. But if the pictures are already in your photo library, then that’s when you’ll need one of the methods mentioned above.
The nice thing about manually removing pictures with Smart Folders in Finder is that you’ll be able to find and remove pics across your entire hard drive, not just the ones in the Photos app. But obviously, the more images you have on your computer, the longer it will take for you to review them one by one.
However, that’s where CleanMyMac really excels. It does all the hard work of finding the duplicate and similar-looking images on your computer for you. So, instead of manually finding and deleting them, you just need to review the selections made by CleanMyMac.
How to get rid of similar photos on Mac
Once you have duplicates off your Mac, it’s time to take a look at similar photos. See, CleanMyMac distinguishes between exact duplicate photos, which are several instances of the same image, and similars — photos that have different editing or were shot at slightly different angles.
For instance, it will find photos with or without editing, as well as those with minor differences, and mark them as similars.
Here’s a quick reminder of how to use the My Clutter tool. This time, we’ll look at how to find similar images:
- Once again, open CleanMyMac.
- Click My Clutter > Scan > Review All Files.
- To see all similar photos the app has found, check the Similar Images section — right under Duplicates in the sidebar.
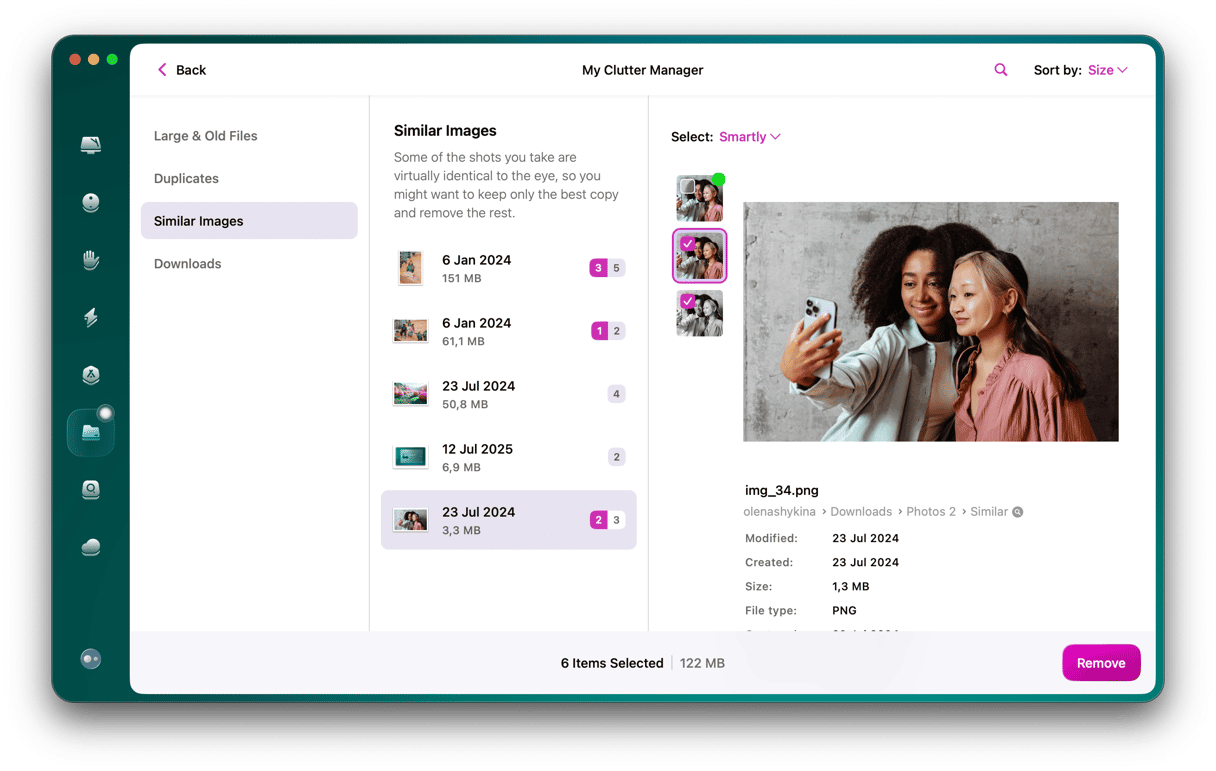
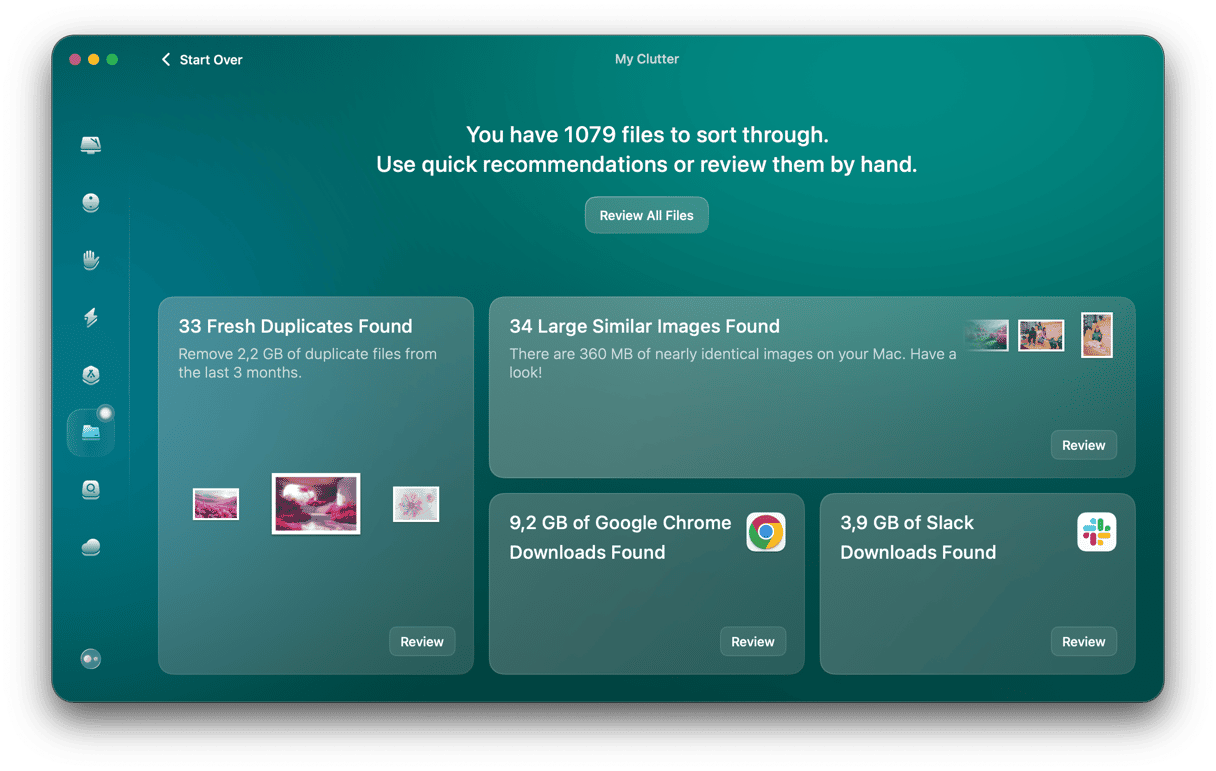
Go through similar shots just like you did with exact duplicate pictures, selecting those you want to delete. When you’re done, click Remove and delete all unwanted copies in bulk.
Dealing with similars is pretty rewarding in terms of disk space, they usually take up even more than duplicates. After you get rid of similar images, it’s easy to organize your whole gallery and leave only those pictures that you’ll actually use.
So, there we have it. This was our take on finding and deleting duplicate and similar images from Mac. Don’t let those useless files eat up the drive space you need for future memories. It’s best to deal with space wasters long before you run out of storage by either letting CleanMyMac do the job for you or following manual steps we’ve provided above.


