There is no shortage of options when it comes to note-taking apps on Mac. Apple’s own Notes has become very powerful in recent versions of macOS, and the new features in macOS Sequoia add to that. And apps like Notability, Evernote, and Bear all have their advocates. But for many Mac users, particularly those who use Microsoft’s Office 365 suite, OneNote is the note-taking app of choice, and for a good reason, as it has many excellent features. One of those features is the ability to create different notebooks for different projects and then add notes to them, which can be categorized into groups. However, it’s not clear how to delete a notebook once you’ve created it. And if the notebook you want to delete is for a project that’s now complete and contains sensitive information, deleting it could be important. So, in this article, we’ll show you how to delete a notebook in OneNote on your Mac.
What are notebooks in OneNote?
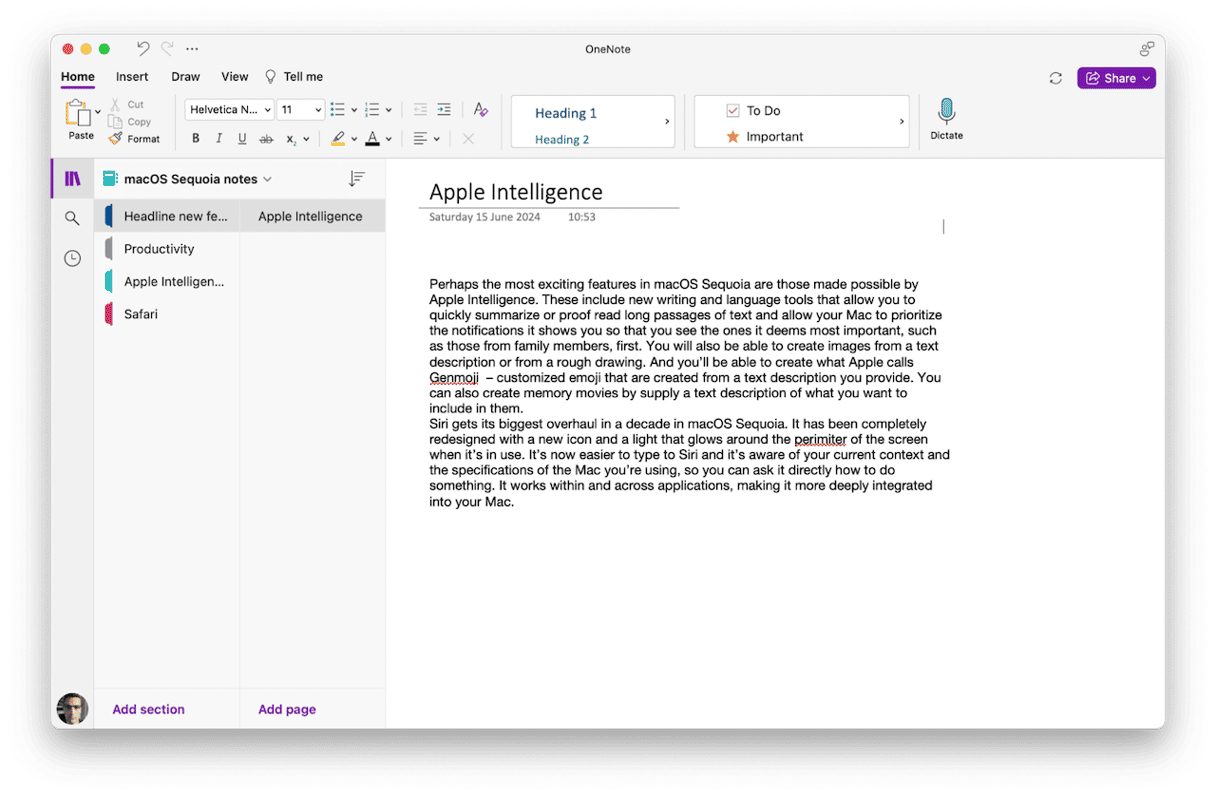
The easiest way to think of notebooks is that they are collections of notes. You can open and close notebooks, create new notes, edit existing notes, and organize notes in groups within a notebook. When you click the Show Navigation icon on the left of OneNote’s main window, the notebook you’re currently working in appears in the sidebar. To see the rest of your notebooks and choose one, click the down arrow next to the notebook’s name and select the notebook you want to use.

Can you delete notebooks in OneNote?
Yes and no. The thing is that notebooks can be deleted, but the process is not as straightforward as you would expect it to be.
Why is it so difficult to delete notebooks in OneNote on Mac?
There are a couple of reasons why it’s so difficult to delete notebooks in OneNote.
- Many people confuse closing a notebook with deleting it. However, when you close a notebook, the files that make up that notebook are not deleted, and you can open the notebook again at any time.
- Notes and notebooks in OneNote for Mac are only stored in OneDrive. There is no option to store them locally. As well as that, they don’t appear in your OneDrive folder in the Finder, so you can’t just drag them to the Trash from there.
How to delete notebooks in OneNote on Mac
So, if you can’t delete notebooks in the Finder, how do you do it? Surely you can do it from within OneNote? Sadly, not. Try it. Select a notebook in the notebooks view in OneNote. Then click the Edit menu. There’s no option to delete it. Try right-clicking or Control-clicking it and look for a Delete option in the contextual menu. There isn’t one. The only way to delete notebooks in OneNote on your Mac is to use the web version. Here’s how to do that:
- In OneNote on your Mac, select the notebook you want to delete.
- Click the File menu and choose Close this Notebook.
- In a web browser, navigate to www.onedrive.com
- Log in with your Office 365 account details.
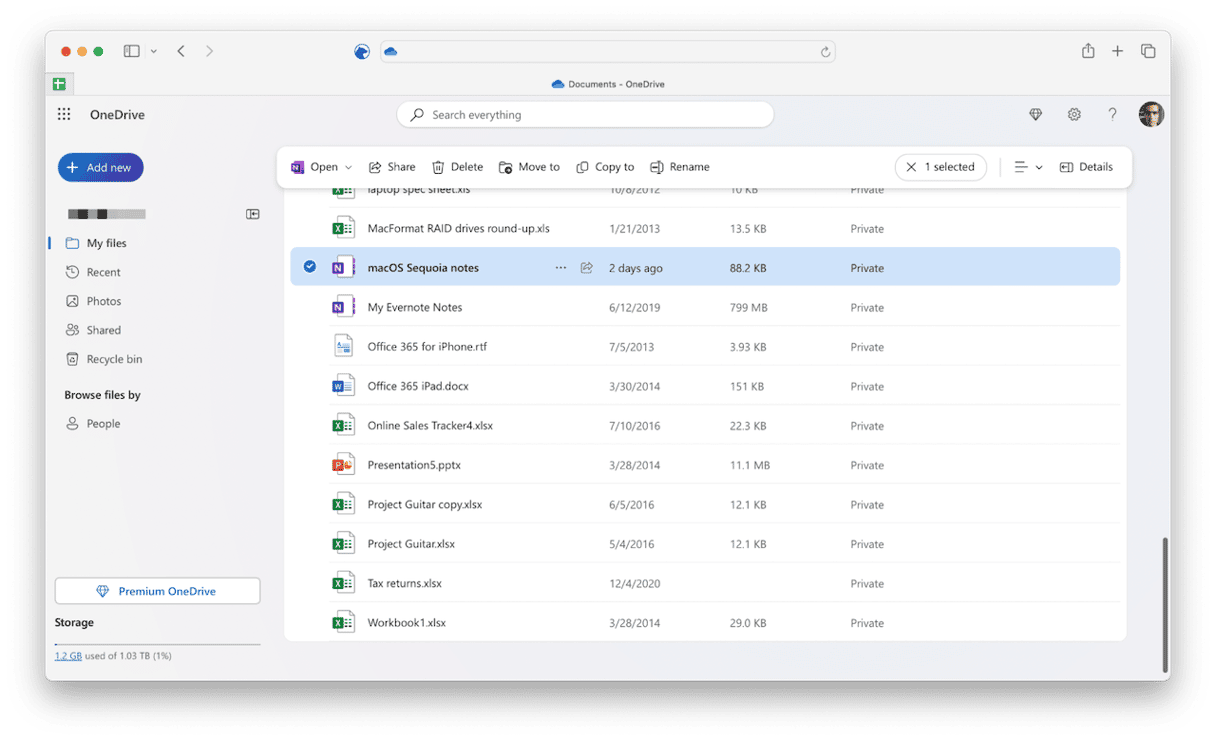
- Choose My Files in the sidebar, then Documents.
- Scroll through the list of documents until you see the name of the notebook.
- Click the circle next to it to select the note.
- Click Delete in the toolbar at the top.

The notebook will be permanently deleted from OneNote.
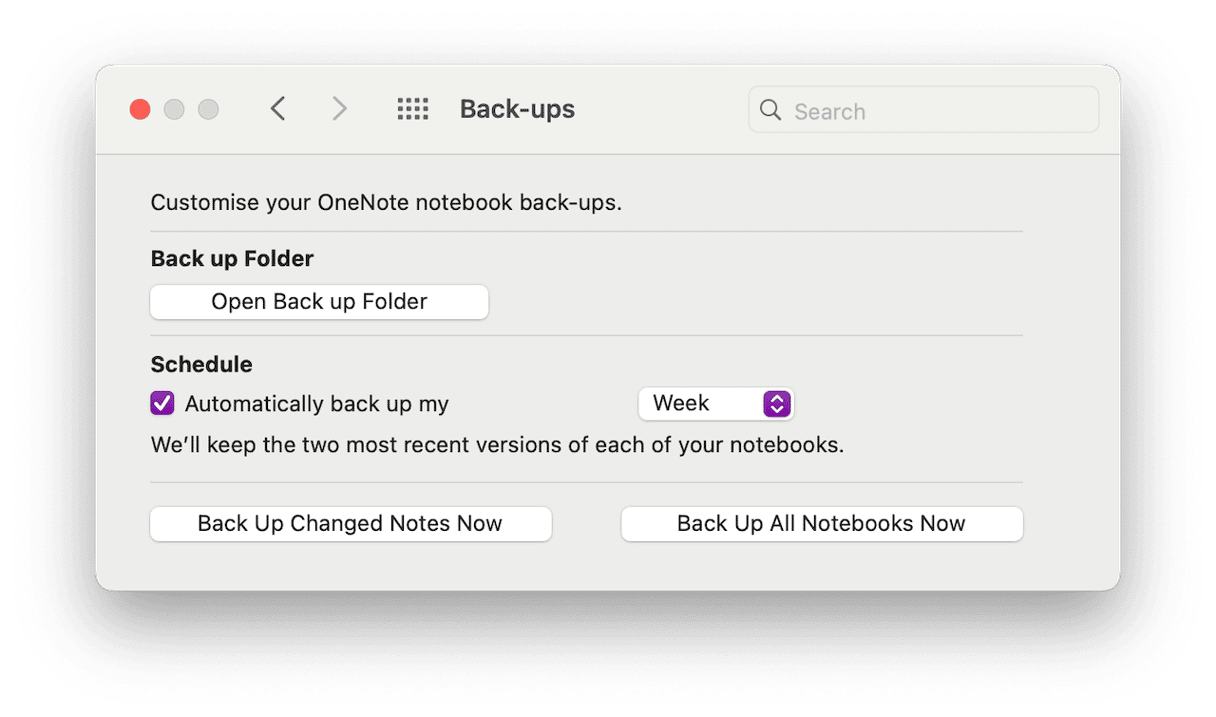
If you want to delete the backup of a notebook as well as the notebook itself, you can either go to OneNote > Preferences > Backup and choose Open Back up Folder and drag the folder for the notebook to the Trash, or navigate using Go > Go to Folder in the Finder and paste the following path:
~/Library/Containers/Microsoft OneNote/Data/Library/Application Support/Microsoft User Data/OneNote
Then, navigate to the folder for the notebook you want to delete and drag it to the Trash.
OneNote is a really good note-taking app that allows you to create multiple notebooks, create sections within a notebook, and group those sections. You can also add tables and images to notes and dictate text directly into notes, too. However, it’s much more difficult to delete notebooks than it should be. So, follow the steps above to delete notebooks in OneNote on your Mac.


