Most of us only ever need to run one version of macOS, and unless your Mac isn’t supported or you’re running software that isn’t compatible, that usually means the latest version. However, there may be a reason why you need to retain the option to boot into an older version of macOS. If that’s the case, the solution is to create a system where you can dual boot two versions of macOS. We’ll show you how to do that.
What does dual boot two versions of macOS mean?
Dual-booting simply means that you have two versions of macOS installed and can choose when you boot up your Mac which one to boot into. The two versions can be on the same physical disk, or they can be on separate disks, depending on how much space you have on your internal disk and whether it’s convenient to add external storage.
Why dual boot two versions of macOS
There are lots of reasons, but the most common are:
- You want to try out the beta version of a new macOS but don’t want to install it over the top of the existing version.
- You want to run the latest version of macOS but have some applications that won’t run on it and so you need to keep an older version to run those apps.
- You’re a software developer and need to test your apps on different versions of macOS.
How to dual boot two versions of macOS

The first thing you’ll need to do is decide whether you are going to install the other version of macOS — the one not currently running on your Mac — on its internal disk or an external disk. If you have enough space, it’s a good idea to install it on the internal disk, especially on a MacBook Air or Pro, simply for convenience.
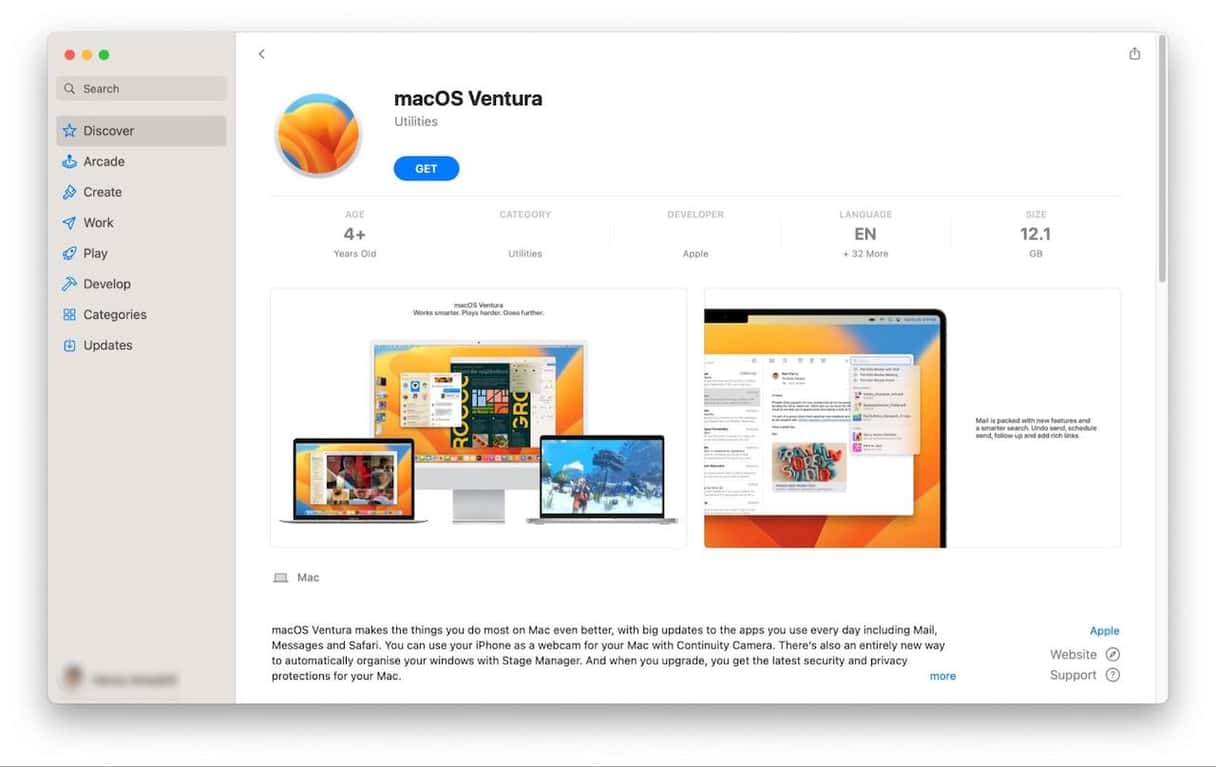
The second thing you’ll need is an installer for that version of macOS. You can find an installer for the current version of macOS on the App Store. Finally, make sure you back up your Mac before you start. You may lose data during this process.
How to install another macOS version on your internal drive
The method for doing this differs for recent versions of macOS, where your drive will be formatted as APFS, and older versions, where it is formatted as HFS+ or MacOS Extended, as Apple calls it. The steps below apply to APFS disks. Every Mac that shipped with Big Sur or later and SSD Macs with High Sierra have disks formatted as APFS. If you have an older Mac, it’s likely formatted as HFS+ unless you or someone else reformatted it. The only option for HFS+ disks is to erase them and repartition. We’ll cover that later.
How to install another macOS on APFS
APFS disks don’t need to be reformatted, as you can add another volume to a container on a disk and install the other version of macOS on that. Here’s how to do that:

- Go to Applications > Utilities and open Disk Utility.
- In the toolbar, click on View and choose Show all Devices.
- In the sidebar, you’ll see a nested list of disks, containers, and volumes, starting at the top with Apple SSD.
- Under the first ‘Container Disk,’ you’ll see a volume, probably called ‘Macintosh HD.’ If not, click the dropdown arrow next to ‘Container Disk.’
- Select the volume Macintosh HD (or whatever it’s called) immediately below ‘Container Disk.’
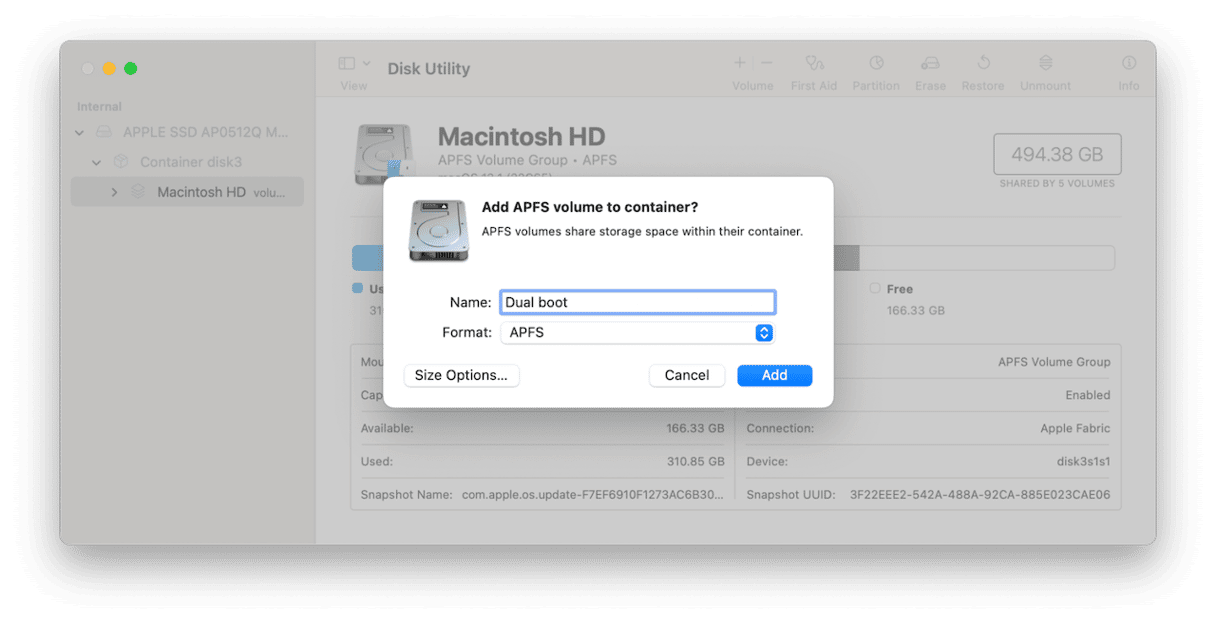
- In the toolbar, click ‘+’ above Volume.
- Give the new volume a name, leave the format as APFS, and click Add (you can specify a size if you want, but you don’t need to, and probably shouldn’t unless you have a specific reason).
- Disk Utility will now create the new volume. When you run the installer for the other version of macOS you want to install, you can choose that volume for the install.
How to install another macOS on HFS+
If you have an older Mac that doesn’t support APFS, you will need to repartition your startup disk if you want to create a new volume:
- Open Disk Utility.
- Use Show all Devices to display your Mac’s startup disk in the sidebar.
- Select the disk (not a volume underneath it).
- Click Partition in the toolbar.
- Click the ‘+’ to add a partition.
- Set the size you want the partition to be (it’s a good idea to set it at a minimum of 40GB).
- Give the partition a name and click Apply.
- When it’s finished, click Done.
Once you’ve created a new volume or partition, you can go ahead and run the installer for the version of macOS you want to install on your dual-boot Mac and choose the new volume or partition as the location for the installation. If you prefer to use an external disk, just plug it in and erase it in Disk Utility, making sure to back up any data on it first, and then install macOS on it.
If you need to dual boot two versions of macOS, the most convenient way to do it is to create a new volume or partition on your startup disk and use that for the second system. Follow the instructions above to do that.


