It would be no surprise that most Mac users send dozens of screenshots every day. Screenshots are easy to create on Mac and can give so much context with so little effort.
So, when (admittedly very rarely) you see screenshot not working, Mac provides you with a few ways to fix the issue. Additionally, some third-party apps might make all the resetting work even more seamless. Let’s go through the process step by step.
How to take screenshots on Mac properly
Before diving into all the ways to correct screenshots on Mac not working, it would be beneficial to recap how screenshots are supposed to work to establish a foundation to start from.
There are a few options for taking a screenshot on your Mac:
- Using keyboard shortcuts. ⌘ + Shift + 3 will automatically take a screenshot of your whole screen. ⌘ + Shift + 4 will let you select an area (switch to the app-window screenshot by hitting Space). ⌘ + Shift + 5 will take an app-window screenshot.
- Opening the Screenshot app located in the Applications > Utilities folder will bring up the screenshot menu without using your keyboard.
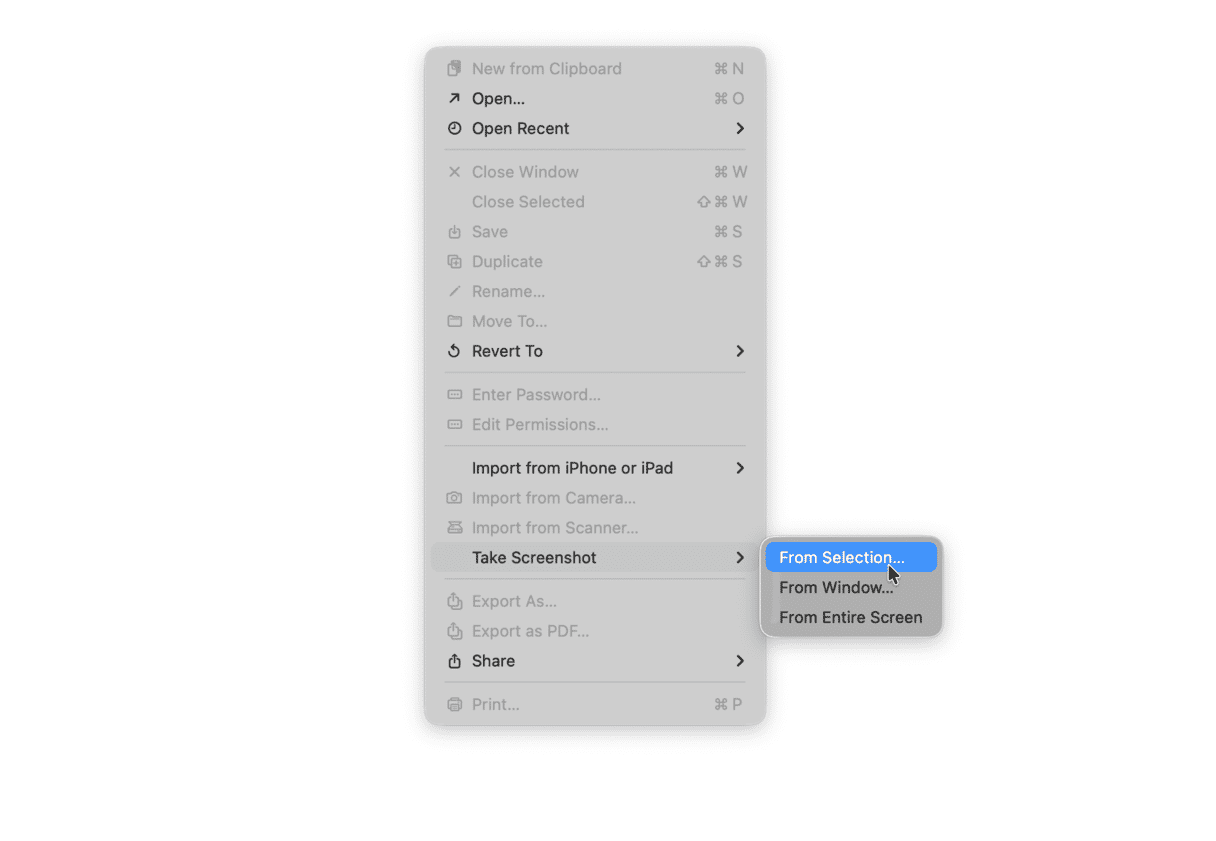
- Opening Preview, selecting File > Take Screenshot, and then choosing one out of three options there.

Below, we’ll discuss how to resolve any errors that could come up from using either of these options.
Configure all the keyboard shortcuts
If you’re trying to hit ⌘ + Shift + 3 (4 or 5) and nothing is happening, it could mean that your keyboard settings somehow got reset.
To check whether it’s keyboard shortcuts to blame for screen capture not working, Mac computers have a special menu:
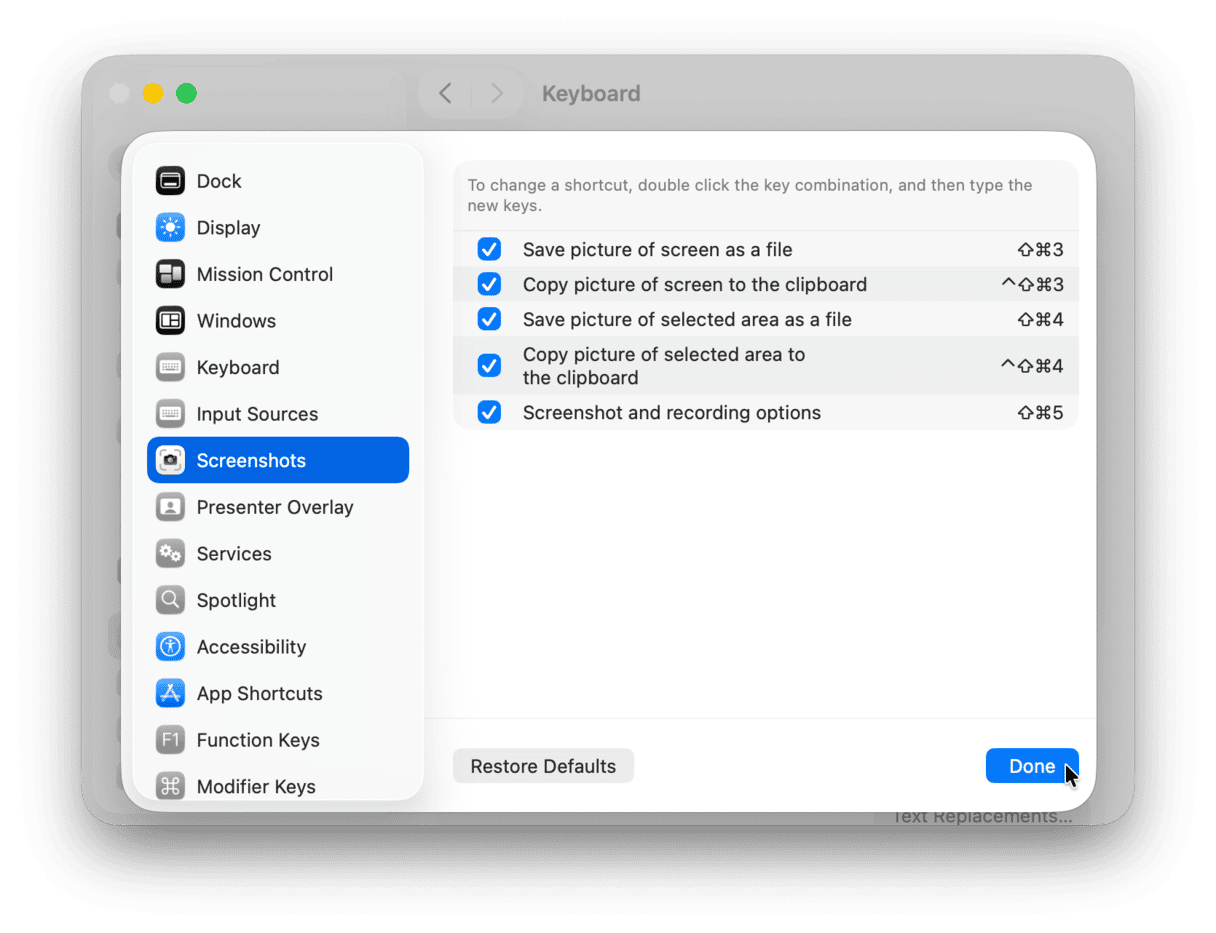
- Go to System Settings > Keyboard > Keyboard Shortcuts > Screenshots.
- Make sure that all the checkboxes are selected and shortcuts are set properly.
- If you need to change any shortcuts, just double-click the existing one and type in your new key combo.
- Once happy with the setup, click Done.

Restart and update your macOS
In some cases, misappropriated keyboard shortcuts are not the reason for the screenshot on Mac not working. The next step here is to simply restart your Mac by clicking on the Apple icon in the menu bar and selecting Restart, since it could be a system glitch.
If the restart didn’t help either, see whether there’s an update to your current macOS available. Quite often, Apple releases fixes for known bugs, and your situation might fall in that camp:
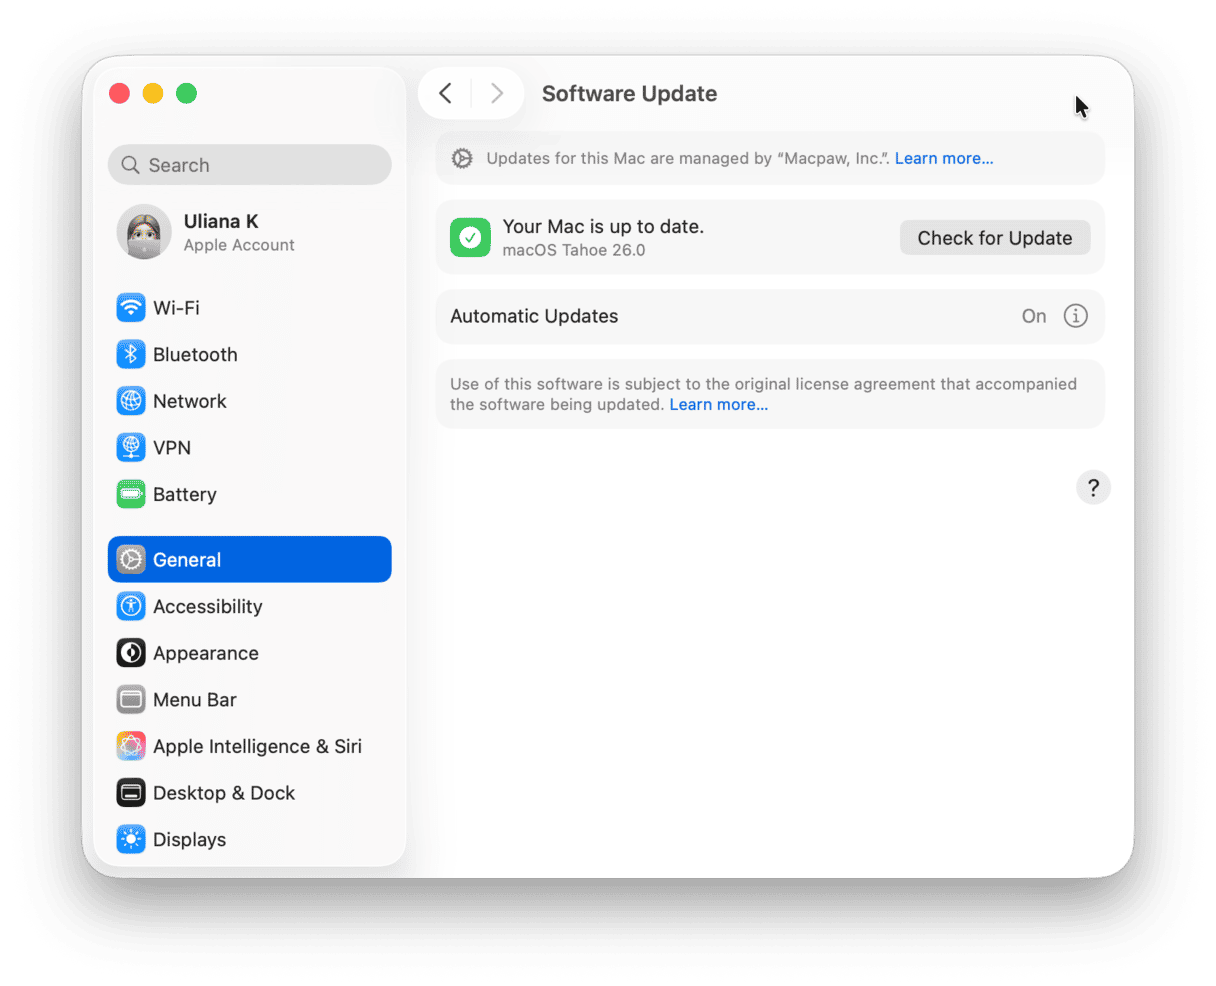
- Open System Settings > General > Software Update.
- Click Update Now if there’s a new macOS version available.
- Follow all the prompts to install (usually takes around 30 minutes).

Try resetting your Mac’s NVRAM
The options described above methodically rule out the problem with misplaced shortcuts and your macOS. The next level is to go down even deeper into the internal settings of what’s literally inside your Mac.
Non-volatile random-access memory (or NVRAM) is responsible for low-level processes within your Mac. Very rarely, an issue may arise with some settings deep in the operating system, which might then manifest themselves as screenshots on Mac not working, for example.
Anyway, resetting NVRAM is easy, non-destructive, and might actually fix the situation.
For an Intel-based Mac:
- Turn off your Mac (Apple icon > Shut Down).
- Turn it back on and press ⌘ + Option + P + R for about 10–20 seconds or after you hear the second startup sound. Ready!

If you have a Mac with Apple silicon, NVRAM resets automatically should any issue emerge.
Get rid of all system junk in seconds to fix shortcuts
The combination of reconfiguring the keyboard shortcuts, restarting your Mac, and resetting NVRAM should work for 90% of screenshot not working Mac issues. The other 10%?
CleanMyMac is an optimization utility that keeps your Mac essentially brand new by thoroughly scanning all user- and system-generated files with a click of a button. And, by the way, it’s notarized by Apple.
The truth is there are so many settings in your Mac that can misfire: user logs, cache files, language preferences, disk images, login items, improperly installed updates — it would take you hours and lots of frustration to check and correct everything. Gladly, there’s an app that can do it all for you in seconds.
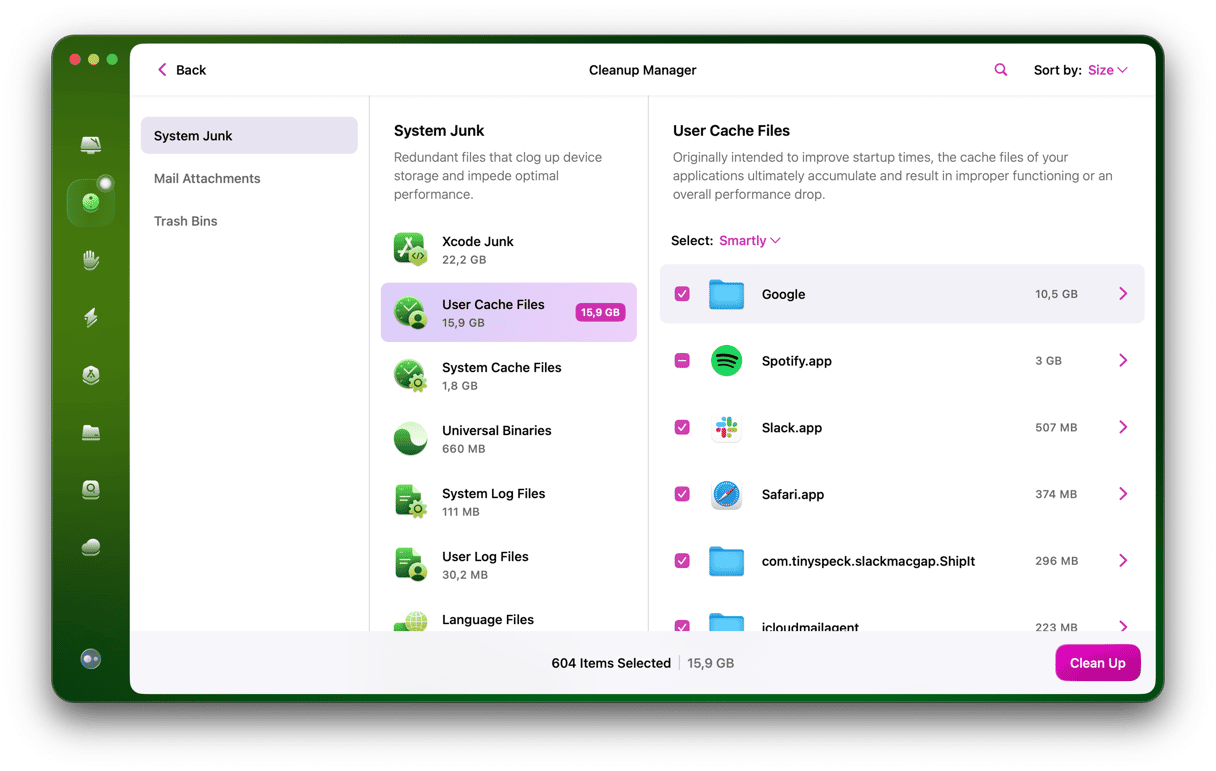
Here’s how to instantly clean your system junk with CleanMyMac:
- Open CleanMyMac (get your free trial here).
- Navigate to Cleanup in the sidebar.
- Click Scan > Clean.

You can review details and select anything you want to remove, but it is safe to delete everything preselected — CleanMyMac doesn’t delete any essential system files or ones you’ve created. Notice how many errors and clutter your Mac used to carry?
That’s it! A few clicks and now your MacBook screenshot not working issue should be resolved once and for all. In addition, feel free to use CleanMyMac to check for viruses with the Protection feature, completely delete unneeded apps with Applications, and so much more that you can find by simply exploring the sidebar. After all, having a top-notch Mac shouldn’t be hard.


