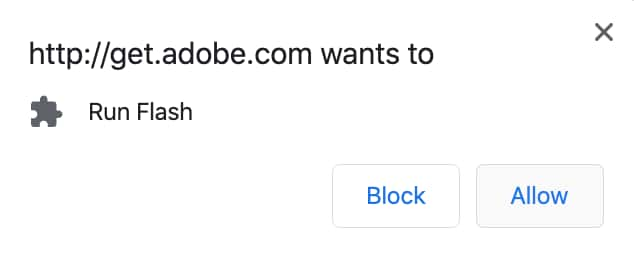
The majority of browsers support plugin content and initiate plugins as soon as you click to open the page. One of the most used browsers, Google Chrome, on the contrary, stopped supporting any click-to-play plugins, except for one — Adobe Flash Player. Though, you will have to enable it manually.
In today’s post, we are going to tell you how to turn on click-to-play plugins in Google Chrome. However, note that they do not apply to the latest Chrome versions.
How to Enable Click-to-Play Plugins?
If you do want to enable Flash, here is how you can do that:
- Launch Chrome.
- Click the menu button in the top right-hand corner (it looks like 3 dots).
- Click Settings.
- Scroll down to Advanced.
- In Privacy and security, choose Site settings.
- Open Flash.
- Click the toggle next to “Block sites from running Flash” so that it’d be set to “Ask first.”

Now, when you visit a page that requests you to initiate Flash, you just need to click a Flash object and then click Allow to enable it.

If the steps outlined above have not worked for you, you may try to find an alternative. For example, there are Flash player extensions available in Chrome Web Store. Still, be informed that they come from third-party developers, not Adobe, which means that they may not be safe.
Therefore, while in Chrome Settings, if you have stumbled across anything you weren’t expecting, there is software that can quickly and safely remove adware and other web browser hijackers.
How to remove adware in Chrome?
Like any other browser, Chrome can be infected by adware and hijackers. That’s it asks your permission every time a website wants to run Flash.
Within Chrome, everything that can influence the browser lives in Extensions. Plus, since this is where Flash is plugged in, there is a good chance it brought something riskier with it that can negatively impact your browser.
Here is how you safely remove any threats in Chrome browser:
- Download CleanMyMac. It is a powerful Mac performance improvement app that can eradicate the majority of known adware, ransomware, and other cyber threats.
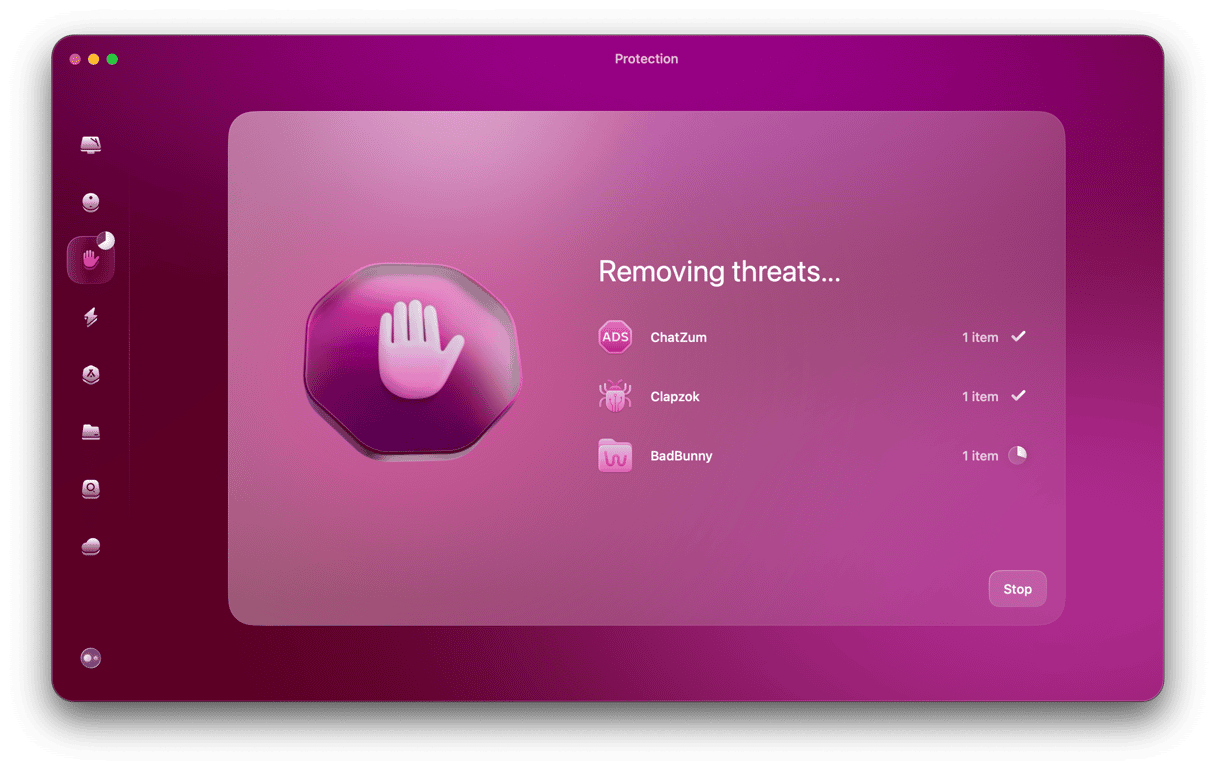
- Let CleanMyMac scan for known threats using the Malware Removal tool located in the sidebar.
- Once any threats are identified, they will be safely deleted.

CleanMyMac also comes with the Extensions module to manage browser extensions and remove anything that is taking up space that your Mac could put to better use. If Chrome stops working or needs a reboot, you can safely reset it with CleanMyMac and make it work as good as new.
By being vigilant with the extensions you add, you can prevent anything nasty from getting onto your Mac. It’s also necessary to keep your browser up-to-date. Many adware and other malware can take advantage of the vulnerabilities found in Chrome to infect as many devices as they can. That’s why it’s essential to update your browser to the latest version, which, hopefully, contains fewer bugs and vulnerabilities.
Check all your Chrome Extensions and look through the permissions they have in the Details section. So, you can be sure no nasty adware gets access to your data.
If you ever want to remove any of these extensions, this can either be done in Settings — under Extensions — or using CleanMyMac.


