There are so many messaging services available on both your Mac and mobile devices these days that it’s easy to forget that the most widely compatible way of sending a photo or video is using MMS. You can send an MMS to anyone just by using their phone number, so you don’t need to rely on them using the same messaging app or protocol. In this article, we’ll show you how to enable MMS messaging on your Mac.
What is MMS?
MMS stands for Multimedia Messaging Service. It evolved from SMS, or Short Messaging Service, around 20 years ago when mobile phones began to have screens that could display color images and network bandwidth increased to the point where it could handle images and videos being sent and received.
What’s the difference between MMS and iMessage?
iMessage is an Apple proprietary protocol, while MMS is an open standard. In order to send an iMessage, both the sender and receiver must be using an Apple device. MMS messages can be sent and received by anyone. Some of the confusion between iMessage and MMS arises because when you try to send an iMessage to someone who is not on an Apple device, it is sent as an SMS or MMS. You can tell the difference by the color of the bubble containing the message. Blue is iMessage, and green is SMS or MMS.
Can Macs send and receive MMS?
Yes, and we’ll show you how. There is a bit of setup involved, but once you’ve done it, you can send and receive MMS messages from the Messages app.
How to enable MMS messaging on your Mac
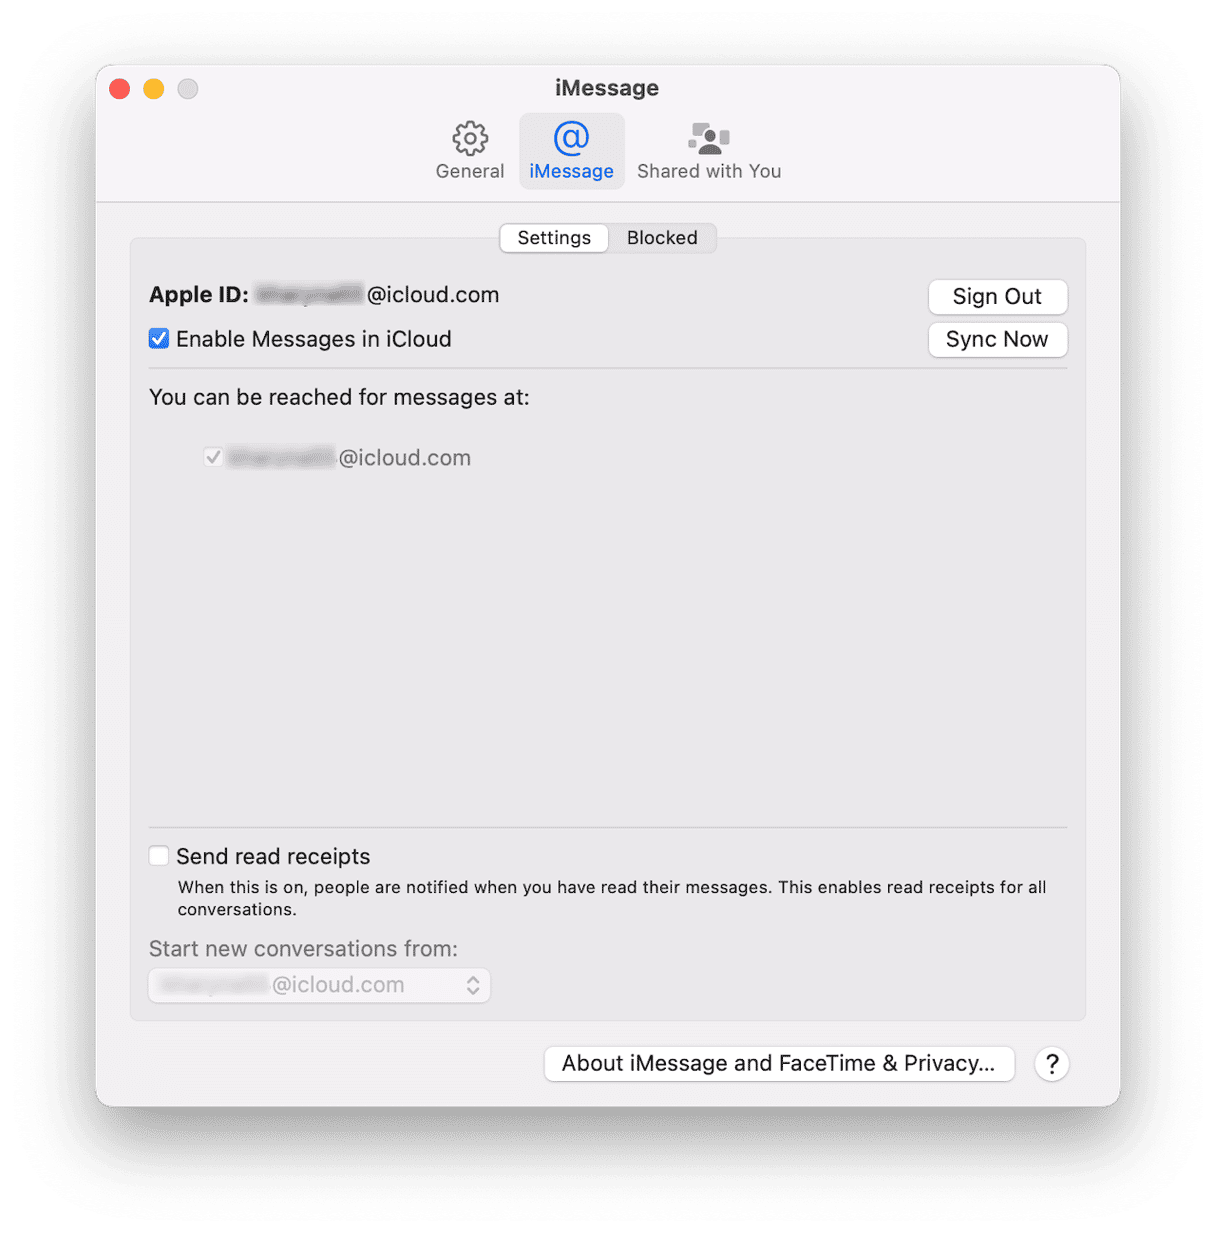
In order to send and receive MMS messages on your Mac, you need an iPhone that can also send and receive MMS messages and is signed in to the same Apple ID as your Mac. You will then need to configure your iPhone to forward messages to your Mac. That’s different from iMessage, where you can send and receive messages directly from your Mac.
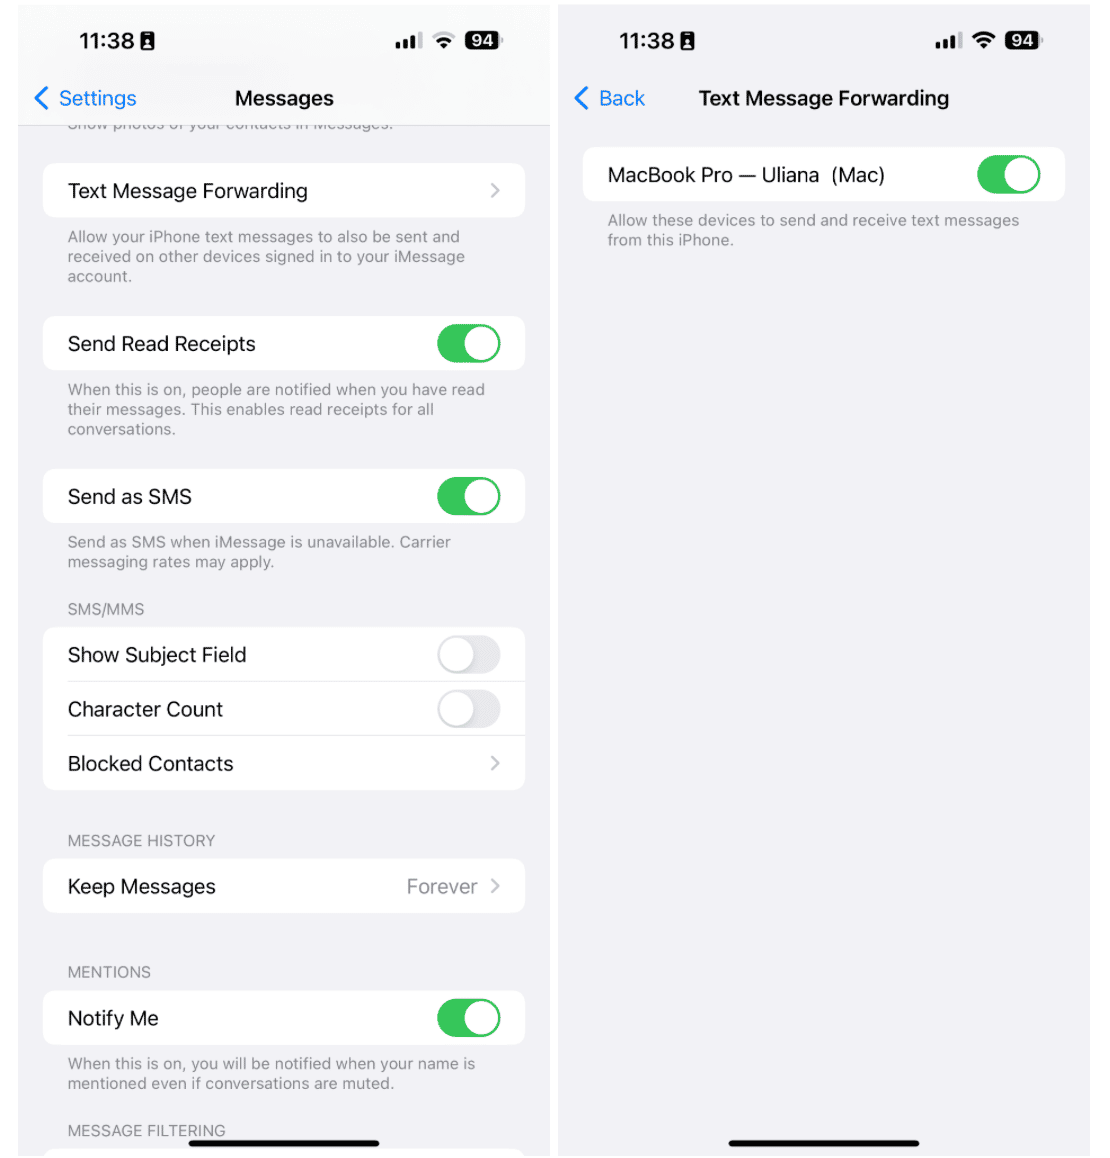
- On your iPhone, tap the Settings app, then choose Messages.
- Scroll down to Text Message Forwarding and tap it.
- Tap the switch next to the Mac you want to forward messages to. (If you don’t see it there, make sure your iPhone and Mac are signed into the same Apple ID).
- Open Messages on your Mac. If a two-factor authentication code appears, enter it on your iPhone and tap Allow.

Once you’ve done that, your Mac will be able to send and receive SMS and MMS messages from your iPhone’s phone number. Messages you send from your Mac will appear to the recipient to have come from your iPhone.
How to protect your privacy on your Mac
Sending and receiving MMS messages on your Mac probably means that you will need to access the folder where you store your photos and videos from within Messages. It may also mean allowing Messages to access Photos. While allowing an Apple app those permissions is not likely to be an issue. There may be other apps where enabling access to Photos or the files and folders on your Mac could be a privacy concern.
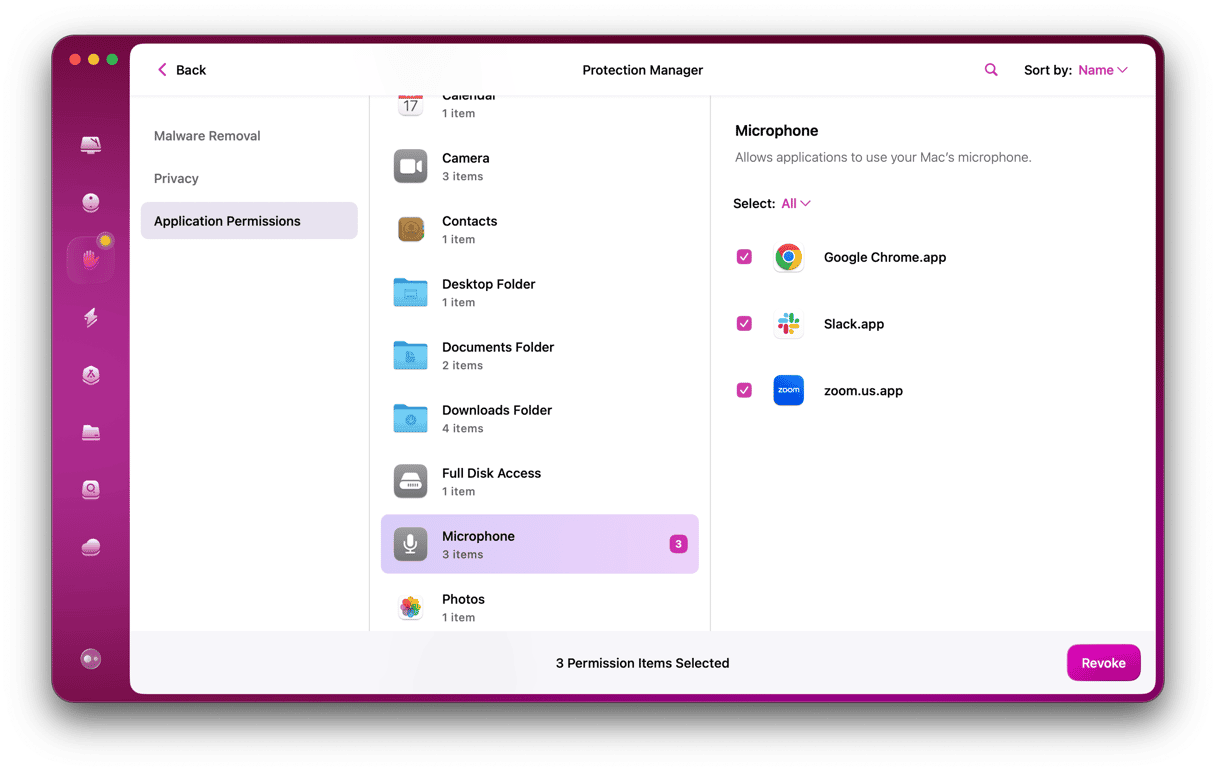
And it’s not the only thing to consider regarding your Mac's privacy. You should also take care of which apps allow you to access your camera or microphone and record your screen. You may also want to clear out your Recent Items List or the list of Wi-Fi networks your Mac stores.
Keeping track of everything is difficult, but it doesn’t need to be. CleanMyMac’s Protection tool scans your Mac and collects all the details of permissions you’ve granted to apps, the items in your Recent Items Lists, and the list of Wi-Fi networks. It also collects details of the data web browsers have stored on your Mac like cookies, downloads history, and browsing history. You can then choose very easily to revoke permissions, clear out the Recent Items Lists or Wi-Fi Networks lists, or send cookies, download history, and browsing history to the Trash.
You can download CleanMyMac for free here and try it for yourself. To do so, click Protection > Scan. As soon as the scan is complete, click Manage Privacy terms and select privacy items to remove or application permissions to revoke.

What to do if you can’t send MMS messages from your Mac
If, after following the steps above, you still can’t send MMS messages on your Mac, there are a few things you can try:
- Make sure your iPhone is running at least iOS 8.0.
- Make sure your Mac and iPhone are signed into the same AppleID.
- Check that your mobile phone provider supports MMS messaging.
- Make sure your phone contract allows for MMS messaging.
- Restart your Mac and try again.
- Restart your iPhone.

Alternatives to MMS messaging
If you can’t get MMS messages to work on your Mac, there are a few other options. None of them offer the same range of compatibility as MMS because they all require the recipient to be on the same platform. However, several platforms are popular enough that most people have the apps installed.
- WhatsApp — for many people, it is the default for messaging from their phone. And you can send and receive WhatsApp messages from your Mac in a web browser, the desktop WhatsApp app, or a third-party app that supports WhatsApp.
- Facebook Messenger — not as popular as WhatsApp, but you can access it on your Mac.
- Google Chat — you can use it from an iOS app and a web browser on your Mac.
The Messages app on your Mac can send and receive iMessages without any set-up, but it can also send and receive MMS messages, so you can keep in touch with friends and family members who don’t have Apple devices. Follow the steps above, and you’ll no longer ask yourself, “how do I enable MMS messaging on my Mac?”.


