If you’re a regular Homebrew user, you’ll know what a convenient tool it is for installing packages using Terminal. You may also be baffled when you come across the error message ‘Brew command not found’ when you try to use Homebrew in a zsh shell in Terminal. It is usually the following: zsh: command not found: brew, and in this article, we will explain the possible causes of this error and show you how to fix them.

What is Homebrew?
Just in case you haven’t heard of it, Homebrew is a package management tool that allows you to install open source software on your Mac from the command line in Terminal. It’s an excellent way to, for example, install Git, so you can then ‘pull’ code from GitHub and install it on your Mac. Once you’ve installed Homebrew, packages can usually be installed with just one command.
Why does the ‘Brew command not found’ error appear on my Mac?
There are a few possible reasons the error message may appear, but they all have the same root cause: the zsh shell can’t find the brew binary to execute. That could be because there is something wrong with the $PATH (the variable that specifies where executable programs are located) or with the Homebrew installation.
How to fix ‘Brew command not found’ on your Mac
Restart Terminal
Before diving into more complex solutions, let's rule out a simple issue by restarting Terminal. Follow these steps:
- Press Command-Option-Esc to open the Force Quit menu.
- Select Terminal and click Force Quit.
- Reopen Terminal.
- In the new Terminal window, type:
brew doctor
When you run brew doctor, you'll receive one of two responses. A message saying, “Your system is ready to brew” means everything works correctly. However, if you get an error like zsh: command not found: brew, try these solutions.
Quitting any app is pretty simple, as you can see above. However, it's more complicated if you need to uninstall an app entirely. Simply dragging the application to the Trash will leave many leftovers and remaining data. These also need to be removed to free up space and prevent problems in the future. The easiest way to do that is to use an uninstaller. We recommend CleanMyMac. It allows you to uninstall multiple apps, remove leftover files from uninstalled apps, and even reset misbehaving apps. Get your free CleanMyMac trial.

Install Git
Git is a distributed version control system that tracks changes in files and is often preinstalled on macOS. Git is a critical dependency for Homebrew. Homebrew uses Git repositories to clone, pull, and manage updates for its packages, ensuring that the system stays current and reliable.
Before installing Git, let's check if you already have it:
- Open Terminal.
- Type
git --versionand press Enter.

If you see a version number, Git has already been installed. If you get a message indicating that no developer tools are found, enter xcode-select --install and click Install in the pop-up window that appears. This will install both Git and Xcode command-line tools, which are essential for setting up a developer environment on your Mac.
Update your .zshrc file
Brew installs itself in /opt/homebrew/bin/, but sometimes that directory isn’t included in your shell configuration. To fix this, follow these steps to update your .zshrc file:
- Open Terminal and navigate to your Home directory by typing
cd - Now, enter
ls -alto list hidden files and check if you have a .zshrc file. If you don’t see .zshrc in the list, you’ll need to create it. - Enter
clearto clear Terminal. - Type
nano .zshrcto enter the Nano text editor.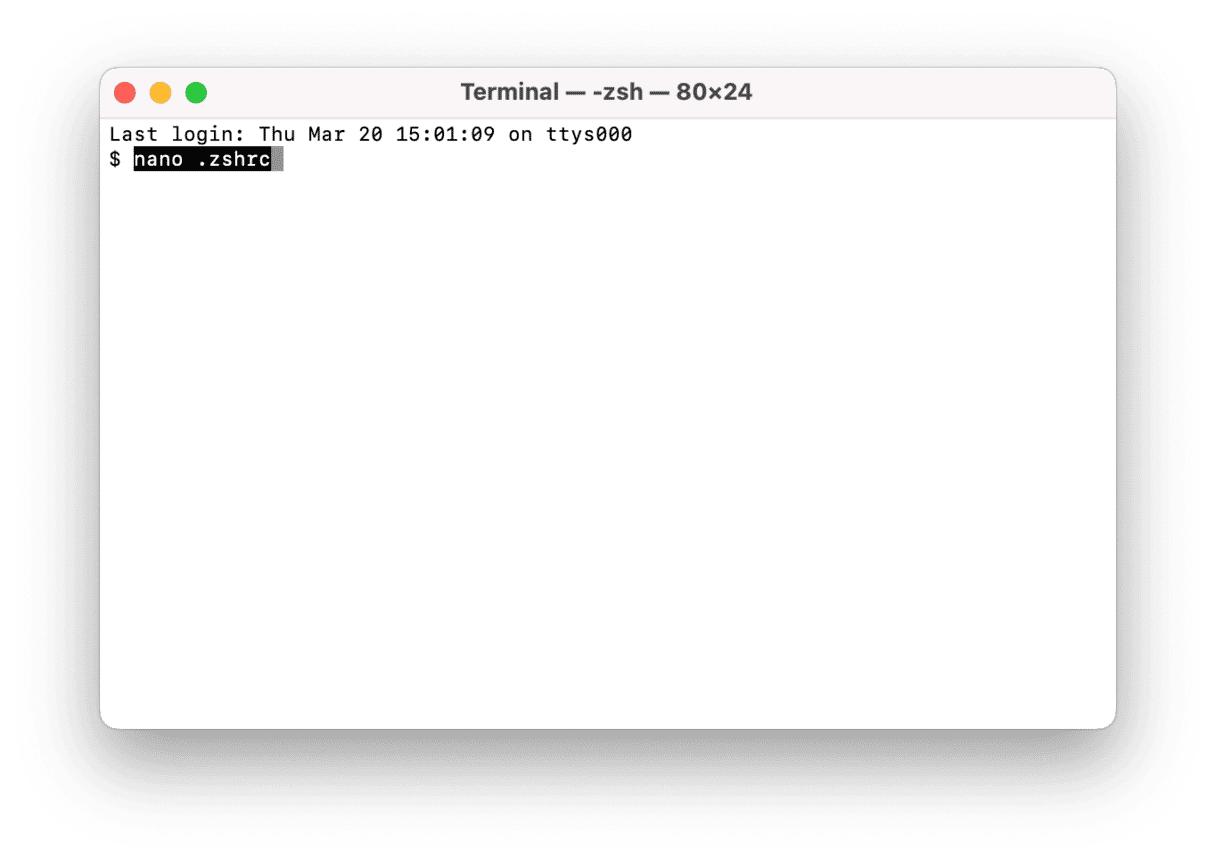
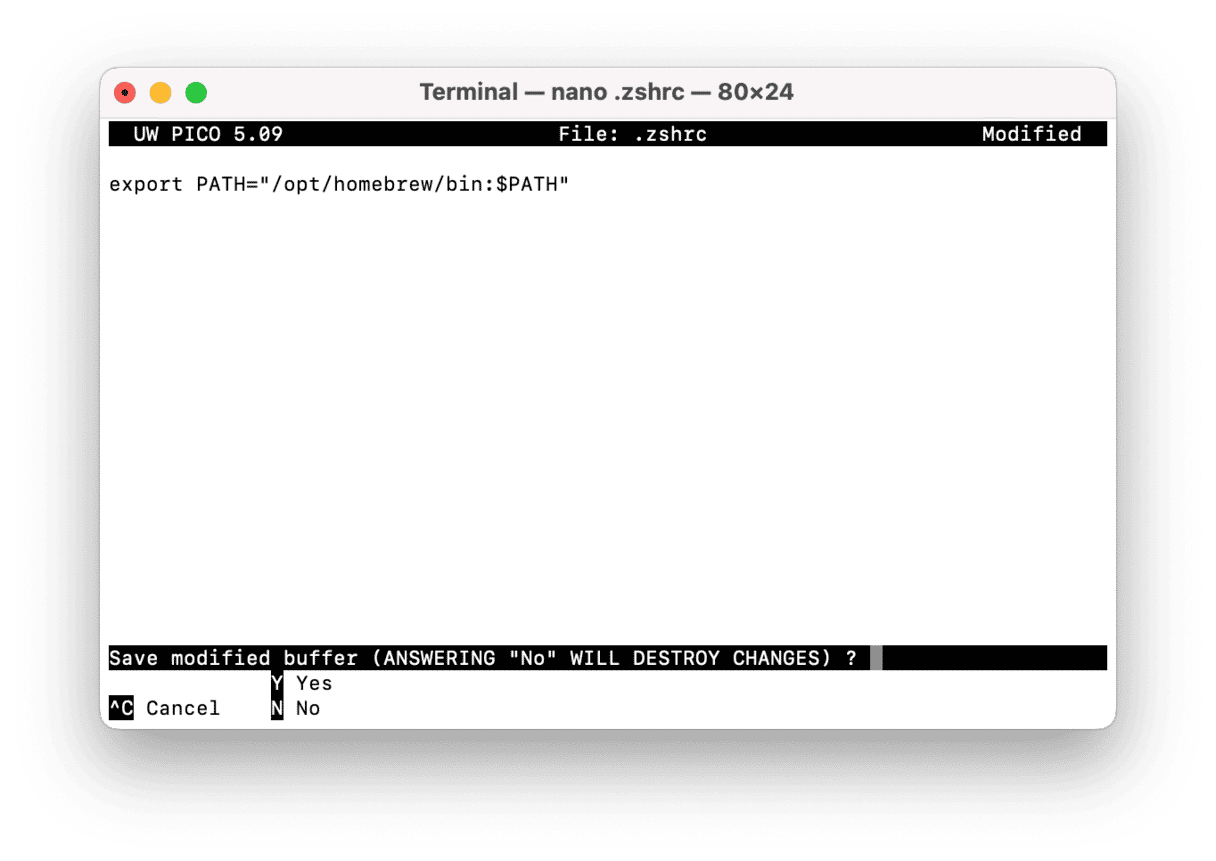
- Add brew’s path to the file:
export PATH="/opt/homebrew/bin:$PATH" - To save and exit Nano press Control-X.
- When prompted with “Save modified buffer”, press Y. Press Enter to confirm and exit.
- Check if the file’s successfully created: enter
ls -aland see that .zshrc appears in the list. - Lastly, type
source .zshrcto load the new configuration without restarting Terminal. - Run
brew helpto see if it’s worked.


This process adds the necessary path for brew to your interactive shell sessions, ensuring that the brew command is recognized.
The difference between .zshrc and .zprofile
Many users mix up .zshrc and .zprofile. Here’s a clearer explanation: .zprofile is executed for login shells initiated when you log in to your system. The .zshrc file is executed for interactive shells, the sessions you open in a new Terminal window or tab.
When troubleshooting issues with brew, you typically modify .zshrc because that file is read by the interactive shells you use in Terminal. This ensures that every new Terminal session loads the correct Homebrew settings immediately.
Reinstall Homebrew
If Homebrew isn’t working as expected, the simplest solution is to reinstall it. To do that, follow the steps below.
- Open Terminal.
- Type or paste the following command:
/bin/bash -c "$(curl -fsSL https://raw.githubusercontent.com/Homebrew/install/HEAD/install.sh)" - Press Return. You will see information in the Terminal window explaining what will be installed and where it will be installed.
- Press Return again.
- Type in your admin password and press Return.
- Wait for a message telling you the installation has finished.
- You can now try the brew command again to see if it works.
If the error still appears after you have reinstalled Homebrew, the next step is to put brew in your zshrc path. To do that, open a new Terminal window and type or paste the command below followed by Return:
echo "export PATH=/opt/homebrew/bin:$PATH" >> ~/.zshrc
Next, use the command below to repair brew: brew doctor
If you see ‘Brew command not found’ after installing Oh My Zsh
If you have just installed Oh My Zsh to allow you to install plug-ins for Zsh and then see the ‘Brew command not found’ error, there is something else you can try. You can add a line to your zshrc file. The file lives in the root folder of your Home directory, but it is hidden. To see it, you can view hidden files or use Finder > Go > Go to Folder > ~/zshrc. Open it in Text Edit and add the line below. Then, save and close it.
eval $(/opt/homebrew/bin/brew shellenv)
Alternatively, you can use the command below in a Terminal window to add the line:
echo "eval $(/opt/homebrew/bin/brew shellenv)" >> ~/.zshrc
Next, run brew doctor again using the Terminal command: brew doctor
It’s a good idea to run regular maintenance on your Mac to prevent problems with it. That means reindexing Spotlight, flushing DNS cache, repairing disk permissions, and speeding up mail. Doing all that manually is time-consuming and difficult, but CleanMyMac’s Performance feature can do it for you. It takes only a few clicks and may save you a lot of trouble in the long run.

The error message ‘brew command not found’ means there is a problem with the installation of Homebrew on your Mac. Follow the steps above to fix it and get Homebrew running again.


