If you want to build Java apps or software on your Mac, there are a couple of things you will need to install before you start. The first is a Java development kit, which has the tools you need to create apps that run on Java virtual machines. The other is a Java project management tool like Maven or an integrated development environment like IntelliJ. In this article, we’ll show you how to install Java on your Mac.
What is Java?
If you’re planning on developing Java software, you probably already know the answer. But in short, Java is an object-oriented programming language that allows developers to create software run on Java virtual machines. The use of virtual machines means that Java applications are platform agnostic. So, you can code a piece of software once and have it run on Windows, Linux, and macOS.
How to install Java on Mac
There are a couple of different versions of Java you can install. It’s up to you to choose which one you want. The first is the original, closed source version, which is maintained by Oracle. The other is an open source version called OpenJDK. The main difference between the two is in the licensing. Open JDK is more flexible in how you can use it, while the original version is easier to install
How to install Oracle JDK
Oracle JDK uses a disk image installer, just like many other macOS applications.
- Click here to go to the Java downloads page on Oracle’s website.
- Click the macOS tab.
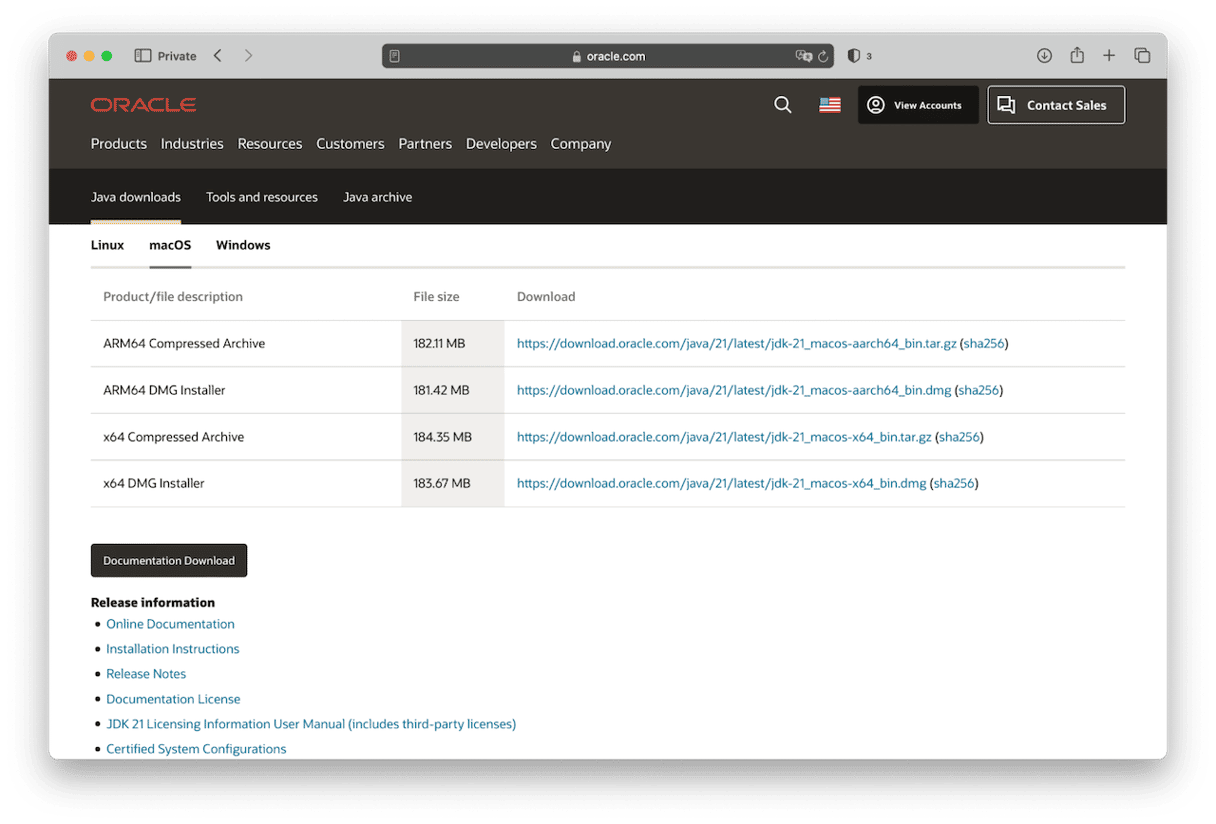
- You will see several download links. The two that are relevant are ARM64 DMG Installer and x64 DMG Installer. If you have a Mac with Apple silicon, you need the ARM64 DMG. If you have an Intel-based Mac, you need x64 DMG.
- Click the link to download the DMG for your Mac.
- When the DMG file has downloaded, double-click it to mount it.
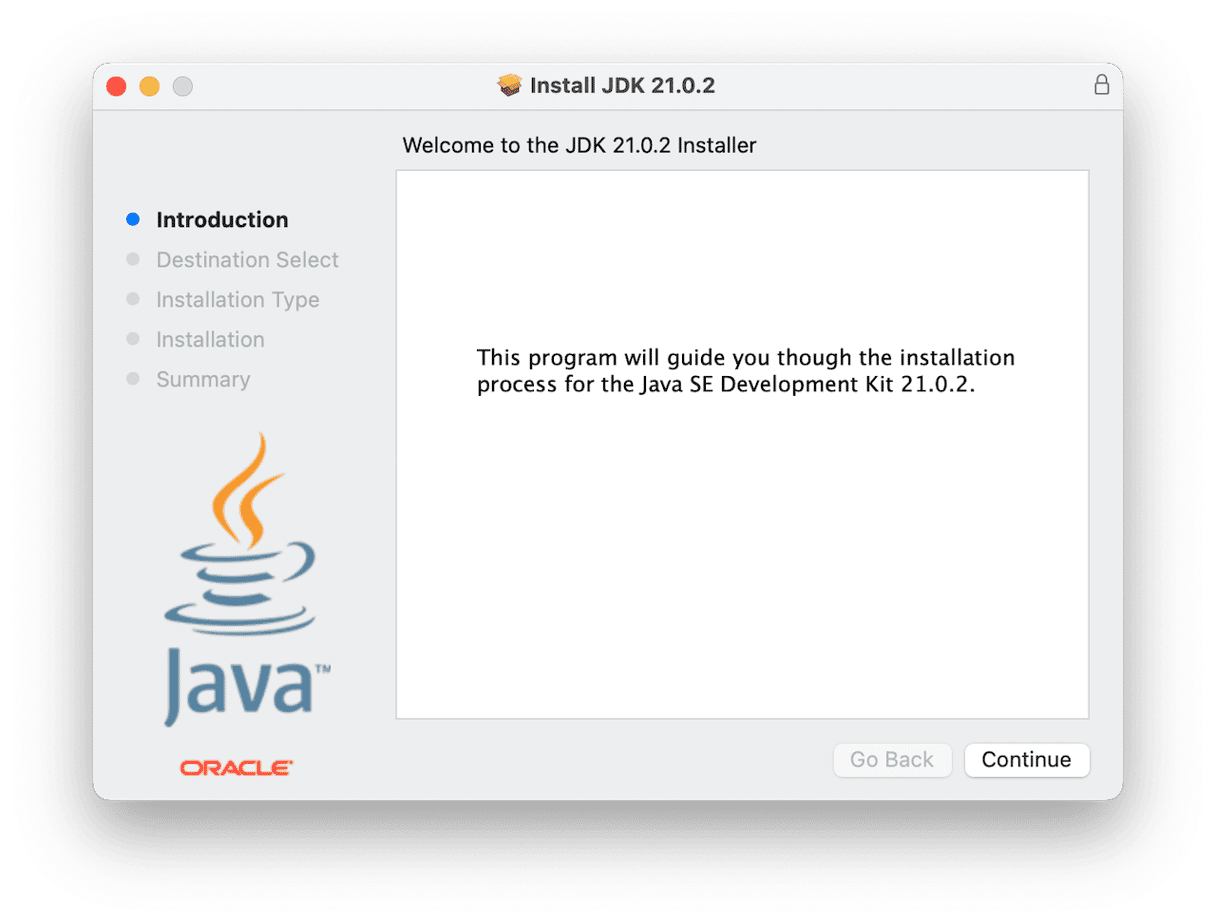
- Inside the mounted disk image, double-click the JDK pkg file.
- Click Continue on the Welcome screen.
- Click Install.
- Type in your admin password when you’re asked.
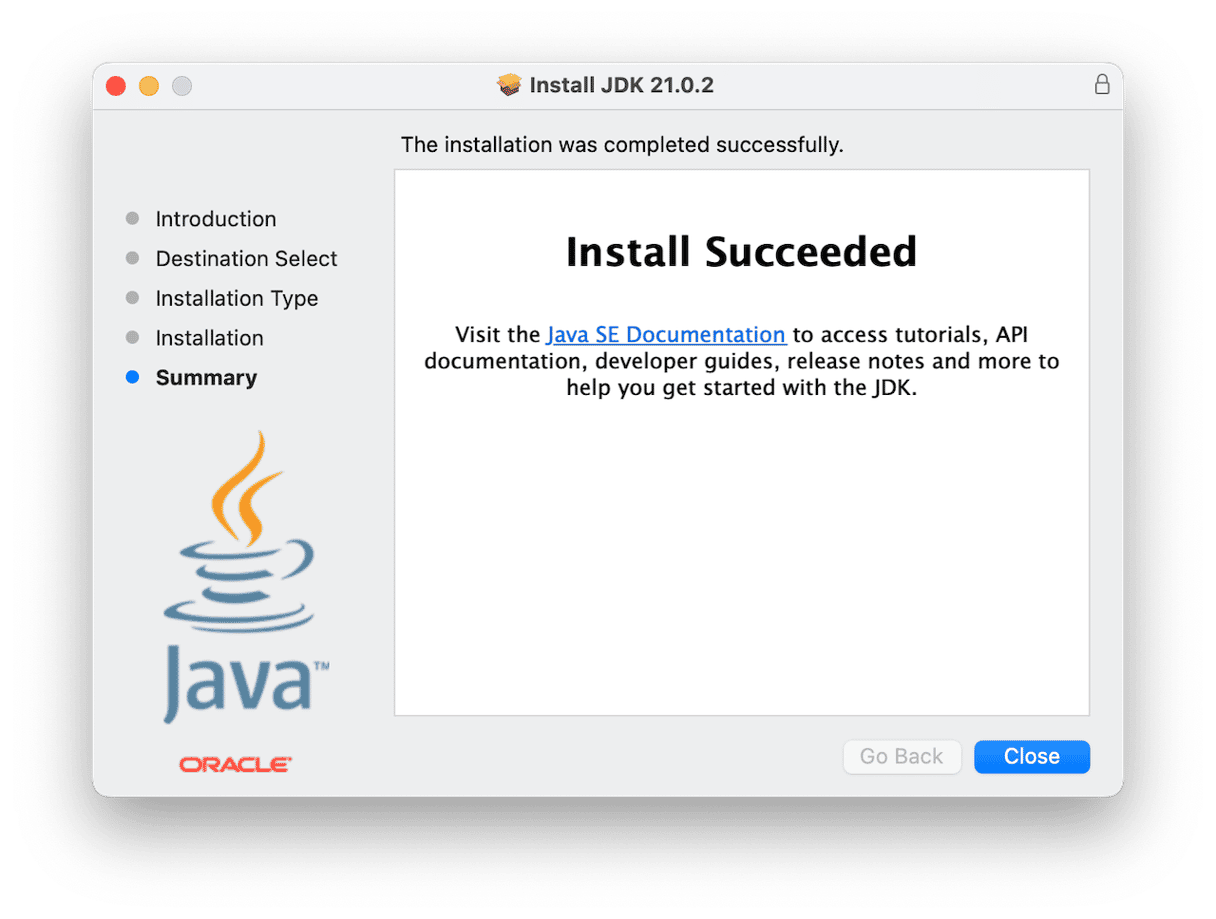
- Wait for the installer to finish, then click Close.
- To confirm the installation was successful, go to Applications > Utilities and open Terminal. Then type
java -versionand press Return. - You should see a response telling you which version of Java you just installed.

How to install OpenJDK
OpenJDK doesn’t have a disk image installer, so you need to install it from Terminal. The easiest way to do that is to use the Homebrew package management system. If you don’t already have Homebrew installed, you will need to install that first. If you’re not sure, open a Terminal window, type brew -v and press Return. If you see a response with a Homebrew version, it’s already installed.
If not, you’ll need to install it by following the steps below:
- Before you can install Homebrew, you need to install Command Line Tools.
- To check whether that’s already installed, type
xcode-select -vin a Terminal Window. If you see a response with ‘xcode-select version’, it’s already installed. If not, typexcode-select --installto install it. - Once you’ve installed Command Line Tools, use this command to install Homebrew: /use/bin/ruby -e “$(curl -fsSL https://raw.githubusercontent.com/Homebrew/install/master/install)”`
- Press Return, read the message that appears, and then press Return again.
- Type in your admin password, press Return, and wait for a message telling you installation was successful.
- Once Homebrew is installed, use this command to install OpenJDK:
brew install openjdk@followed by the version number for the version of OpenJDK you want to install. For example, for version 21, it would bebrew install openjdk@21 - Press Return and wait for the install to complete.
How to install Java runtime on Mac
If you don’t want to develop Java apps, but do want to be able to run them, you don’t need to install a Java SDK. You do, though, need to install a Java runtime environment because it is no longer installed as part of macOS.
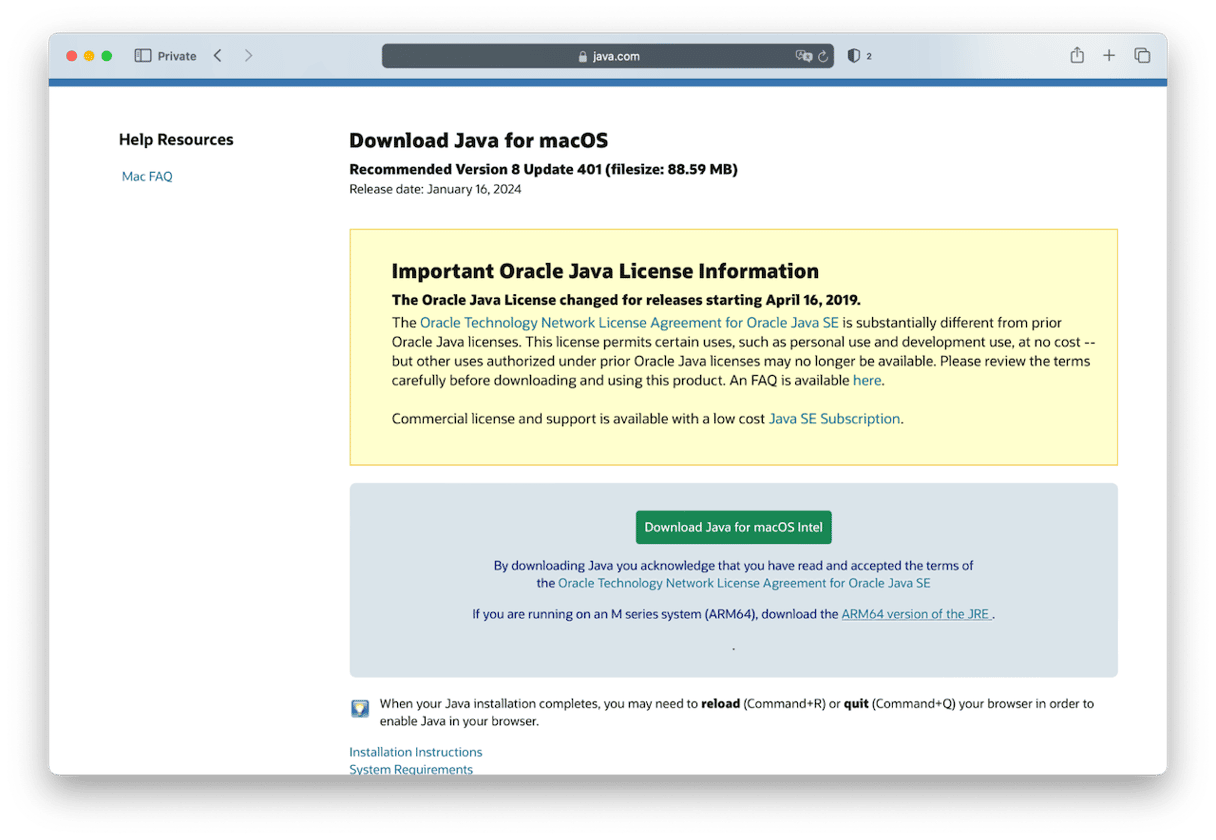
- Go to the Java website here
- Click Download Java.
- On the next page, click Download Java.
- When the DMG file has downloaded, double-click it to open it.
- Double-click the pkg file to begin the installation.
- Click Install.
- When the installation has finished, click Close.
How to keep your Mac running smoothly
If you use your Mac for work, like developing Java applications, it’s important to keep it running smoothly and take steps to prevent problems from occurring. The best way to do that is to carry out regular maintenance — in the same way you would on a car or a house. In your Mac’s case, regular maintenance means running macOS maintenance scripts, freeing up RAM, reindexing Safari, and clearing purgeable disk space, to name but a few tasks. Doing all that manually would be very time-consuming, and, let’s face it, you probably wouldn’t do it regularly. But you don’t have to do it manually. CleanMyMac can do it for you. Its Maintenance module can run all those tasks with a few clicks, as well as repair disk permissions, thin out Time Machine snapshots, and clear DNS cache. You can download CleanMyMac for free here and try it for yourself.

Java is an object-oriented programming language that allows you to use your Mac to develop applications for any platform. Before you start coding, though, or even running Java applications, you will need to install Java on your Mac. If you want to develop your own applications, you’ll need the Java Development Kit, and if you want to just run applications others have created, you’ll need Java runtime. Follow the steps above to install Java on your Mac.


