The Mac’s Terminal application is an excellent command line interface for people who need to run command line tools and run commands. It can also be used to install other terminal emulators, including PuTTY. In this article, we’ll show you how to download PuTTY for Mac.
What is PuTTY?
PuTTY is a free open source terminal emulator that is often used as a network file transfer application, particularly using the SSH protocol, though it also supports SCP, Telnet, and rlogin. It supports encryption keys like AES, 3DES, RC4, Blowfish, and DES and can emulate control sequences from xterm, VT220, VT102, or ECMA-48 terminal emulation. It comes with a built-in SFTP client and supports IPv6. Initially developed as a Windows application, PuTTY has been ported to other operating systems, including macOS.
How to install PuTTY on Mac
There is no bundled installer for PuTTY on the Mac, so you need to install it via Terminal. There are a couple of ways to do that. The first uses the package installer Homebrew, and the second uses MacPorts. We’ll show you how to do both.
If you don’t already have Homebrew or MacPorts already installed, you will need to install those first. And before you do that, you may need to install Command Line Tools if it’s not already installed on your Mac.
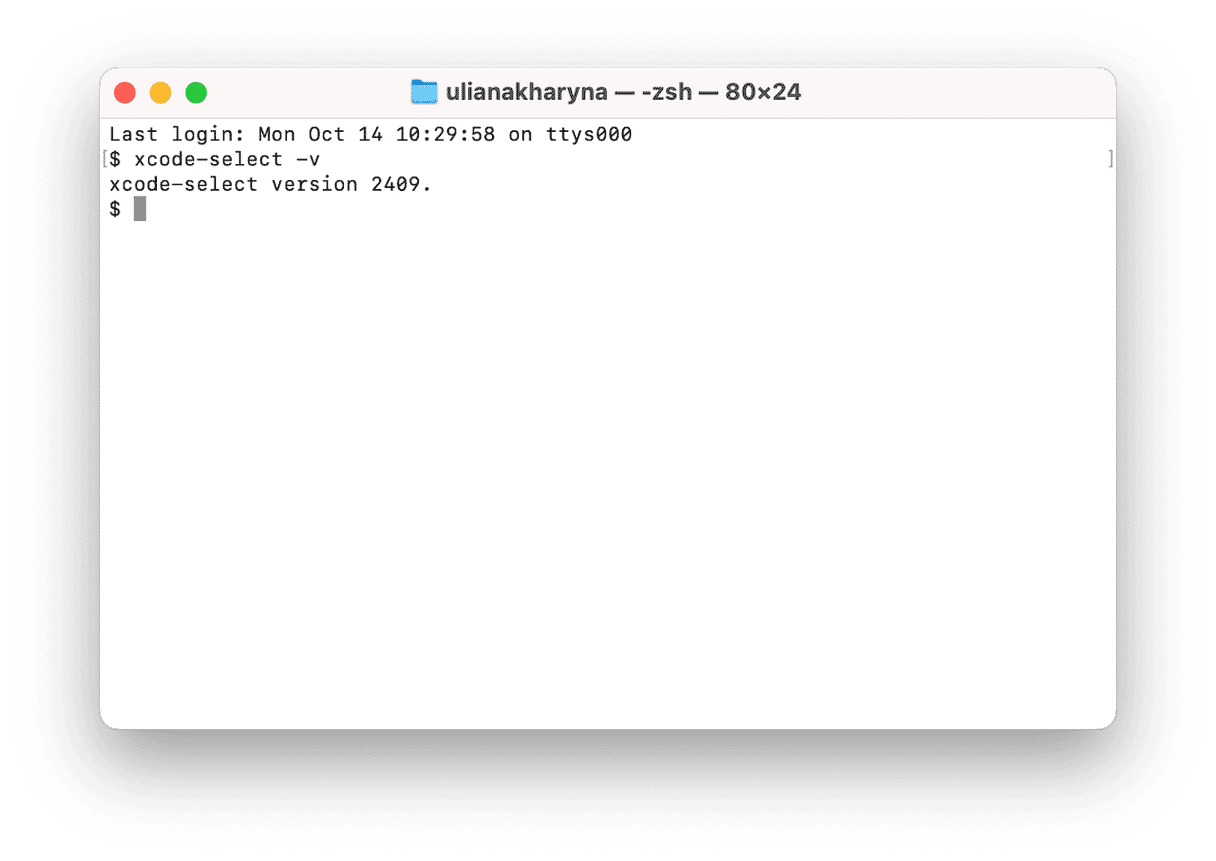
To check whether Command Line Tools is already installed, open Terminal and type: xcode-select -v
If you see a response with ‘xcode-select version’, it’s already installed. If not, type xcode-select --install to install it.
With Command Line Tools installed, you can use either the Homebrew method or the MacPorts method to install and run PuTTY.
How to install PuTTY using Homebrew
If you don’t already have Homebrew installed on your Mac, you will need to install that first.
- Open Terminal and paste this command in the Terminal window:
/bin/bash -c "$(curl -fsSL https://raw.githubusercontent.com/Homebrew/install/HEAD/install.sh)" - Press Return.
- Type in your admin password, if requested, and press Return.
- You will see a list of files that will be installed. Press Return to continue.
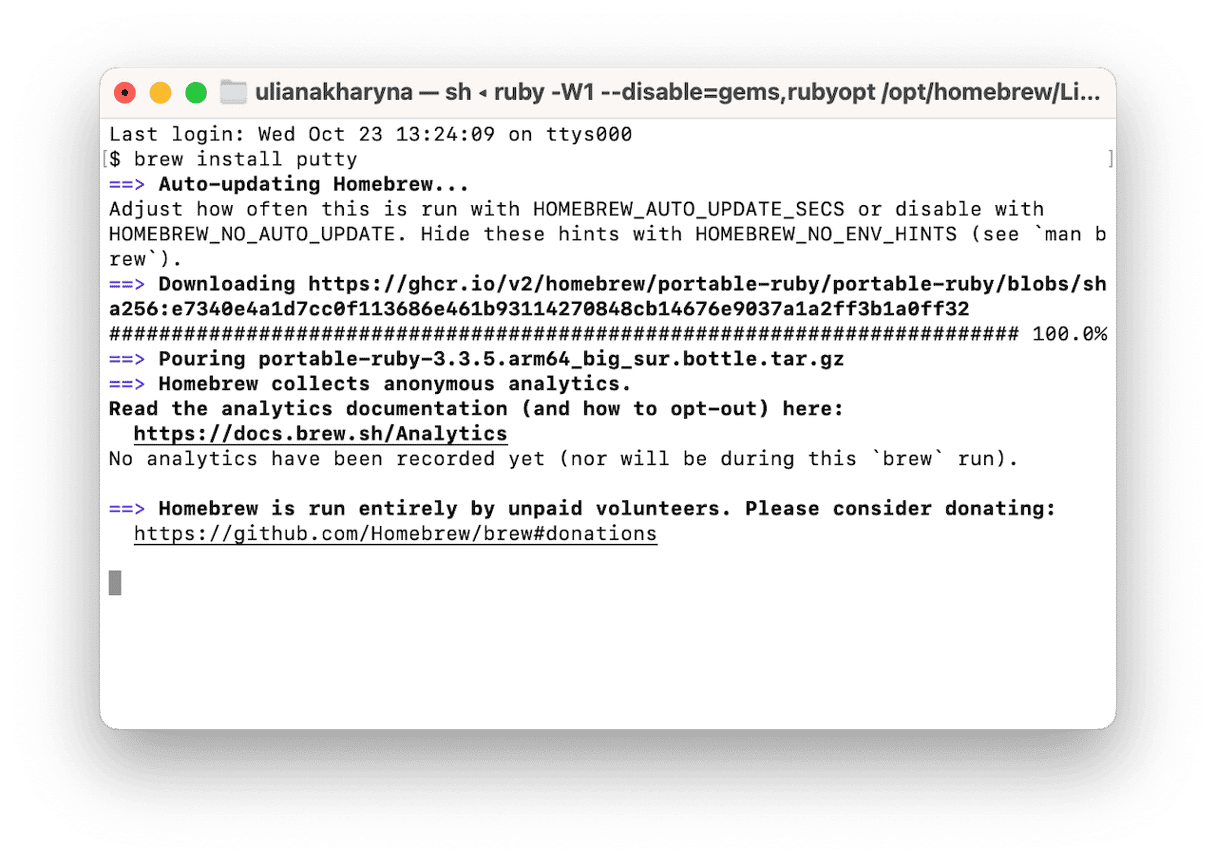
- Once Homebrew is installed, you can use it to install packages with the ‘brew’ command. Forl PuTTY download for Mac, use the following command:
brew install putty - Press Return. Homebrew will install PuTTY.
How to install PuTTY using MacPorts
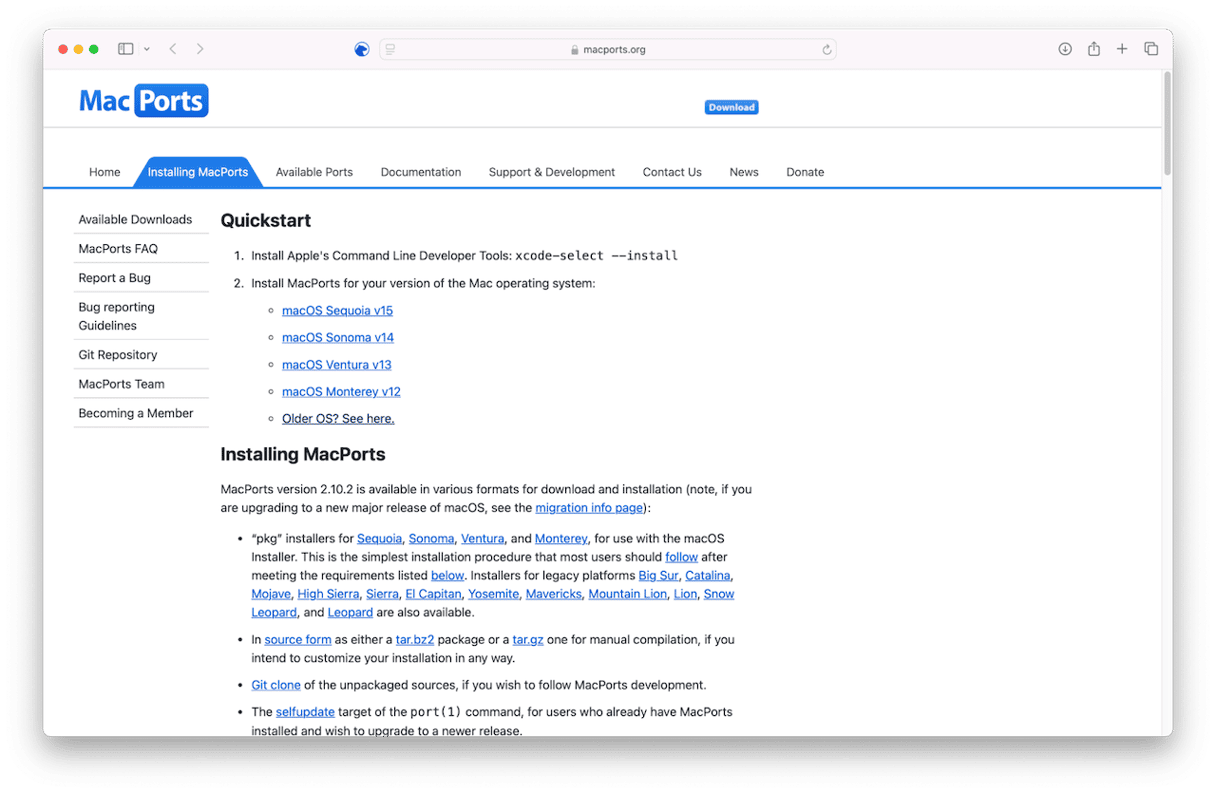
The easiest way to install PuTTY is to download the installer file and double-click it. Go to the MacPorts website here and click the link for the OS your Mac is running. The links for macOS Monterey to Sequoia are at the top of the page. Further down the page, you will see links to installers for Leopard to Big Sur. When the installer has downloaded, double-click it and follow the instructions on the screen to install it.
When you install MacPorts using the packaged installer file, it automatically installs the latest version. To check for and install updates in the future, use this command in Terminal: sudo port -v selfupdate
Once MacPorts has installed, open a new Terminal window, type the following command, and then Return: sudo port install putty
Enter your password if requested.
How to run PuTTY on your Mac
Once you have installed PuTTY, you can run it by typing the command putty in a Terminal window.
Alternatives to PuTTY
If you’re a Windows user who also uses Mac, there is a good reason to install PuTTY — consistency. If you’re used to PuTTY commands and its way of doing things, it makes sense to continue using it. However, for the rest of us, there are better options. Here’s what to choose from if you’re looking for PuTTY equivalent for Mac:
- Terminal. The Terminal app itself has built-in support for SSH connections, allowing you to log in to a remote computer and access files or run commands.
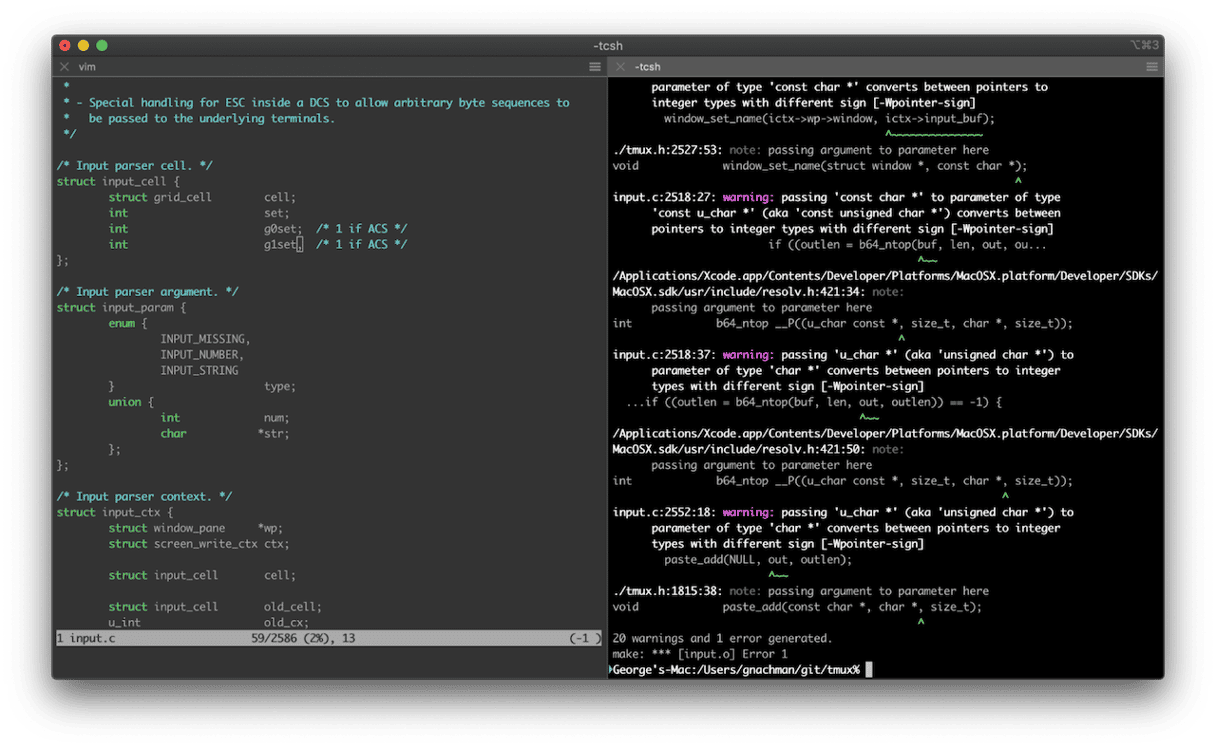
- iTerm 2. This is a complete replacement for Terminal and also has support for SSH. Benefits over Terminal included support for tabbed windows and the ability to search windows for text.
- Termius is an SSH client that runs on Mac, Windows, and Linux. It has a GUI for SFTP connections and also allows you to type commands. It has an autocomplete feature for commands and allows you to save frequently used commands.
If you only need SFTP support and don’t need a command-line interface for SSH, there are several more options, most of which also allow you to transfer files to and from and manage files on WebDAV and Amazon S3 storage. These include CyberDuck, Forklift, and FileZilla.
PuTTY is an SSH client that is widely used on Windows and Linux. But does PuTTY work on Mac? Yes, it has also been ported to macOS, so you can install it on your Mac. There are a couple of different ways to do that, such as using Homebrew or MacPorts. Choose the method that works best for you and follow the steps above to install and run PuTTY on your Mac. If you’re not sure PuTTY is right for you, take a look at our list of alternative options.


