If you use your Mac for coding, you probably already have Git installed. If not, it’s a good idea to install it. For one thing, if you want to use the desktop version of GitHub, it requires Git to be installed. In this article, we’ll show you how to install Git on your Mac.
What is Git?
Git is a version control system that allows you to easily manage and track the code you write. You can quickly see changes to code as well as roll back to previous versions. It’s also used by GitHub, the popular platform for creating, storing, sharing, and managing code.
How to install Git on your Mac
As we said in the introduction, you may already have Git installed on your Mac. It’s installed automatically when you install Apple’s Command Line Tools. To check, open Terminal and type git version

If you see a version number, Git is already installed. If not, there are a number of different ways to install it. We’ll show you several of them below. Pick the one that works best for you.
Install Command Line Tools
- Go to Applications > Utilities and open Terminal.
- Type
xcode-select —-install - Wait for Command Line Tools to finish installing, then type the following command to check that it has installed correctly:
xcode-select -v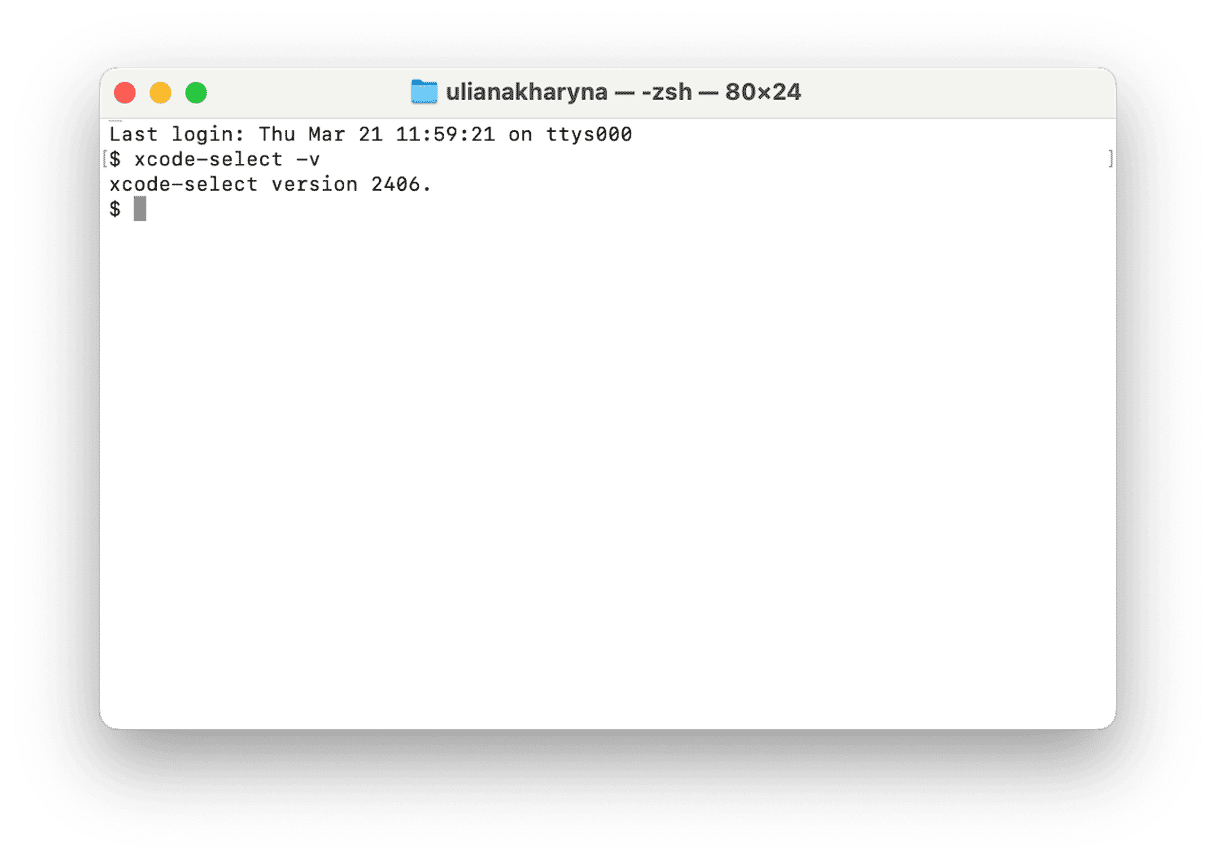
- If you see a response with ‘xcode-select version’, it has been installed successfully.
- Quit Terminal.
Git is now installed on your Mac.
It’s fun installing new tools on your Mac and trying them out. But if you do it a lot and move from one new thing to the next, you end up with a startup disk full of files you never need. And that’s in addition to the junk files macOS creates on its own when you use it from day to day. Temporary files that aren’t deleted, cache files that hang around, settings files for apps you no longer have on your Mac, and language files for languages you don’t need are just some of the junk files taking up space on your Mac. Not only do they take up space, but they can conflict with other files and cause problems. Lack of RAM can also slow your Mac down or cause it to behave in unexpected ways. And then, of course, there’s malware, which can cause all kinds of problems. Dealing with all that yourself is not easy. But you don’t have to — CleanMyMac can take care of all of it with just a few clicks. Its Smart Scan module scans your Mac for junk files and malware and offers ways to optimize and speed up your Mac. It then reports back what it’s found and allows you to get rid of everything it recommends or review its findings and decide for yourself. You can download CleanMyMac for free here.

Install Git using Homebrew
If you have previously installed the Homebrew package management tool in Terminal, you can use that to install Git:
- Open Terminal.
- Type
brew install git - Press Return.
Tip: If you want to use Homebrew but are put off because it sends data about your system to the developers, you can turn that off. Just type brew analytics off
Download and install GitHub
As we said earlier, Git is automatically installed when you install GitHub. And one benefit of doing it this way is that you don’t need to use Terminal or type commands.
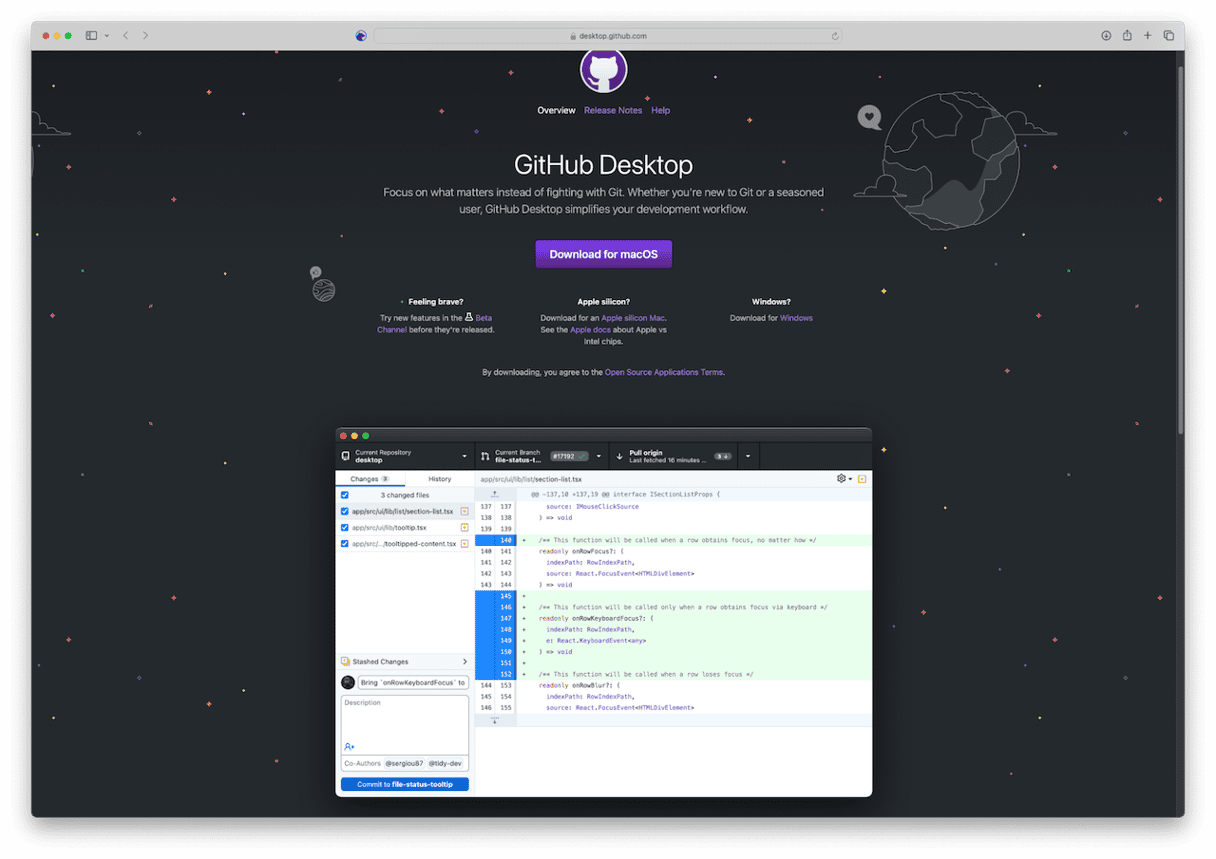
- Go to the GitHub website here.
- If you have an Intel-based Mac, click Download for macOS. If you have a Mac with Apple silicon, click Apple Silicon beneath the Download button.
- Once it has downloaded, it should automatically unzip. Drag the application icon into your Applications folder.
- Double-click the application to launch it, then sign in or create a new account.
Download the Git standalone installer
There is a binary installer for Git created independently of Git. However, it hasn’t been updated since 2021 and will install an old version on your Mac. If you still want to try it, here’s how to use it:
- Go to the Git downloads page here.
- Under the Binary Installer heading, click installer.
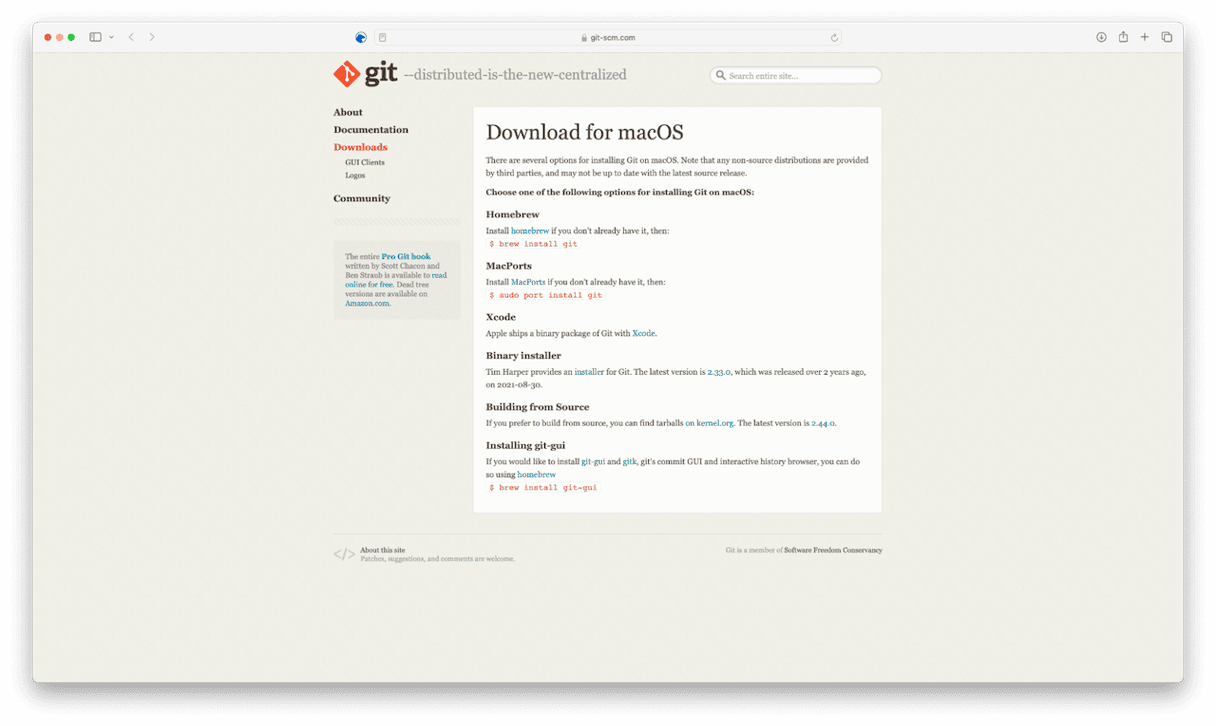
- On the page that opens, click Download.
- Wait for the file to download.
- Double-click the disk image file to open it, then double-click the pkg file.
- Follow the instructions on the screen to complete the installation.
Install Git using MacPorts
MacPorts is another package management system for macOS, and you can use it to install Git. If you haven’t already installed MacPorts, you will need to do that first. Here’s how:
- Follow the instructions above to install Command Line Tools.
- Go to the MacPorts website here
- Look for the link to the installer for the version of macOS that’s running on your Mac and click it to download the pkg file.
- When the file has downloaded, double-click it to begin the installation.
- Follow the instructions on the screen to complete the installation.
Once you’ve installed MacPorts, or if it is already installed on your Mac, you can go ahead and use it to install Git.
- Open Terminal.
- Type
sudo port install gitand press Return. - Wait for the installation to complete.
- To check it has installed correctly, type
git versionand press Return.
If you want to start writing code on your Mac, installing Git is a good idea. It allows you to manage different versions of your code, track changes, and roll back to previous versions. And it’s the backend that powers the desktop version of GitHub. There are several ways to install GitHub on your Mac. Choose the one above that works best for you and follow the steps to install Git on your Mac.


