If you’re like me, it didn’t take you long to switch from Safari to Chrome as your default Mac browser. For all that Apple does well, Safari just misses the mark for me. Like many Mac users, I favor Chrome for its speed and easy integration with my Google accounts — something that Safari hasn’t yet been able to match.
There are some tradeoffs with Chrome, though. While it is a great browser, Chrome is not native to the Mac ecosystem. This leads to mild annoyances, like links in Messages opening in Safari by default (which requires some workarounds to change). Additionally, Chrome’s outsider status makes for some bigger structural issues. For one thing, it’s energy-intensive. Using Chrome instead of Safari typically costs MacBook users about an hour of battery life per charge.
What’s to blame for Chrome’s greedy use of battery life? Part of the problem is the background tools Chrome runs. These don’t just drain your Mac’s juice faster; they also hog memory and monopolize your CPU, which can put unnecessary strain on your computer. Below, we’ll explain how to save your Mac’s performance from one such culprit — Google Chrome Helper.
What is Google Chrome Helper?
Google Chrome Helper is one of the background tools designed to help Chrome run smoothly. It’s a utility that fetches content from various browser plugins. When you open a page with an embedded video, for example, the Chrome browser loads all of the page’s main content (anything that is written in HTML code). However, the browser uses Chrome Helper to fetch the video from the server where it’s stored.
In most cases, this runs smoothly enough. Your browser uses Chrome Helper automatically, and the embedded images and videos show up right where they should be. In its default setup, Chrome uses Helper to display any and all plugins that it encounters, from embedded videos and forms to banner ads.
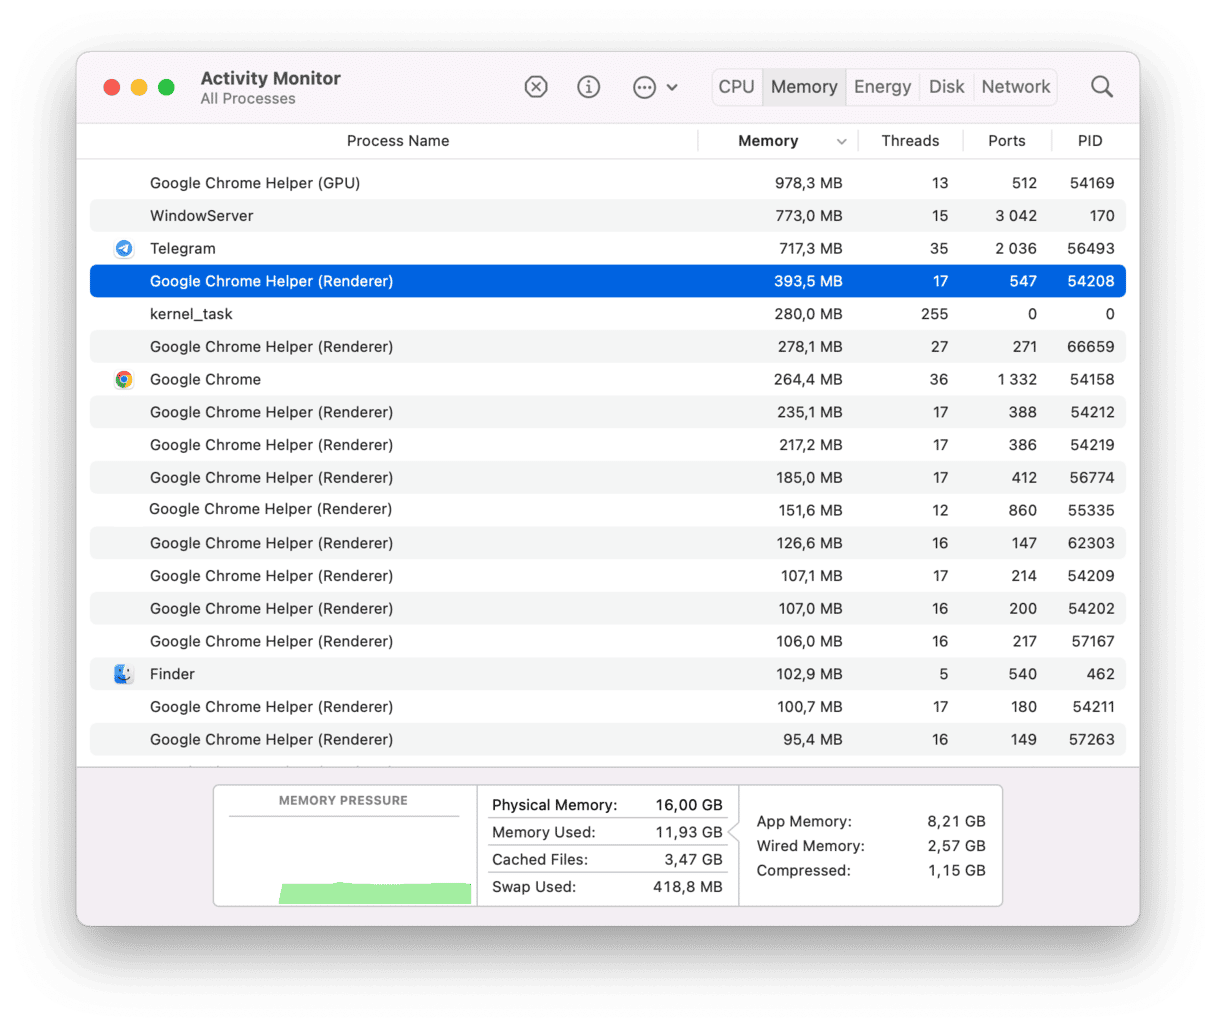
In theory, this should all work smoothly. However, Chrome Helper can sometimes go a bit overboard. Users have reported seeing up to seven instances of Chrome Helper running simultaneously—this can put a ton of unnecessary strain on a computer. While it’s not clear exactly what causes this issue when the utility encounters certain plugins, its CPU and battery usage spike.
So, how to minimize Google Helper activity?
As we said earlier, without too much clicking in typing, you can switch off Google Helper with CleanMyMac. This is a memory-cleaner for macOS, which has recently been notarized by Apple.
- Run CleanMyMac — Download a free edition here.
- Navigate to the Optimization tab.
- Then, click Launch Agents.
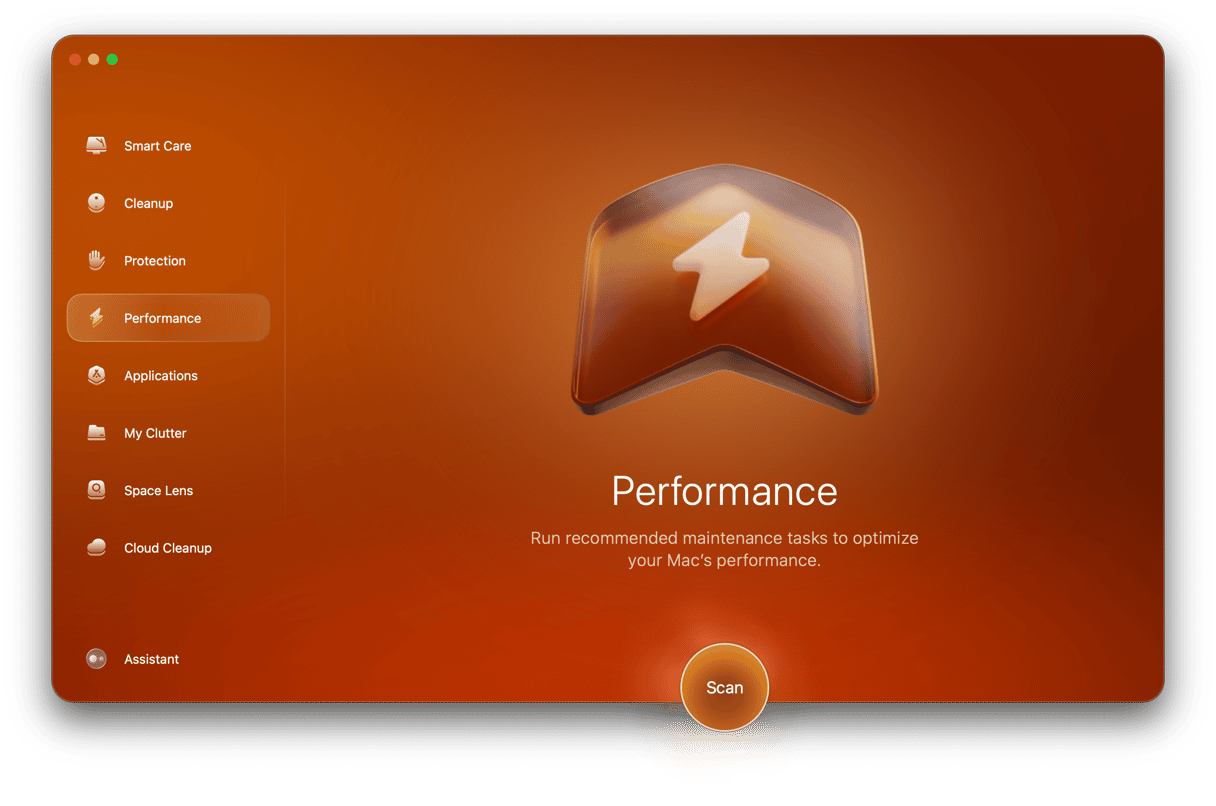
As you can see, there are a few Google “agents” operating in the background on my Mac. There are even “agents” from apps I thought I had deleted months ago! Here you can disable or remove these small memory-eaters altogether. The performance of your Mac should go up. For greater effect, click on the Login Items tab, located just above this one.
How does Google Chrome Helper affect Mac’s memory?
One challenge that users face in diagnosing this issue is the difficulty of detecting it. Your Mac has tools that can identify the problem quickly, but they’re not exactly intuitive. One indicator might be a significant drop in battery life, but that alone isn’t enough to be certain.
The best way to find out if Google Chrome Helper is impacting your Mac’s CPU is to use the Activity Monitor, a handy tool for determining which applications and processes are using the most space on your Mac. Here’s how to use it:
- Open your Applications folder.
- Open the Utilities folder.
- Click on “Activity Monitor.”
- In the Activity Monitor Window, use the tabs marked CPU, Memory, and Energy to see which functions are hogging your Mac’s processing power.
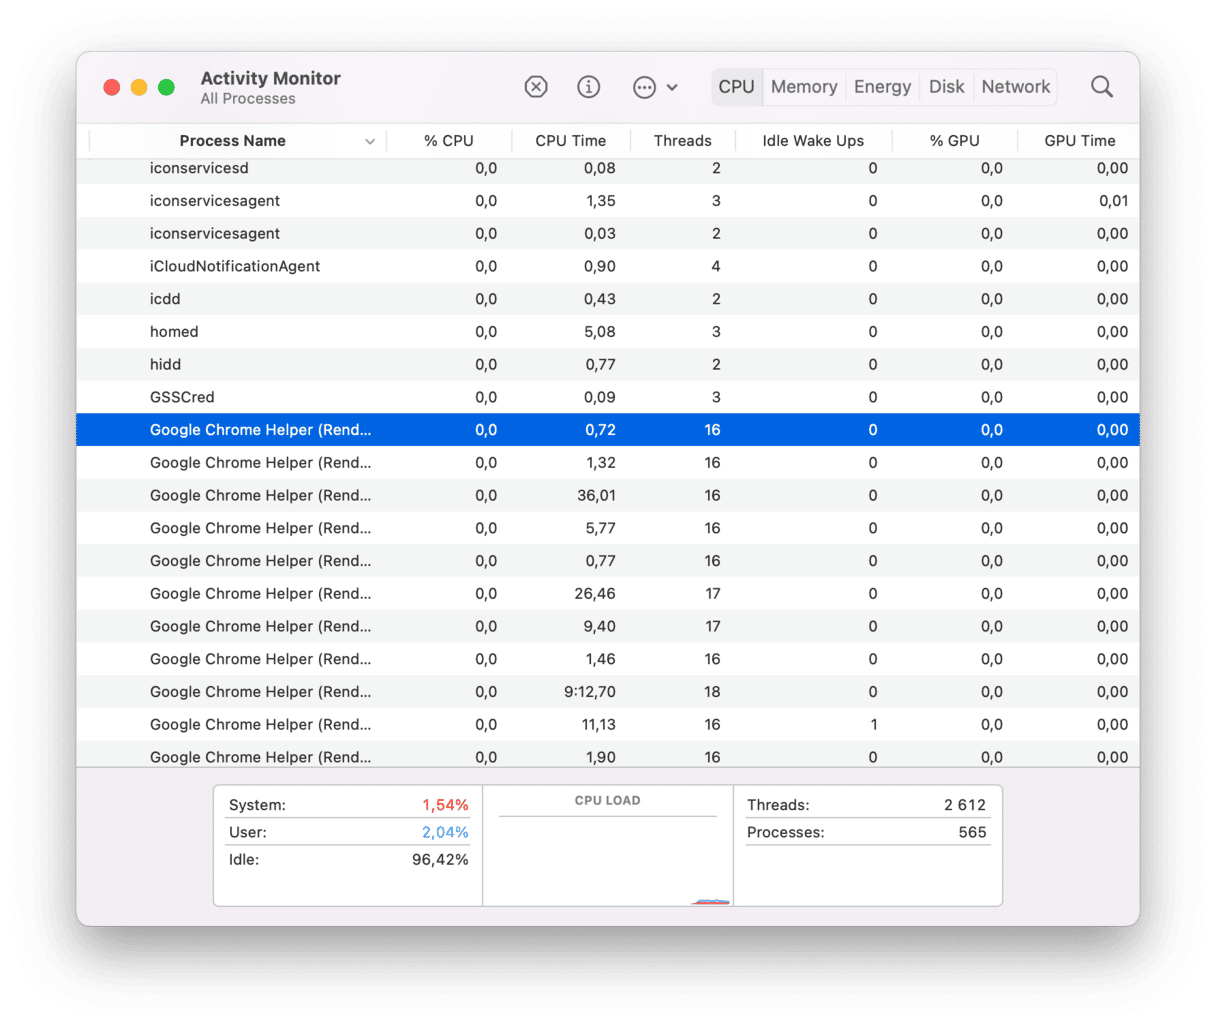
If you see Google Chrome Helper listed multiple times, there’s a good chance that you’ve found the culprit.
Another good option for detecting CPU hogs is CleanMyMac. This multipurpose disk analyzer and the cleanup app has a range of tools that can help improve your Mac’s performance. Its System Junk module can scan your Mac and help you see quickly and clearly where your computer is using energy and memory.
Get a free version of CleanMyMac here.
How to disable Google Chrome helper process
Because of the strain it places on your CPU, it’s natural to wonder whether you can disable or remove Chrome Helper. Luckily, the answer is yes! Below, I’ll walk you through a couple of methods for disabling this utility and taking control of your Mac’s performance. Because Helper works behind the scenes, you won’t be able to find and disable the utility itself, but you can change your Chrome settings to make Helper inactive.
Here’s how to manually disable Google Chrome Helper:
- Close all Chrome windows (but do not quit the program).
- Open on the Chrome menu and go to chrome://settings.
- In the sidebar, click the “Privacy and security” tab.
- Click Site Settings.
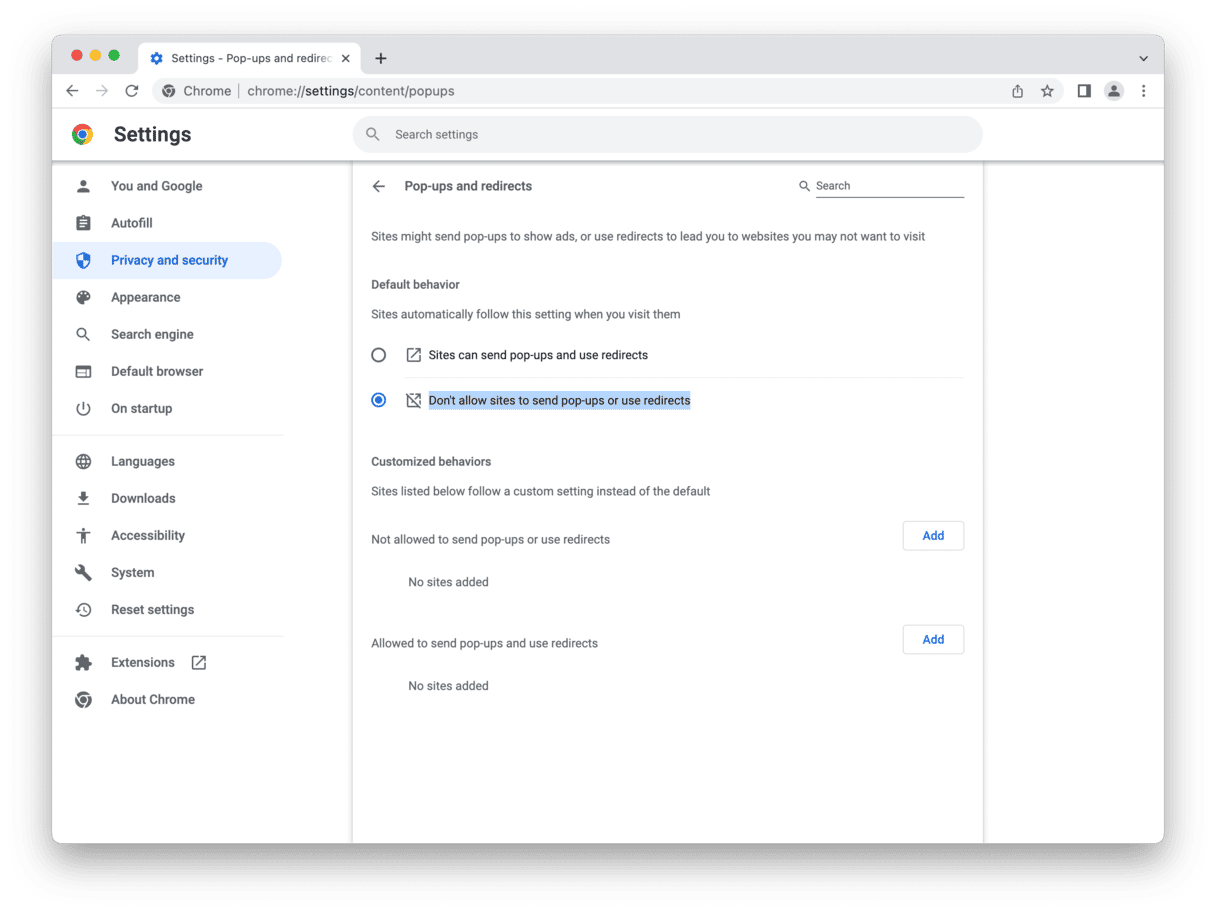
- In the section “Pop-ups and redirects,” make sure “Don’t allow sites to send pop-ups or use redirects” is selected.
- In the site settings menu, click “Ads” and make sure it’s set to “Block ads on sites that show intrusive or misleading ads.”
Check your other plugins and extensions
Various Google add-ons, like Chrome Helper, may lurk within your internet plugins. Once again, to stop it from consuming Mac’s performance, we’ll use a cleanup app, CleanMyMac.
- If you haven’t got CleanMyMac, download it from here.
- In the app, open the Extensions tab > Internet plugins.
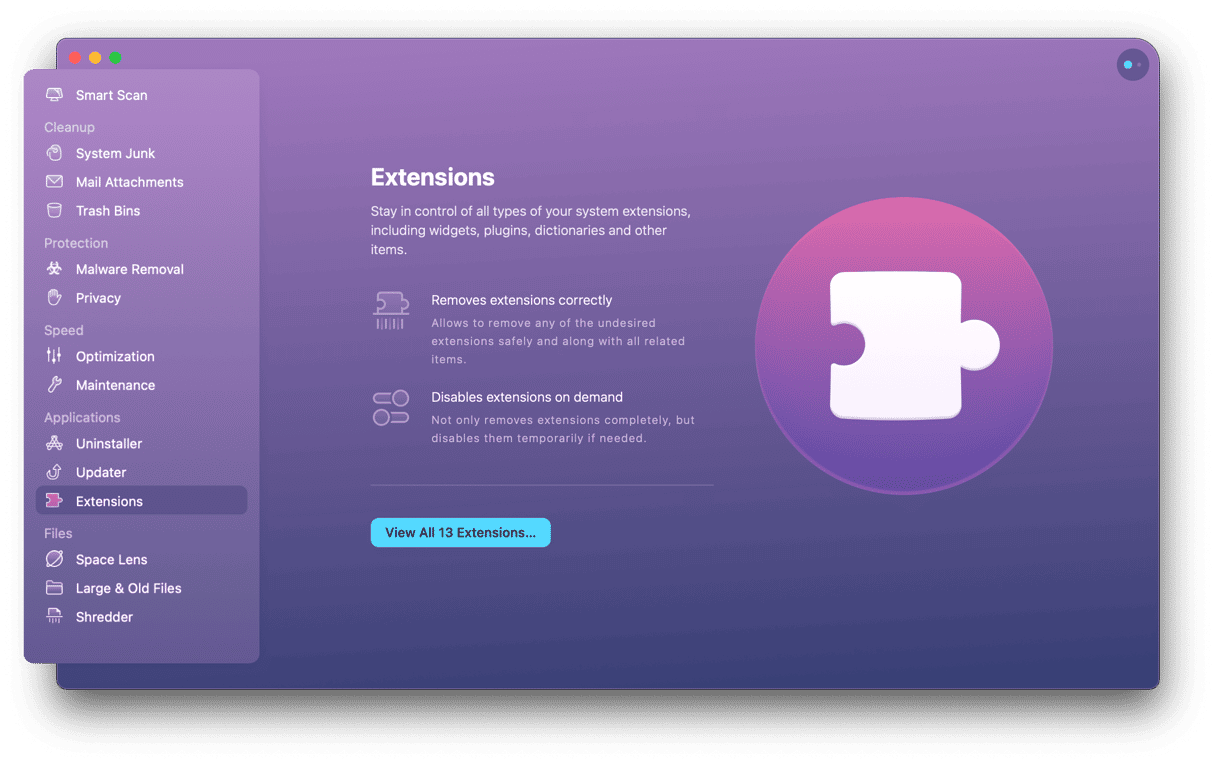
You’ll see a bunch of support processes or daemons for other apps. Once you’ve selected them, click “Remove” — that big blue button is hard to miss.
If you’re a Chrome user and you’re not getting the best performance out of your Mac, disabling Chrome Helper is a great place to start. Once you start checking your Activity Monitor or using CleanMyMac regularly, you’ll find CPU savings all around you.


