When graphical user interfaces were first created, they used metaphors from real-world offices for parts of the interface. So, we have a Trash bin, files and folders, and, of course, a desktop. And just like real-world desktops, the Mac’s desktop often gets cluttered. In the Mac’s case, it’s files and folder icons that cause the clutter. And despite the fact that we all know we should keep our desktops tidy, it rarely happens. However, if you need to take a screenshot or share your screen on a call, a cluttered desktop is the last thing you need. In this article, we’ll show you how to hide desktop icons on your Mac.
Why hide desktop icons?
The main reason for hiding desktop icons is to stop your Mac’s desktop looking cluttered. Having lots of icons on your desktop makes it difficult to find things and can induce anxiety and stress. And a desktop cluttered with icons looks unprofessional when you share your screen on a call. There is also a performance reason. Having lots of icons visible on your desktop can slow your Mac down because it has to redraw the preview for each icon every time the screen refreshes.
How to hide desktop icons
Now, let’s proceed with how to remove icons from Mac desktop without deleting anything.
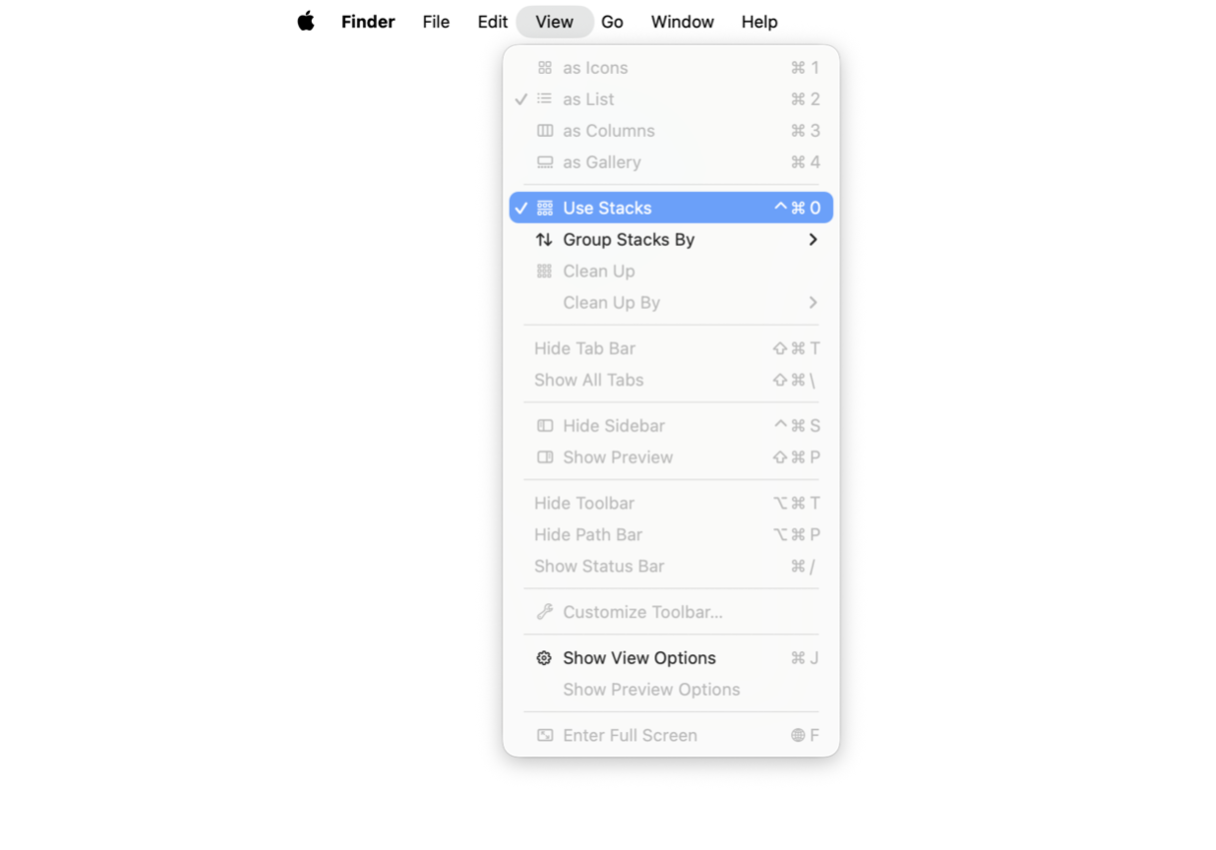
Use Stacks
The quickest and easiest way to hide icons on your desktop is to use Stacks. Stacks is a feature in macOS that, when you enable it, groups files of the same type together and puts them in stacks, with only the most recently added file in the stack visible. If most of the icons on your desktop are screenshots or documents, using Stacks can reduce dozens of icons to just a couple.
Here’s how to enable Stacks 3 different ways:
- Click anywhere on the Desktop. Then, click the Finder in the menu bar and choose View > Use Stacks.
- Press Control-Command-0.
- Right-click anywhere on the desktop, and make sure Use Stacks is selected.


Finder settings
In Finder’s settings, you’ll see options for hiding icons on your desktop. Here’s how to enable them:
- Click the Finder icon in the Dock.
- Go to the Finder menu and choose Settings.
- In General, deselect all the boxes under ‘Show these items on the Desktop.’

Put a period in front of the file name
Starting a file or folder name with a period hides the file or folder from view. There are already lots of files and folders on your Mac that are hidden like that. To see them, press Command-Shift-period. Repeat the keystrokes to re-hide them.
By putting a period in front of any file or folder you don’t want to be visible, you can hide it from view. When you want to make it visible again, just use Command-Shift-period to see hidden files and remove the period from the file name. Obviously, this solution is most convenient when you have only a few icons you want to hide. To place a period in front of a file name using Terminal, follow these steps:
- Go to Applications > Utilities and open Terminal.
- Type:
mv [filename] .[filename] - Press Return.
([filename] is the name of the file you want to hide, including its extension)
More ways to hide desktop icons using Terminal
You probably won’t be surprised to learn that you can use Terminal to hide icons on the desktop. It works by effectively disabling the desktop altogether. So, while the desktop folder will still exist and your files will be inside, the desktop itself will look empty. In addition, you won’t be able to drag and drop files onto it or create a new folder by right-clicking on it. With that in mind, here’s how to do it:
- Go to Applications > Utilities and open Terminal.
- Paste this command:
defaults write com.apple.finder CreateDesktop false - Press Return.
- Type or paste:
killall Finder - Press Return.

The Finder will restart, and when it does, your desktop won’t have any icons on it.
To restore the icons and re-enable the desktop, follow these steps:
- Go to Applications > Utilities and launch Terminal.
- Paste this command:
defaults write com.apple.finder CreateDesktop true - Press Return.
- Type or paste:
killall Finder - Press Return.

You can also use Terminal to set a hidden flag for any file or folder, which will hide it from view.
- In Terminal, type:
chflags hidden - Drag the file you want to hide onto the Terminal window.
- Press Return.

It’s a good idea to make a note of the file path that appears in Terminal when you drag the file onto the Terminal window, you will need it to remove the hidden flag. To remove the flag, type: chflags nohidden followed by the file path you noted, and press Return.
A cluttered desktop can slow down your Mac, but it’s far from the only thing affecting its performance. Hidden junk files, scattered throughout your system, can take up valuable space and even cause conflicts with other files.
Ceaning out this junk manually is tedious and time-consuming. Fortunately, CleanMyMac’s Cleanup feature makes the process effortless. It scans your Mac for unnecessary files, allowing you to either remove them all in one click or review them individually to keep what matters. Freeing up gigabytes of space has never been easier. Start your free CleanMyMac trial — see how much junk you can remove with just a few clicks.

Use third-party apps
There are lots of third-party apps that can help you keep your desktop free from icons. Some screenshot tools, for example, can be configured so that they hide the desktop icons when you take a screenshot. Similarly, there are apps where, when you turn on a presentation mode, will hide icons on your desktop so the other people on a call don’t see them.
There are other third-party tools that will sweep files from your desktop into a designated folder at a time you set. And there are apps that sit in your Mac’s menu bar and slide out when you press a keyboard shortcut, allowing you to drag files onto them, and then slide back into the menu bar so the files are hidden from view.
Set defaults for screenshots and downloads
Unless you change the location, all your screenshots will be saved to the desktop. Downloads are saved to your Downloads folder by default, but lots of people change that to the desktop. Here’s how to change both of those so file icons don’t clutter your desktop:
- To save screenshots to a different location, press Command-Shift-5 and choose Options. Select Other Location, navigate to the folder where you want to save it, and click Choose. Click the camera icon to take the screenshot. All screenshots will be saved to that location until you change it.
- You can also change the location for screenshots using Terminal. Open Terminal and type this command:
defaults write com.apple.screencapture [location] - Drag the folder where you want to save the screenshots onto the Terminal window and press Return.
- To change where Safari downloads are saved, click the Safari menu and choose Settings. In the General tab, look for the menu next to File download location. Click it and navigate to the folder where you want to save downloads. Click Select.

We all know we should keep our Mac’s desktop free from clutter, but most of us can’t help but leave a few files there. Whether they are screenshots, downloads, or just files that don’t yet have a home, our desktops quickly become cluttered. That’s ok until we need to share our screen on a call, but over time, it becomes a problem. Follow the steps above to hide icons on your Mac’s desktop, and you won’t have to worry about all that clutter anymore.


