If you’re ready to upgrade to macOS Sonoma, there are a couple of ways to do it. The simplest is just to go to System Settings > Software Update and wait for your Mac to find the update and let you install it. You can also search for Sequoia on the App Store and install it from there. However, if you want to install Sequoia on a virtual machine or create a physical installer disk, neither of those options will work. One solution is to create a macOS Sequoia ISO file. We’ll show you how to do that in this article.
What is a macOS Sequoia ISO file?
In this context, ISO is a container format similar to the disk image format DMG. When you create an ISO on your Mac and mount it, it looks just like a physical disk and behaves the same way in Finder. You even have to eject an ISO when you’re finished using it, just like a DMG. However, while DMG files can only be read from and written to by Macs, ISOs can be read on many different platforms, including Windows.
Why create a macOS Sequoia ISO file?
The main reason for creating a macOS Sequoia ISO is so that you have a bootable installer image that you can copy to any disk or even burn to a CD or DVD. That way, you can install macOS Sonoma on a virtual machine or lots of different Macs without having to download it each time.
Before we start, here’s a tip for speeding up your Mac, whichever version of macOS it’s running. This will especially help if you’ve noticed your Mac running more slowly after installing macOS Sequoia. You see, there are a number of things that can cause your Mac to run more slowly, including:
- Junk files taking up space on your startup disk and conflicting with other files
- Maintenance tasks that weren’t performed when they were needed
- Malware
- Outdated apps
Reviewing all those things manually and then deleting the files you don’t need, as well as getting rid of malware, is time-consuming and frustrating. But you don’t have to do it manually. CleanMyMac’s Smart Care module can do it for you. With one click, it will search junk files, look for opportunities to optimize your Mac, and scan your computer for malware. It will also locate all critical app updates. And when it’s done, it makes it easy for you to get rid of files and speed up your Mac. You can download CleanMyMac for free here.

How to create a macOS Sequoia ISO file
The process for creating an ISO is quite complicated and needs several Terminal commands. However, we’ll take you through it a step at a time and explain what each command does.
The first stage in creating a macOS Sequoia ISO is to download the macOS Sequoia installer from the App Store.
- Open the App Store app and search for ‘macOS Sequoia’
- Click Get.
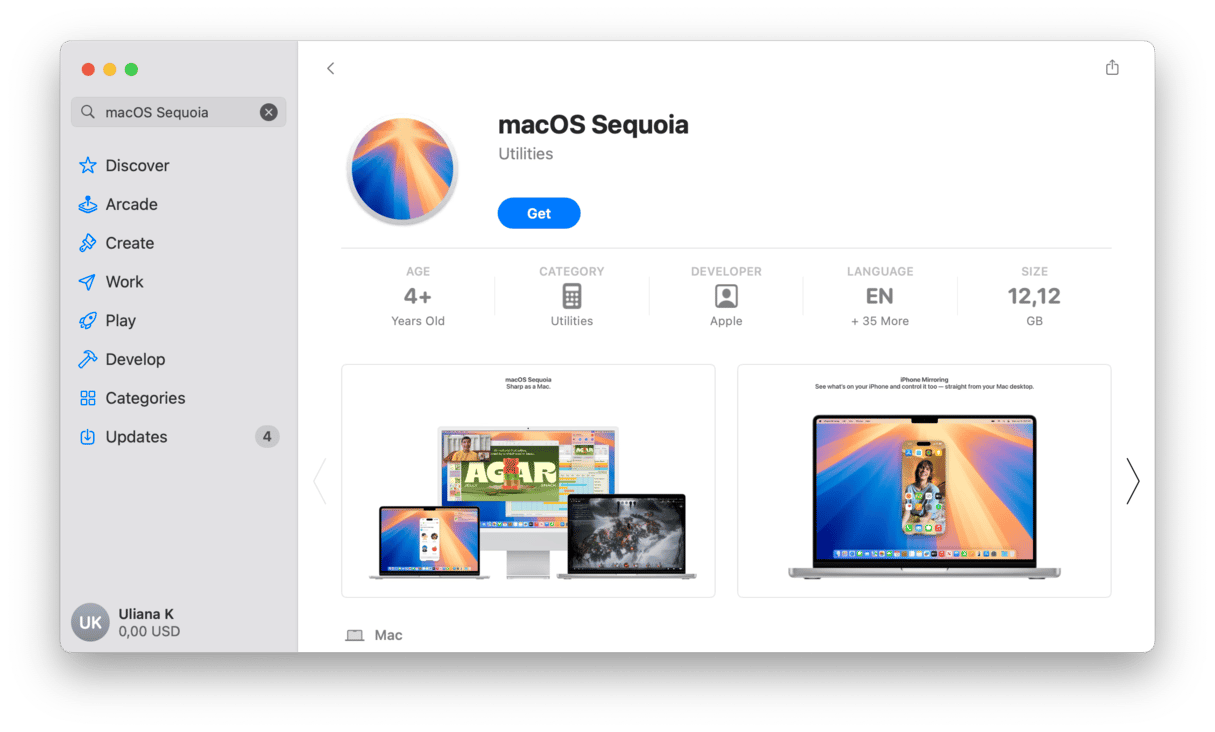
- Wait for the installer to download. If it launches automatically when it has downloaded, press Command-Q to quit it.
- Check your Applications folder — you should see the macOS Sequoia installer there.

The next stage is to create a disk image of the installer. In the final stage, we’ll convert that disk image to an ISO:
- Go to Applications > Utilities and open Terminal.
- In the Terminal window, paste the following command to create a 16GB disk image formatted as HFS+ on your Desktop. Replace ‘yourusername’ in the command with your username on your Mac: sudo hdiutil create -o /Users/yourusername/Desktop/Sequoia -size 16000m -volname Sequoia -layout SPUD -fs HFS+J
- You should see the DMG file appear on the Desktop.
- Right-click or Control-click it and choose ‘Open with’ then ‘Disk Image Mounter’ to mount the disk image.

Now that we have a Sequoia installer and an empty disk image, we need to combine them. Here’s how:
- In Terminal, type:
sudo - Go to your Applications folder, locate the Sequoia installer, and right-click or Control-click it.
- Choose ‘Show Package Contents’.
- Click the Contents folder, then Resources.
- Drag ‘Create install media’ onto the Terminal window.
- You will see its path after ’sudo’.
- Type
-volumeafter the path. - Drag the mounted disk image from your Desktop onto the Terminal window.
- Press Return.
- Open a new Finder window, look for the mounted disk image in the sidebar, and click the Eject button next to it.
The final step is to convert the DMG installer to an ISO. To do that, we need to first convert it to a CDR file.
- Go back to Terminal and paste this command:
hdutil convert - Drag the Sequoia DMG file onto the Terminal window.
- Paste the following command:
-format UDTO -o ~/Desktop/Sequoia - Hit Return.
- Finally, to convert the CDR to ISO, paste this command:
mv -v ~/Desktop/Sequoia.cdr ~/Desktop/Sequoia.iso - Press Return.
And that’s it! That’s how to create a macOS Sequoia ISO file.


