There are some tools that many of us use on our Macs that don’t need anything more than a click on an App Store page to install them. And there are others that take much more effort and sometimes feel like they need a degree in software engineering to install. Git doesn’t quite fall into the latter category, but it’s definitely not a one-click process. So, in this article, we’ll show you how to install Git on Mac, and we have prepared 4 different ways in which it can be done.
What is Git?
Chances are that if you want to install Git on your Mac, you know exactly what it is and why you want it. But, just in case, here’s a recap.
Git is a version control system for software development. It allows programmers to make changes to code, knowing that if something goes wrong, they can roll back to a previous version of the code, and all will be well again. Git allows programmers to collaborate and organize large projects with huge codebases while minimizing the risks of catastrophic errors. Using Git also allows developers to host and share code on GitHub.
Doesn’t macOS come with Git?
macOS doesn’t have a built-in version of Git. However, if you install Apple’s development environment — Xcode — you can install the Command Line tools from that, which will install Git. The reason for this seems to be that the Command Line tools are updated when Xcode is updated, and this means that Git will also be updated.
How to check which version of Git you already have
Before you install Git from scratch, it’s worth checking which version, if any, is already installed on your Mac:
- Go to Applications > Utilities and open Terminal.
- Type
git --version - Press Return.
- You’ll see a message on the screen telling you which version, if any, of Git is installed.
How to install Git on Mac
As mentioned, there are different ways to install Git on Mac, and we’ll show you them all below.
Xcode
- Install Xcode from the App Store.
- Once Xcode has installed, open Terminal from Applications > Utilities.
- Type
xcode-select --installand press Return. - That command installs Command Line tools and, with them, Git.
- To check Git is installed properly, when Command Line has installed, type
git --versionand press Return.
Homebrew
If you don’t want to install Xcode, you can install Git on your Mac using Homebrew. Here’s how to do it using Terminal. Before you install Git, however, you’ll need to install Homebrew if it’s not already installed. Here’s how:
- In Terminal, paste the following command and press Return:
/bin/bash -c “$(curl -fsSL https://raw.githubusercontent.com/Homebrew/install/HEAD/install.sh)” - Type in your admin password.
- Now you can install Git using the command below: brew install git
- You can check that it installed correctly using this command:
git --version
If you get a result that shows the version of Git you were trying to install, the installation has completed successfully.
GitHub

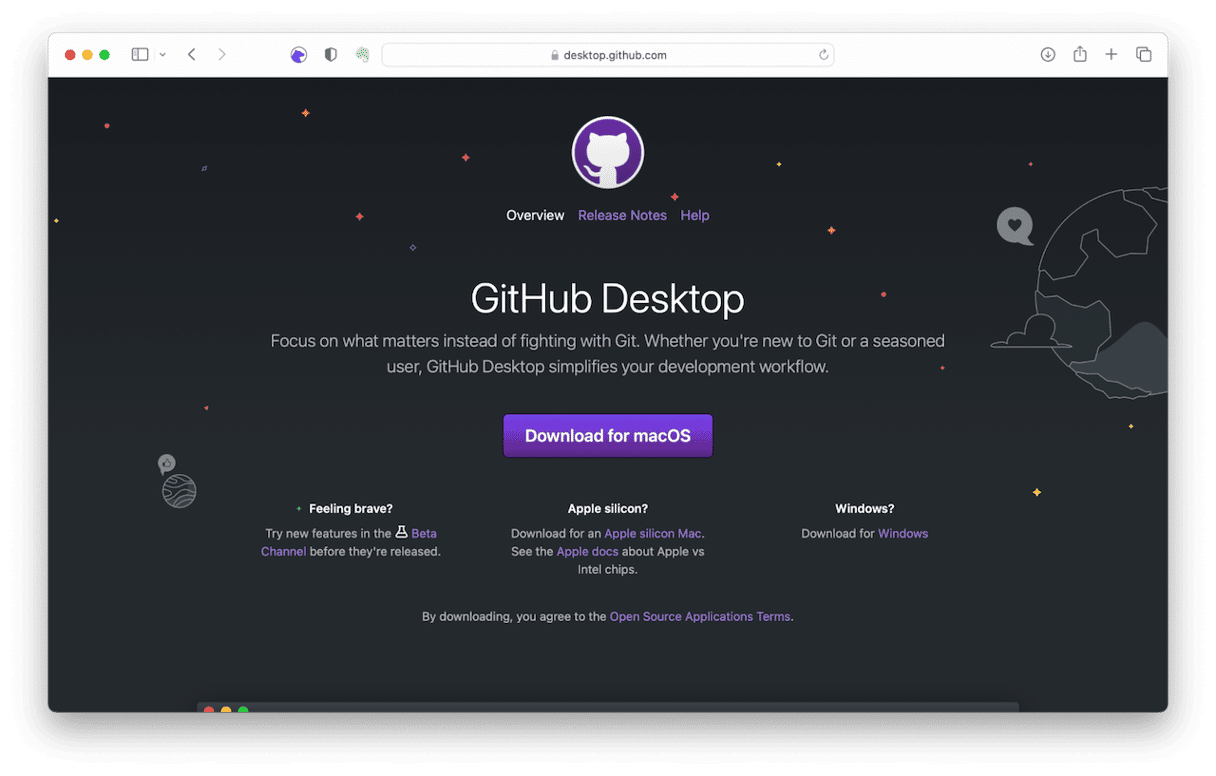
If you’re planning on using GitHub, the simplest way to install Git on Mac is to install GitHub Desktop. When you install GitHub Desktop, Git is installed automatically. You can download GitHub Desktop here. Now, follow these steps:
- Click the link above and choose Download for macOS.
- When GitHub Desktop has downloaded, it should unzip itself automatically. If not, double-click it to unzip it.
- Drag the GitHub Desktop file to your Applications folder.
Standalone installer

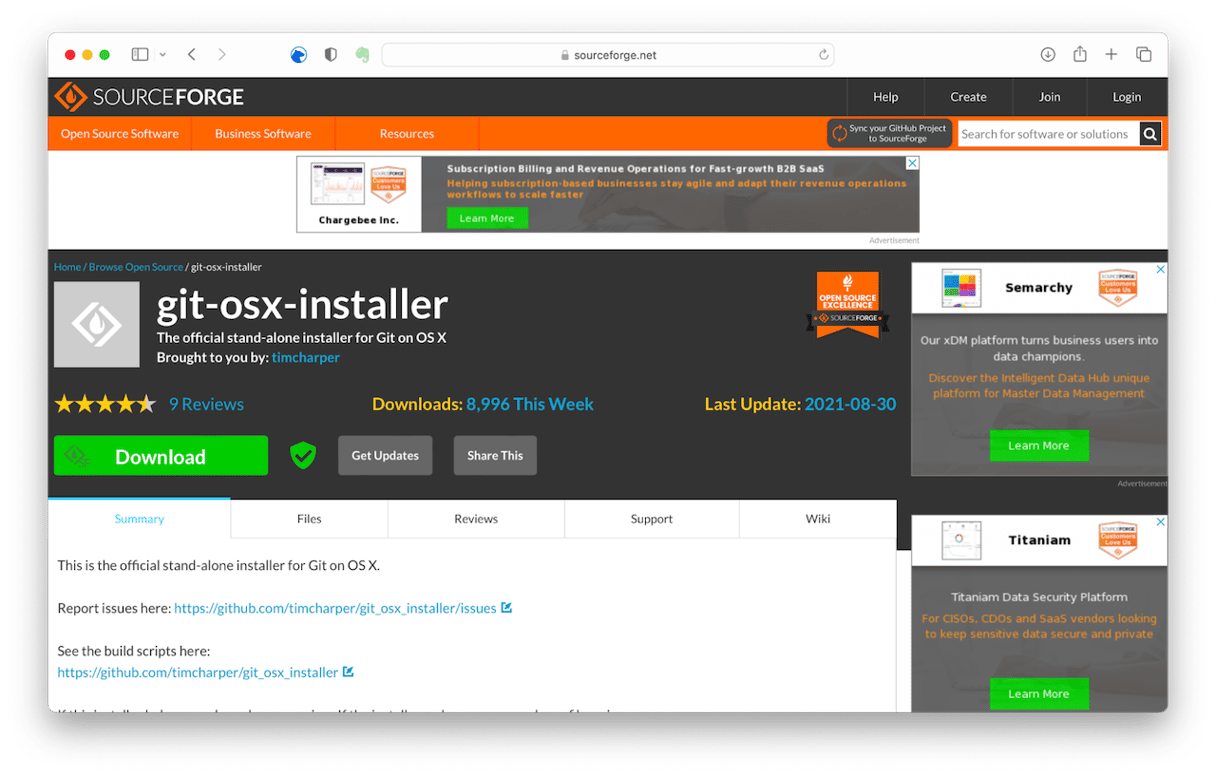
If you don’t want to install GitHub desktop or use Terminal to install Git, there is a standalone installer you can use. However, it hasn’t been updated since 2021 and may not work well with versions of macOS released since then. There have also been reports of compatibility issues with older versions of macOS. So, it’s probably best to only use this method if you don’t want to use Homebrew or install Xcode or GitHub Desktop on your Mac.
- You can download the standalone installer here.
- Click Download and wait for the download to finish.
- Double-click the DMG file to mount the disk image.
- Navigate to the disk image and double-click the installer.
- Follow the instructions on the screen to complete the installation.
If you’re working on a software development project that needs Git, there are a number of ways to install it on your Mac. If you have already installed Xcode, you should have Git installed. If not, you can use Homebrew, GitHub Desktop, or the standalone installer. Choose the method that suits you best and follow the steps above to install Git on your Mac.


