If you’re just getting into Java development on macOS and have researched the tools you need, you will have come across Maven. You may not have found instructions on how to install it on your Mac. So, in this article, we’ll explain what Maven is, why it’s important for Java development, and how you install it on your Mac.
What is Maven?
Maven is a project management tool for Java that automates source code compilation and dependency management, assembles binary codes into packages, and executes test scripts. It takes the source code you write, packages it, and turns it into an executable application. Maven supports collaboration, reporting, documentation, distribution publication, and release management.
How to install Maven on Mac
There are a couple of different ways to install Maven on your Mac. You can do it manually or use Homebrew. However you install it, you will need to first install the Java Development Kit on your Mac if you haven’t done so already.
How to install Java on your Mac
- Download the latest version of the Java Development Kit (JDK) here (click the first link after Ready for use).
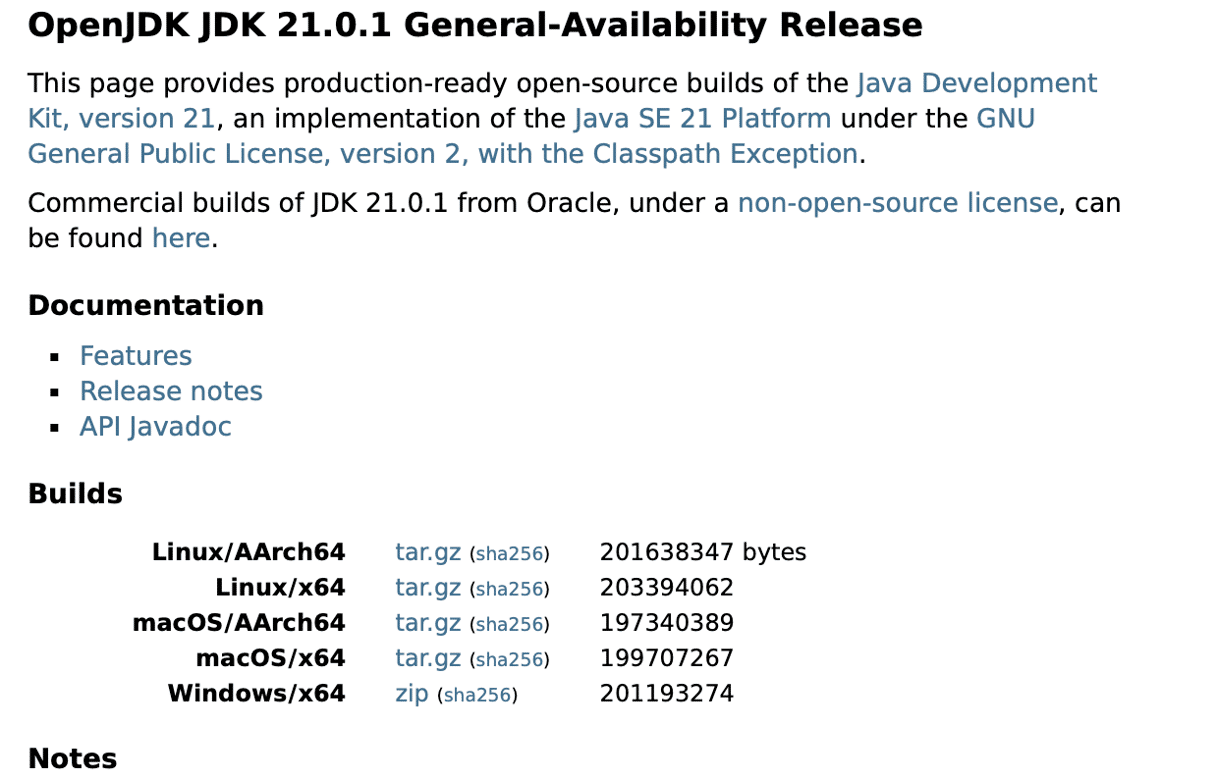
- On the next page, Click the tar link next to ‘macOS / AArch64’ if you have a Mac with Apple Silicon or ‘macOS / x64’ if you have an Intel-based Mac.
- Once the tar file has downloaded, it will be extracted automatically.
- You can then run the installer as normal to install the JDK.
Note: When you install the Java Development Kit, you may see a message telling you that it cannot be opened because the developer cannot be verified. If that happens, go to System Settings > Privacy & Security > General and choose Install Anyway. That will override Gatekeeper, the part of macOS that is preventing it from installing.
The requirement for developers to be verified by Apple in order for their software to be installed is designed to protect the security and privacy of your Mac. There are lots of other tools included in macOS that also do that, such as allowing you to decide which applications have access to your camera, microphone, screen recording, and certain folders. However, you can also take steps to improve your privacy, like clearing out your Recent Items lists, wiping your browser and downloads history, and removing cache files. Monitoring apps’ privacy settings and clearing out all those files is a lot of work, but you don’t have to do it yourself — CleanMyMac’s Privacy module can do it for you. It scans your Mac, checks the settings for each app, and identifies all those browser files and your Recent Items List. You can then clear out all the files with a click and quickly revoke permissions for any apps you want. You can download CleanMyMac for free here and try it for yourself.

How to install Maven using Homebrew
The simplest way to install Maven is to use Homebrew, especially if you already have Homebrew installed. If you don’t, follow the steps below to install it:
Install Homebrew
- Go to Applications > Utilities and open Terminal.
- Paste this command:
/bin/bash -c "$(curl -fsSL https://raw.githubusercontent.com/Homebrew/install/HEAD/install.sh)" - Press Return.
- Type in your admin password and press Return.
- You will see a list of files that will be installed.
- Press Return to continue.

Install Maven
With Homebrew installed, just type or paste the following command and press Return: brew install maven
Maven will be installed.
How to install Maven without Homebrew
If you don’t want to install Homebrew on your Mac, you can install Maven manually, though it’s a lengthier process than installing Homebrew then Maven.
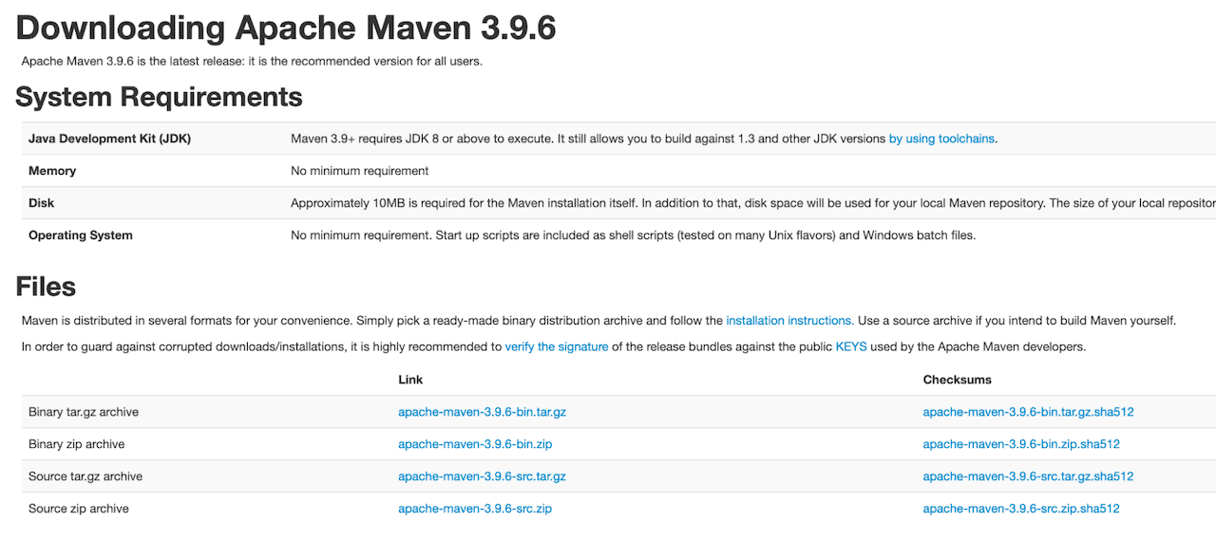
- Download the Maven binary tar.gz archive from here (it’s the first file on the list under Files).
- Open a Terminal window and use the commands below to extract the archive.
tar xzf ~/Downloads/apache-maven-3.8.6-bin.tar.gz -C ~ - You now need to append a couple of lines to the .zshrc file in your Home directory. To see the file, navigate to your Home folder in the Fnder and press Command+Shift+period to show hidden files. Then open .zshrc in Text Edit.
- Paste the two lines below at the bottom of the file in Text Edit. Then, save and close it:
export MVN_HOME=~/apache-maven-3.8.6export PATH=$MVN_HOME/bin:$PATH - Apply the changes by opening a Terminal window and pasting the command below, followed by Return:
source ~/ .zshrc - Verify the Maven installation using the command below in Terminal:
mvn -version
You should see information displayed in Terminal about the Maven installation.
If you want to develop Java applications on your Mac, installing Maven is a good idea. It makes the process of compiling, testing, and distributing Java apps much easier than doing it all manually. It will even write and publish the documentation for you. Follow the steps above to install Maven on your Mac, either using Homebrew or manually.


