Installing macOS Tahoe beta has been one of the most interesting updates I've tested in years, and not just because of the new Liquid Glass interface. I've been running it on my MacBook Pro for a couple of weeks now.
Some new features are brilliant, some are buggy, and a few are already shaping how I work every day. Since Apple opened beta tracks for 2025, I wanted to share exactly how I installed it, what worked, what didn't, and why backing up before upgrading is non‑negotiable.
This isn't just a step-by-step list; it's my first-hand experience, mistakes included, and a few expert tips you won't find in Apple's instructions.
Back up before the Tahoe beta upgrade
Before getting involved with the macOS Tahoe beta download, I did some important prep work, which I highly recommend to anyone out there looking to upgrade.
First, give your Mac a general cleanup because you'll need to back up your data before you install any beta software, and there is simply no point in backing up tons of useless system junk. I always use the Cleanup feature from CleanMyMac because it's fast, secure, and reliable. Here's how:
- Get your free CleanMyMac trial — use all tools for 7 days at zero cost.
- Open the app and select Cleanup > Scan.
- Click Review All Junk.
- Select and remove what you no longer need.
- Click Clean Up.


Once your Mac is tidy, it's time to back up your personal data. I personally use Time Machine, which is easy to set up from inside System Settings > General > Time Machine, but you've got options, such as iCloud and other cloud storage providers. Just don't skip this step.

Reasons to install Tahoe beta on macOS
If you're curious about what's coming next, installing the macOS Tahoe beta gives you early access to the new Liquid Glass interface and a first look at Apple's AI‑driven tools and developer features before the official release.
Beta testing is always a chance to get your Mac and workflows ready ahead of the full public launch, expected in September or October 2025. If you're a developer, then it's a perfect opportunity to test your apps against the upcoming changes. So let's get to the important part: how to do it.
How to install the macOS Tahoe developer beta
If you're a developer, getting on the macOS Tahoe beta early is essential for testing and refining your apps before the final release. Apple's developer track gives you access to features that aren't always stable but are crucial to understand before they hit the public. Here's how to have it installed:
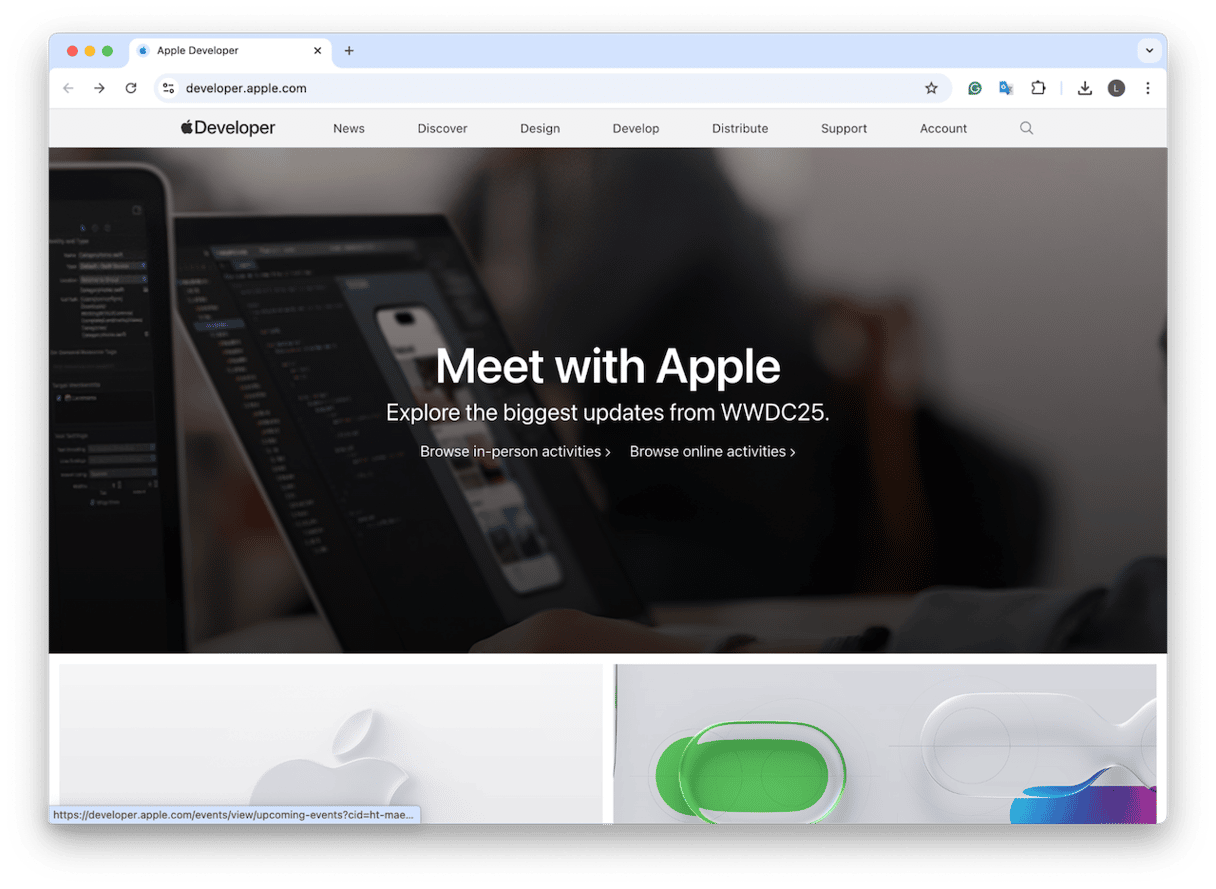
- Make sure you're using an Apple ID registered as a developer (paid Apple Developer account). If you're not, you can either sign up at developer.apple.com or wait for the public beta.
- Once you're signed up to the Apple Developer Account, go to System Settings > General > Software Update.
- Click the small Information icon right next to Automatic Updates or Beta Updates.
- Select macOS Developer Beta and click Done.
- After enabling Beta Updates, the system will check again, and you should see macOS 26 (Tahoe) Developer Beta appear, follow the steps to complete the install process.


Installation takes between 30 and 60 minutes, depending on your Mac.
How to install macOS Tahoe public beta
For non-developers and curious users out there, Apple macOS Tahoe public beta is released in July 2025, and it is open to all through the Apple Beta Software Program. This is very similar to the developer route, minus the developer login:
- Sign up at beta.apple.com
- On Sequoia, go to System Settings > General > Software Update > Beta Updates > macOS Public Beta.
- Choose the Public Beta option and apply.
- Then, in Software Update, click Upgrade Now.

Again, it can take a while, depending on your MacBook; give yourself at least 1 hour to complete the full process.
First macOS Tahoe beta testing thoughts
So, here are my personal thoughts after testing for a couple of weeks.
- Clunky UI: Liquid Glass looks slick, but translucency can cause lag on older Intel Macs.
- AI features: Spotlight, Shortcuts, and Messages have Apple Intelligence baked in. Early tests show promise, though some translations still stumble.
- Beta stability: It's more reliable than dev beta, but not production-ready.
- Rolling back: That backup clone paid off, and restoring took less than an hour. Don't skip backup.
If you decide beta Tahoe isn't for you, you can roll back to a previous macOS version if you had a Time Machine backup. Keep reading, and I'll show you how.
How to roll back to macOS Sequoia
Beta wasn't flawless, and I've got to be honest, on my MacBook Pro, I found that Spotlight occasionally froze, and my trusty third‑party VPN tools crashed. So I rolled back to Sequoia using my Time Machine backup, which is pretty simple to do:
- Boot into recovery mode.
- Choose Restore from Time Machine Backup, pick the snapshot before macOS Tahoe.
- Let it run
- The system was rebooted into Sequoia, just like before, and apps, settings, and everything were restored.
For me, macOS Tahoe beta is not perfect, with occasional freezes and odd bugs, but you do get a genuine feel for what Apple is building. If your workflow is important, stick with Sequoia on your main drive and run Tahoe on a second volume or external SSD. 2025 shows Apple doubling down on AI and UI design. Reporting bugs through Feedback Assistant helps shape the final version. When fall rolls around with the full release, you'll already be comfortable and ready. Stay curious but back up faithfully.