If you’ve ever downloaded an application from anywhere other than the Mac App Store, then it’s likely it came packaged as a compressed disk image. That’s a very useful and convenient way for developers to make applications available and works very well most of the time. Occasionally, however, you may see a message telling you that ‘the following disk images could not be opened…’ That usually happens because the disk image is corrupt. Here’s what to do if that happens.
What is a disk image?
A disk image on Mac is a file format that mimics a physical disk. Like physical disks, it can be mounted in Finder, where it looks like any other volume, have files and folders copied to and from it, and can be cloned or burned onto physical media like a CD or DVD. Disk images are ejected in the same way as physical disks and show up in Disk Utility. You can also use Disk Utility to create disk images of your own.
Disk images were originally used to distribute software remotely because the resource forks used by Mac applications couldn’t be transferred easily over networks like the internet. The introduction of Mac OS X meant resource forks were no longer used; however, disk images are still a popular way to distribute software. That’s largely because they allow the developer to control how the software is presented when the image is opened. For example, if you’ve ever downloaded an app that displays an image directing you to copy the app binary to your Applications folder, complete with an alias of the Applications folder, that’s only possible with a disk image.

What to do when you see the message “The following disk images couldn’t be opened”
The first step is to try re-downloading the disk image if you can. It may be that something happened during the download and corrupted the file. If re-downloading doesn’t work, and the disk image mounter on your Mac doesn’t work, you should use Disk Utility to verify the image.
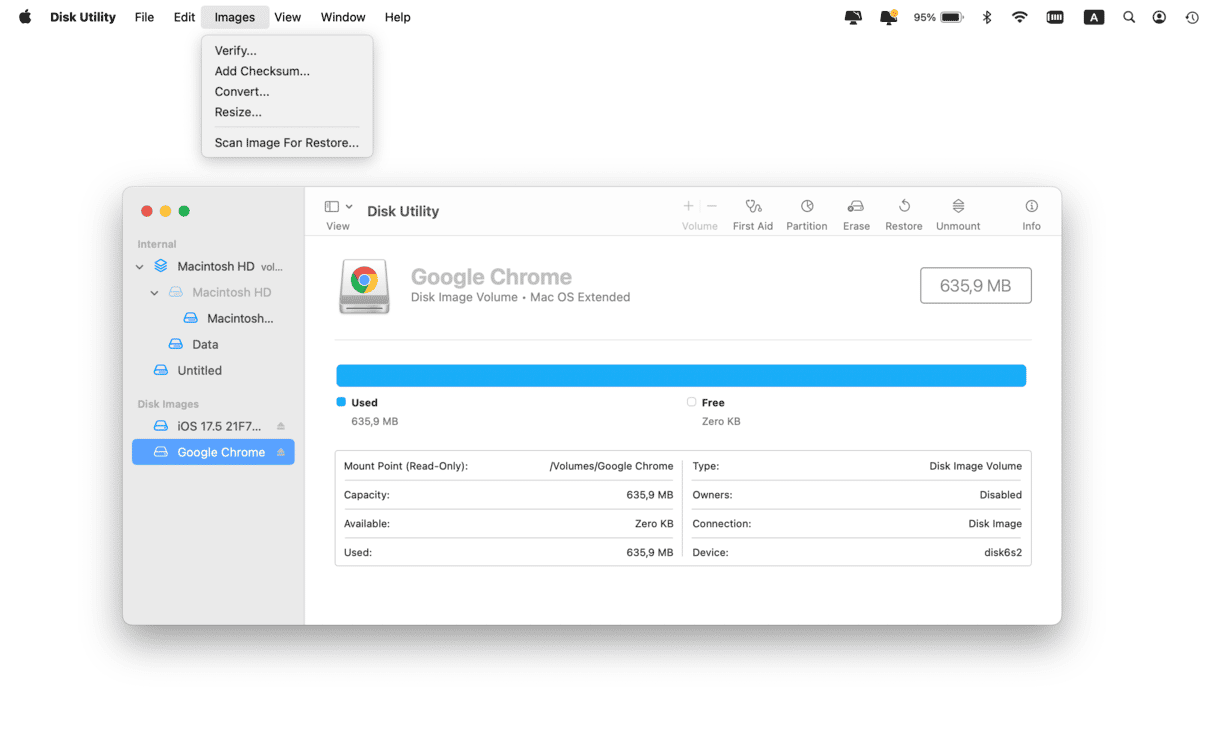
- Go to Applications > Utilities and open Disk Utility.
- Click Images in the menu and choose Verify.
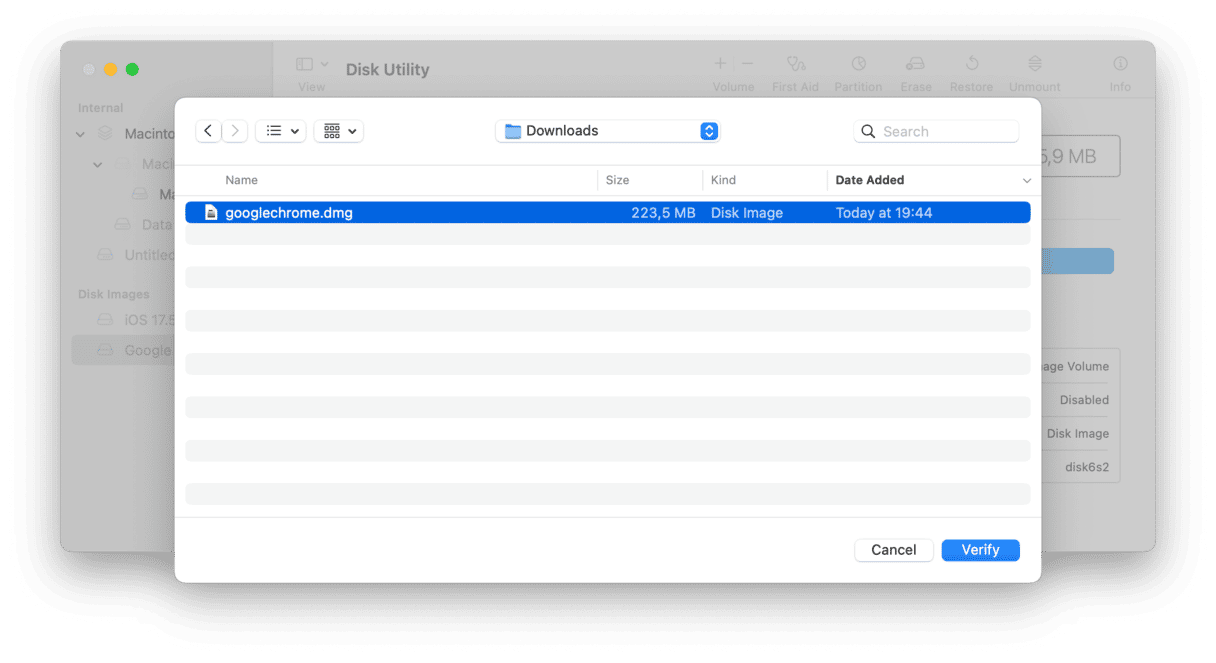
- Navigate to the disk image in your Downloads folder or wherever it is saved.
- Click Verify.


If the disk image verifies successfully, try opening it again. If it doesn’t verify successfully, even after you’ve re-downloaded it, contact the developer.
How to deal with problems installing and running apps on your Mac
Sometimes, when you can’t open a disk image, the problem isn’t with the disk image itself but with your Mac. Files that have accumulated on your boot drive can cause conflicts and prevent disk images from opening or applications from running correctly. CleanMyMac’s Performance feature can help resolve these issues. It can repair disk permissions that may help you out. Here’s how it works:
- Get your free CleanMyMac trial. Then, install and open the app.
- Choose Performance from the sidebar and run a quick scan.
- Click View All Tasks, select the routines you want to run (make sure to select Repair Disk Permissions), and click Run.

Once you’ve run the maintenance tasks, you should find that your Mac runs more quickly and smoothly.
Disk images are virtual disks that are widely used to distribute software. They date back to pre-OS X times when the resource forks used by Mac applications could be easily transferred over networks. Wrapping software in a container that replicated physical media allows it to be transferred. They also allow developers to control how applications look when they are first opened after being downloaded. However, occasionally, they become corrupt or run into problems. If you find that a disk image is not opening, follow the steps above to fix it. You can also use CleanMyMac’s Performance feature to repair disk permissions and run regular maintenance on your Mac to keep it running smoothly.