Notes are a wonderful way to record our thoughts. Whether at your desk or out an about, one of the numerous benefits of owning a Mac or iOS device is the ability to jot something down at a moments notice.
Notes also provide a great way to store sensitive information so we've got it when needed. Whether that means passwords or payment details. We often can’t remember these vital details, and with cyber security more of an issue than ever, passwords and login details are more complex.
Despite being told not to write them down, and despite the fact that Macs, iPhones and iPads should have passwords or Touch ID in place, any Notes with a password or our payment details is still a potential security risk and therefore vulnerability. Any password written down in a plain text format is a security risk, in the same way that it would be if a password is sent unencrypted over an insecure Internet connection.
Here is how to solve this security problem through locking notes on your devices

Locking Notes on iPhone, iPad, and Mac
Firstly, let’s look at how you lock a Note on a Mac.
1. Lock Notes on Mac
- Open the Notes app on your Mac.
- Go to the Note you want to lock.
- If you are using a Trackpad or Magic Mouse, use two fingers to slide from right to left to bring up the option to lock it.
- If you are using a mouse or not using gestures, simply click on the Lock icon, and in both cases:
- Select to Lock Note or click the Lock icon.
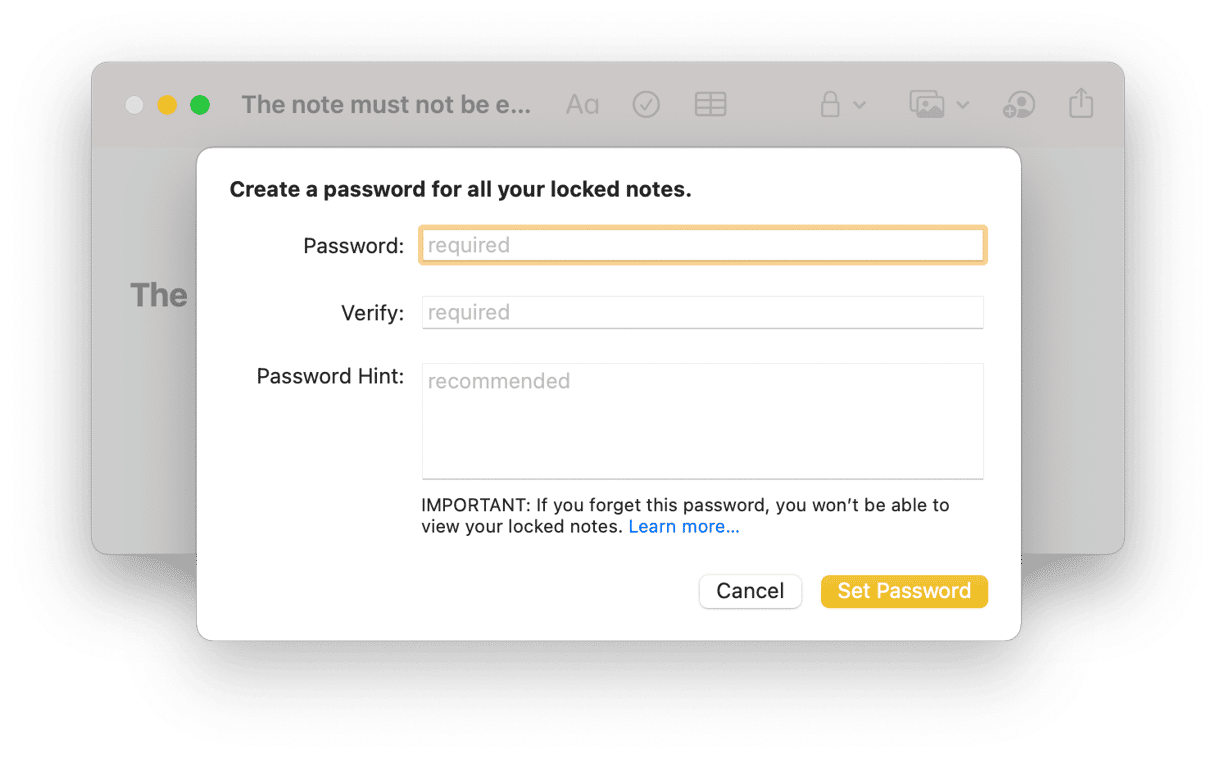
- It will either Lock straight away after inputting your Password, or if using Touch ID, confirming to lock the Note using your fingerprint (when selecting a Password, it could be the same one used for logging in or something separate).

If you haven't locked a Note before, it will bring up a short statement explaining how it works.
For those using Apple ID on more than one device, any Notes locked on one will automatically unlock on another. The reverse is also true, so an unlocked Note one device will unlock on the others that contain that Note. Once a Note is unlocked, it will remain that way until locked again.
2. Lock Notes on iPhone and iPad
On iOS devices, the process is slightly different. Unless you are logged in via the same Apple ID as the Mac, in which case the locking mechanism is in place on more than one device and everything is secure wherever you are, providing passwords or Touch ID is being used on every device.
Locking any notes on an iPhone or iPad need to be running iOS 9.3 or later, as earlier versions don't support this feature, nor do they support the syncing of locking between iOS and macOS. Here is how you lock notes when you haven't synced between devices using iCloud:
- Open the Notes app.
- Either open a Note you’ve already created or a new one.
- Tap on the Share button.
- Now tap Lock Note.
- It gives you the option to lock with a Password - it could be the same one used for logging in or something separate - or Touch ID.
- If you haven't locked a Note before, it will bring up a short statement explaining how it works.
And there you go, all of the Notes you want to protect are secure on every device, whether or not you sync between them using Apple ID and iCloud.
Do you keep your passwords in Notes?
No one can steal your Touch ID, but passwords are another issues. Some recent viruses used a breach in macOS security to steal users' passwords. So it's good to check if your system isn't infected by keylogger malware, or any other virus that can steal passwords.
Are keyloggers installed on your Mac? Check it here.
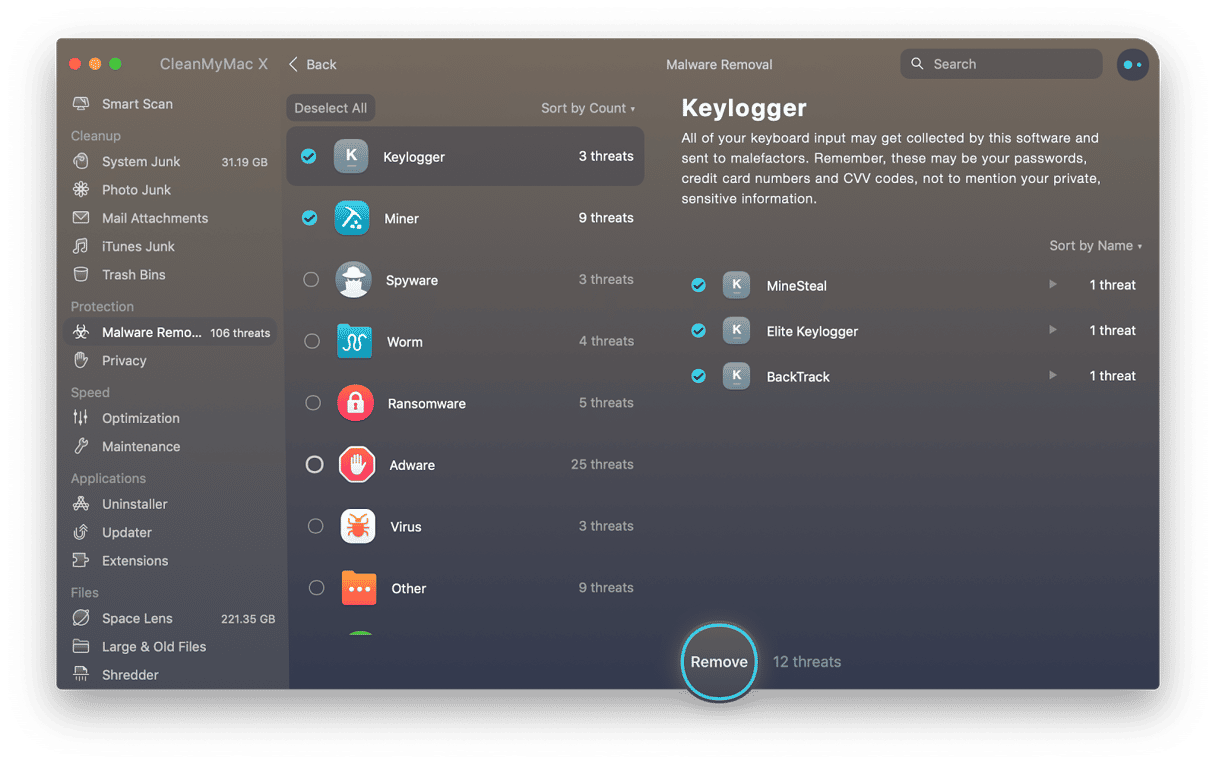
Do you save your passwords in Notes? Maybe it's a bad idea as there is a whole category of viruses that record users' key strokes. These apps are called keyloggers. Luckily, their presence can be detected pretty easily.
One way to check this is to download CleanMyMac and run the Malware Removal tool. It’s notarized by Apple as a safe app to use on macOS Catalina. It has a fresh database of keylogger malware and data-mining apps.
To check if you have suspicious agents running in the background:
- Run CleanMyMac — get a free trial here from the developer’s website.
- Click Malware Removal.

CleanMyMac is a powerful Mac protector and performance improvement app. If you've got a virus on your Mac, it will find and eliminate it, even if you aren't currently aware of a potential problem.


