Not so long ago, if the boot drive on your Mac ran into problems that needed to be fixed by Disk Utility or third-party software, or you needed to reinstall macOS, you would have to boot your Mac from an external drive or even a DVD. That’s unnecessary now, thanks to the Recovery partition created on every Mac that runs macOS Lion or later. But what is the Recovery partition, what does it do, and how do you use it? We’ll answer these questions and more in our ultimate guide to Mac recovery mode.
What is recovery mode on the Mac?
Recovery mode is the name given to the mode of operation your Mac enters when you boot into its Recovery partition. The Recovery partition is a hidden section of the boot drive that houses a bootable installation of the latest version of macOS installed on your Mac.
In addition to a Recovery partition on your boot drive, Apple also hosts one on its servers, so if you can’t boot into the local partition, you can use Internet Recovery mode and boot into that one.
When do you need Mac recovery mode?
The most likely reason you will need recovery mode is if your Mac won’t boot normally or if it is frequently crashing and you can’t find any other reason. You would then use recovery mode to reinstall macOS. You may also need it if you want to restore your entire Mac from a Time Machine backup.
One of the less common reasons for using recovery mode is to perform an operation in Terminal —such as disabling security integrity protection (SIP) — that you can’t perform on the partition you have booted from.
What does recovery mode on the Mac do?
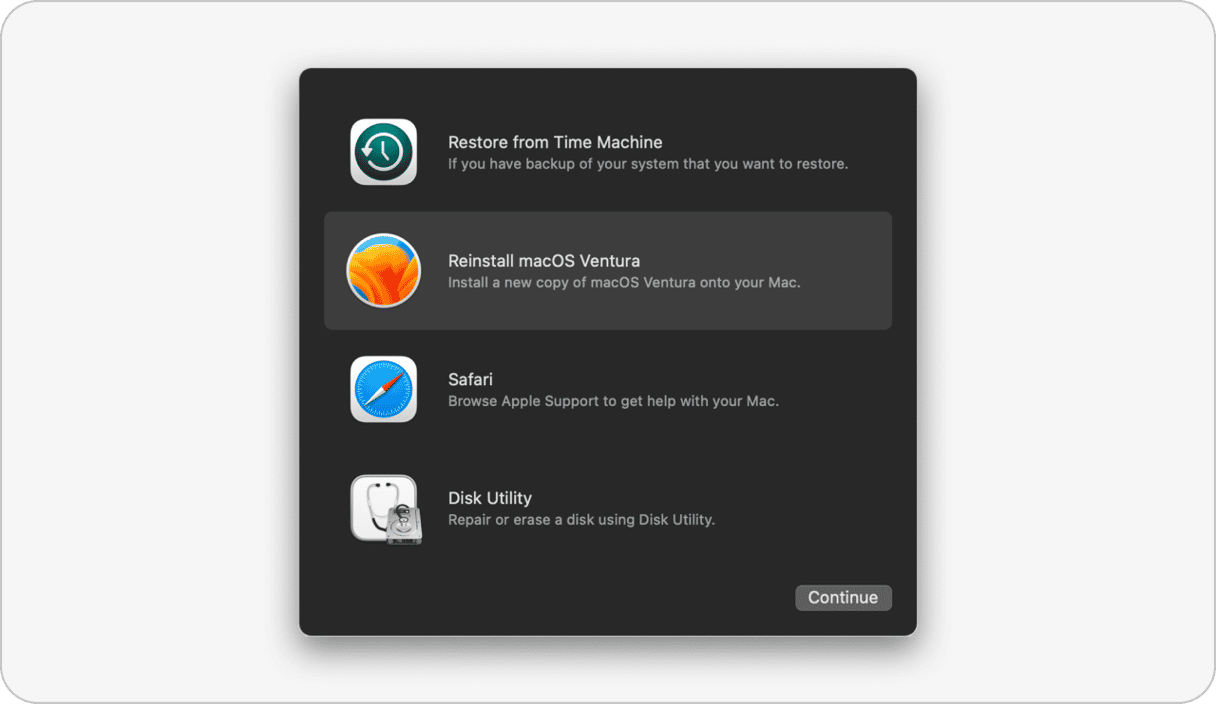
The recovery mode can be used to repair your boot disk, reinstall macOS, restore your Mac from a Time Machine backup or perform other operations on your boot drive. It has a pared-down user interface that provides access to its functions through a tool called macOS Utilities that appears on the startup in the macOS Recovery. You can also access additional tools like Startup Security Utility and Terminal through the Utilities menu bar.
How to boot your Mac in recovery mode
The process to start your Mac into recovery mode differs slightly between Apple silicon and Intel-based Mac computers. We’ll describe them separately below.
Intel-based Mac
- Shut down your Mac.
- Press and hold Command-R, then press the power button.
- Release Command-R when you see the Apple logo or another image.
- Type in your admin name and password when prompted.
- You should now see the macOS Utilities window.

Mac with Apple silicon
- Shut down your Mac.
- Press and hold the power button until you see the startup options screen.
- Click Options, then Continue.
- Type in your admin name and password.
Other key commands for macOS recovery mode
In addition to using Command-R to restart an Intel-based Mac in recovery mode, there are other key commands you can use. They all start your Mac in recovery mode, but they differ in the version of macOS they install when you choose the Reinstall macOS option.
- Command-R: the current version of the most recently installed macOS.
- Command-Option-R: the latest version of macOS that is compatible with your Mac.
- Shift-Command-Option-R: the macOS that came with your Mac or the closest version still available.
When you use option 1 above, your Mac will boot from the Recovery partition. When you use options 2 or 3, it will boot in Internet recovery mode, and so you will need to be connected to the internet.
What to do when you can’t boot in recovery mode
If you try to start your Mac in recovery mode and it doesn’t work, there are a number of things you can try.
- Make sure you’re following the correct steps for the Mac you’re using. Using Command-R or any variation of it doesn’t work for a Mac with Apple silicon, for example.
- Make sure you press the keys simultaneously, not one after the other.
- Shut down your Mac. Then press the power button to restart it. Count to 3 before pressing the keys to give your Mac more time to recognize the keyboard.
- If you’re using a Bluetooth or other wireless keyboard, swap it for a plug-in keyboard if you can – your Mac will recognize that more quickly during startup.
- Make sure there isn’t a firmware password set. If someone else administers the Mac you’re trying to start up in recovery mode, they may have set up a firmware password. You will need to type this in during startup to enter recovery mode. Once macOS Utilities appears, you can switch off the firmware password by choosing the Utilities menu, then Startup Security Utility or Firmware Password Utility. From there, you can choose Turn off Firmware Password.
- If you can’t boot from the Recovery partition on your Mac, try booting into Internet recovery by pressing Command-Option-R or Command-Shift-Option-R. That should work, even if the recovery partition on your Mac is missing or corrupt.
- If you can boot normally but not in recovery mode, check to see if there is a recovery partition on your Mac. Go to Applications>Utilities and double-click Terminal to launch it. Type: diskutil list You should see a list of volumes connected to your Mac. One of them should include the words ‘Apple_Boot Recovery HD’. If it’s not there, you won’t be able to boot into recovery mode and will need to use Internet Recovery or go to the next step.
- Boot macOS from an external hard drive or USB stick. If you have a bootable installer or a clone of your boot disk, boot from that. If not, try booting from a Time Machine volume if you use Time Machine. Once you’ve booted from an external disk, you can use Disk Utility to try and repair your startup disk. You may need to reinstall macOS, so now would be a good time to back up your data.
Do you really need recovery mode?
Recovery mode is a great tool for when nothing else will fix the problems on your Mac. But it’s very rarely necessary. Most of the time you enter recovery mode, you’re going to reinstall macOS, which is a pretty drastic step to fix problems. So, it’s important to evaluate other options before you take that step. Here are some things you should try first.
- Restart your Mac. Sometimes a normal restart is all you need to get things working correctly. It gets rid of temporary files and frees up RAM.
- Check your Wi-Fi and broadband connection. If your Mac is running slowly, the problem may be your internet connection - either your Wi-Fi network or your broadband provider. So much of what we do on our Mac relies on communicating with remote servers that a bad connection can slow everything down.
- Reinstall problematic applications. If your Mac crashes or hangs while using the same application each time, it’s likely that the application is at fault. Try reinstalling it.
- Scan your Mac for malware. Yes, Mac computers do sometimes get infected with malware, and it can cause them to slow down and crash.
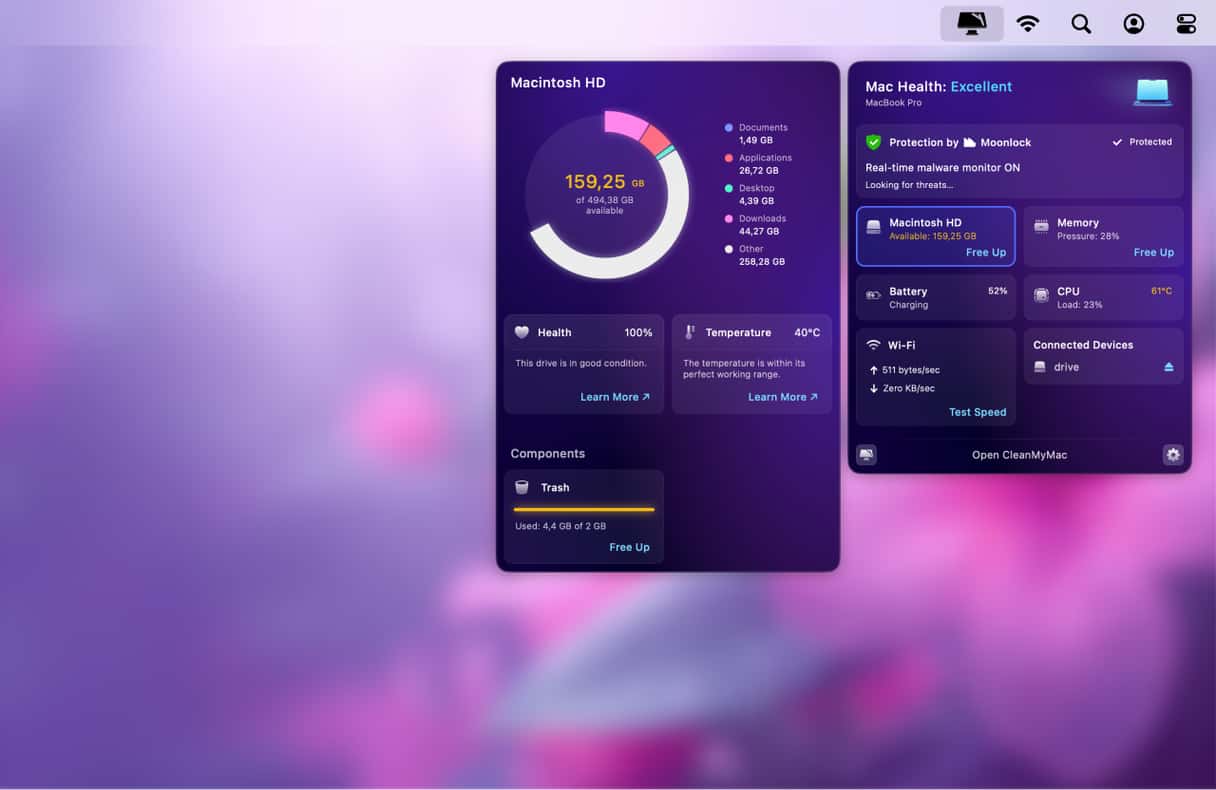
Recovery mode is a tool that allows you to boot your Mac into a different partition when you can't boot normally or when your Mac is having serious problems. Usually, that partition is on your startup disk, but it's hidden away during normal use. While there are several things you can do in recovery mode, most of the time, you'll use it to restore your Mac from a Time Machine backup or reinstall macOS. Before you take that step, consider using a diagnostic tool like CleanMyMac to identify and fix problems on your Mac.


