Updating your Mac is an important and usually error-free process. It makes sure that your computer is protected by the latest security updates and adds fixes for bugs. So, if you try to update your macOS and see the error message telling you, “The macOS installation couldn’t be completed,” it can be frustrating and stressful. In this article, we’ll show you what to do when that happens.
The macOS installation problem
When you update your Mac using Software Update, it goes through downloading and installing the new version of macOS. However, when it restarts, instead of displaying the login window, it displays an alert that says, “The macOS installation couldn’t be completed.” There are four buttons beneath the message: Shut Down, Restart, Save Log, and View Log. If you choose Restart or Shut Down and then boot your Mac, you are met with the same message and the same four options in a seemingly endless loop.
How to solve the “macOS installation couldn’t be completed” problem
As we said, simply restarting your Mac or shutting it down and booting it from scratch won’t work, so try these methods in order.
1. Boot into Safe mode
Safe mode starts your Mac with only the essential extensions loaded. It then attempts to repair disk problems using Disk Utility’s First Aid. It also deletes the cache and other temporary files. Sometimes, booting in Safe mode is all you need to do to fix problems. Once you’ve booted into Safe mode if everything appears to be working ok, reboot normally.
There are two different booting methods in Safe mode, depending on whether your Mac has an Intel or Apple silicon (M1 or M2) processor.
For an Intel-based Mac:
- Shut down your Mac and wait 10 seconds.
- Restart your Mac while holding down Shift.
- Let go of Shift when you see the login window.
- Log in. You might have to log in more than once and should see “Safe Boot” in the top corner of the login window.
For a Mac with Apple silicon:
- Shut down your Mac.
- Press and hold the power button, and let go of it when you see startup options.
- Choose the startup disk, hold down the Shift key, press Continue in Safe Mode, then release the Shift key.
- Log in. You might have to log in more than once.
2. Boot in Recovery mode
If Safe mode didn’t do the trick, boot your Mac in Recovery mode and run First Aid in Disk Utility. If that doesn’t work, you will need to reinstall macOS from the Recovery partition.

For an Intel-based Mac:
- Shut down your Mac.
- Start your Mac while holding down Command-R.
- When it boots, choose Disk Utility from macOS Utilities.
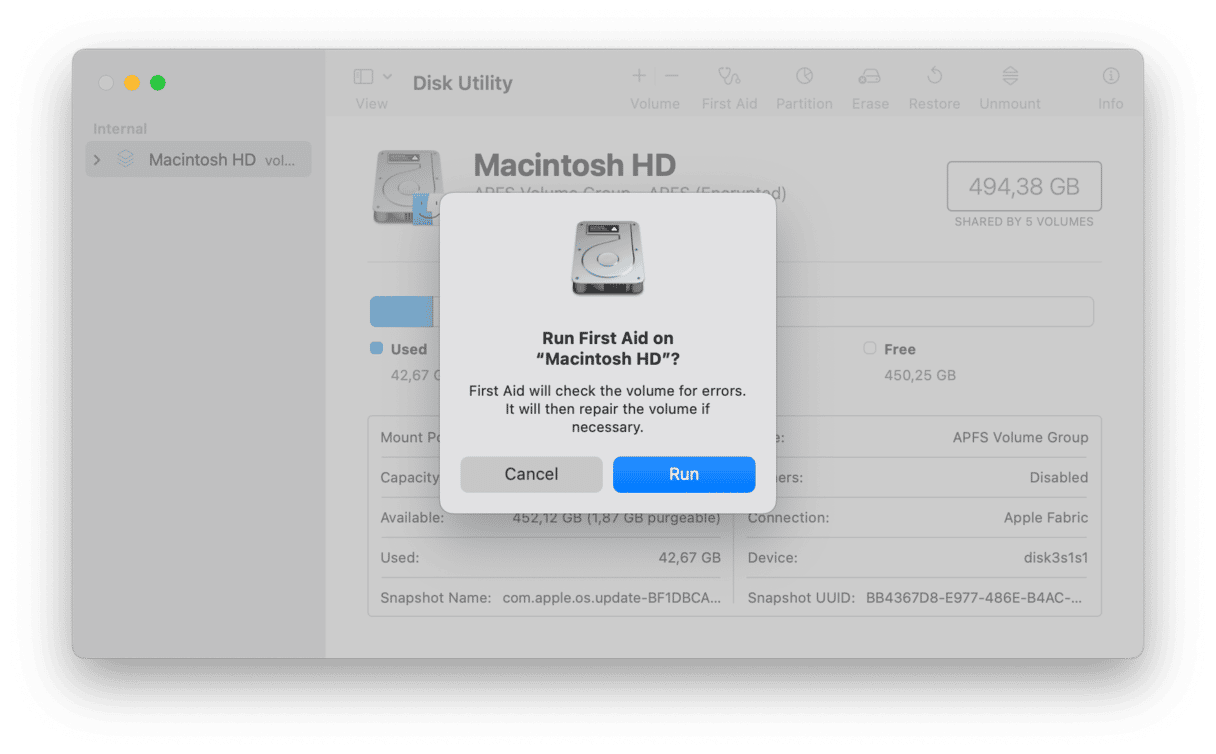
- Select First Aid and confirm you want to run it.
- Disk Utility will scan your disk for problems and fix them.
- When it’s finished, restart your Mac and try to log in.
For a Mac with Apple silicon:
- When turning on your Mac, press and hold the Power button.
- Keep it pressed until you see startup options.
- Click the Gears icon (Options) and hit Continue. You may be asked to select a user and enter their administrator password. Follow on-screen instructions and press Next after any action you take.
- From macOS Utilities, choose Disk Utility.
- Select First Aid and confirm you want to run it.
- Disk Utility will scan your disk for problems and fix them.
- When it’s finished, restart your Mac and try to log in.
If that doesn’t work, boot into Recovery mode again and, this time, choose Reinstall macOS. It will reinstall the macOS version your Mac is currently running and install the latest update.
A failed macOS update can be quite scary. However, it’s not too difficult to fix. At worst, you’ll have to reinstall macOS from the Recovery partition. Follow the steps above in order, and you’ll be back up and running again in no time.


