If you frequently shoot photos and import them to your Mac, you definitely have plenty of duplicates hidden in the depths of it. These imported files can be accessed via the Photos app — an application that replaced iPhoto in 2015.
Duplicates in the Photos app appear of two different kinds: the hidden and the visible. Let’s take a look at how to delete duplicate pictures in Photos to free your gallery from both.
How to find and remove Photos duplicates
After you crop, resize, rotate, or otherwise edit your photos, Photos stores the original unedited photo for safekeeping — and hides it in the depths of your Photos library. These copies are kept hidden from you, the user and they significantly increase your library size.
Fortunately, the app CleanMyMac was created to help you in this situation. After you start your free trial, CleanMyMac will let you scan your computer for all types of clutter, including duplicate files, and quickly delete them.
How to remove duplicates from Photos with a duplicate cleaner
You can follow these steps to remove all of your hidden duplicates from the Photos app:
- Start your free CleanMyMac trial.
- Go to My Clutter and run a scan.
- Click Review All Files > Duplicates.
- Select the items you want to delete and click Remove.

If you want to give your Mac a thorough cleanup, go to Cleanup in CleanMyMac. It will help you clear unneeded system junk files and free up much-needed storage space.

How to remove duplicate photos manually
Visible duplicates in the Photos app are just as common as hidden ones. Whether you saved a picture from an email or text multiple times, or you just had an issue the last time you synced your iPhone. But the good news is you can manually go through your library to find and remove any duplicates.
After you open the Photos app, you can scroll through to look for duplicate or similar-looking images. But when you find a copy of a picture, how do you know which one to delete? You can follow these steps will help you figure it out:
- Click on one of the photos.
- On your keyboard, press Command+I.
- Verify the photo’s name, resolution, and file size.
Repeat those steps for every copy of the photo you find. The photo’s name will tell you if they’re exact duplicates, and the resolution and file size will tell you which one is of higher quality.
When you find the picture(s) you want to delete:
- Select the picture.

- Click Delete on your keyboard.
- Click Delete.
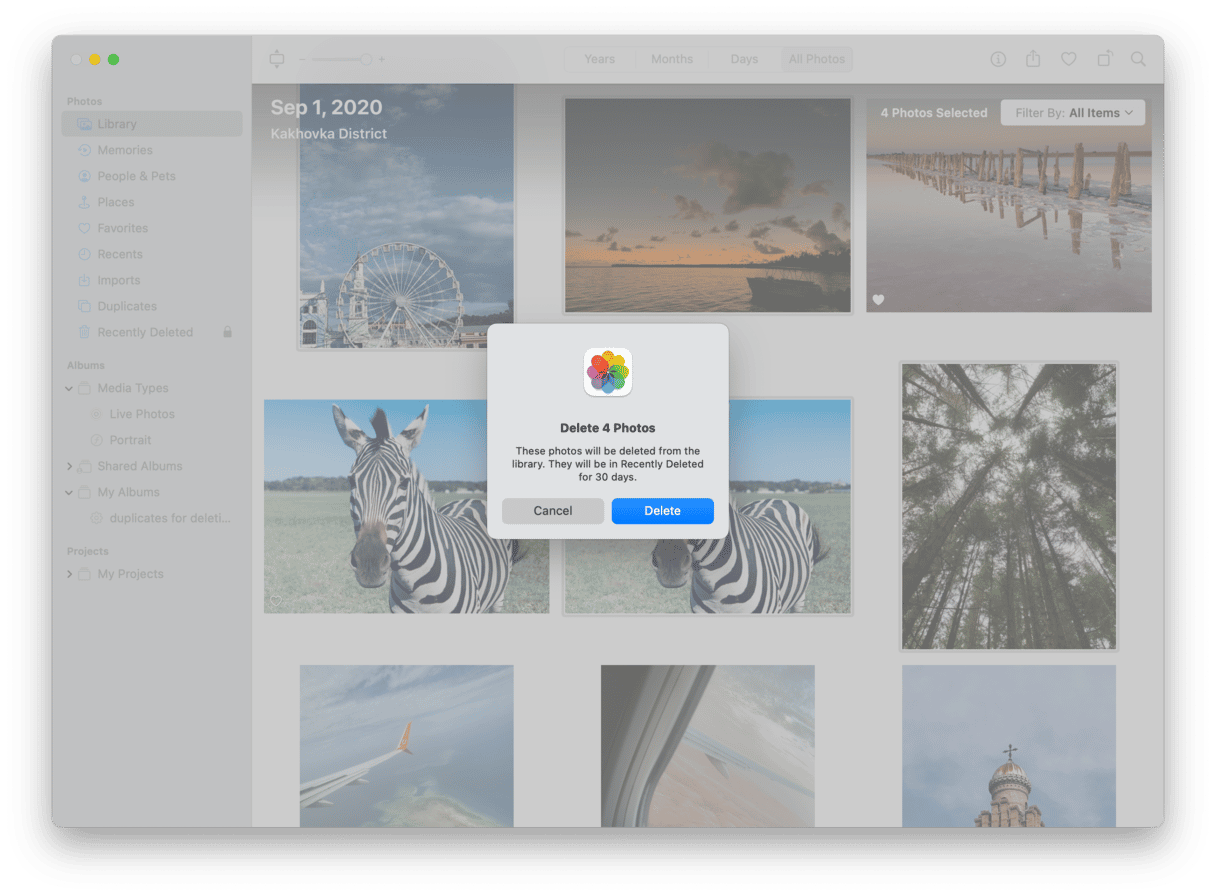
Note: You can select multiple photos by holding down the Command key and clicking on them.
Don’t forget to go to the Recently Deleted tab in the left sidebar and remove your photos from there to actually free up space on your computer.

Manual duplicate photos removal in macOS Ventura or later
If you installed macOS Ventura or Sonoma, the Photos app comes with a built-in duplicate finder. It makes the process of finding and removing duplicate photos less painful and significantly faster.
Here’s how to use this feature:
- Open the Photos app.
- Click Duplicates from the sidebar.
- Click Merge [x] Items > Merge [x] Exact Copies.
- Delete the photos from the Recently Deleted album.
Note: The Duplicates album appears automatically. If it’s not there yet immediately after an upgrade to Ventura or Sonoma, connect your Mac to the power source and quit the Photos app. It may take a while for the system to scan your library and find the duplicates.
Searching manually definitely requires a bit of time and patience. So, if you start this process and realize you might have bit off a little more than you can chew, then you should check out CleanMyMac to scan your photo library and help you quickly remove the duplicates.
That’s it. You’re done cleaning up the duplicates in your gallery. It’s a good idea to repeat duplicate search and cleanup every now and then to make sure you haven’t accumulated any new copies and are wasting your Mac space on the useless files. Cheers.


