When Apple’s M1 MacBook Pro was first released, it seemed lightning fast. Coupled with a macOS version optimized specifically for Apple silicon and built-in apps, it was much faster than the Intel-based MacBook Pro that preceded it. However, over time, and particularly as Apple has launched even faster Macs, some M1 MacBook Pro’s users have noticed that their laptop often seems slow. In this article, we’ll show you how to make your MacBook Pro less laggy.
Why is my M1 MacBook Pro laggy?
There are lots of reasons why your M1 MacBook Pro may be laggy. It could be:
- An app that you installed (Google’s Chrome web browser is reported as causing problems for M1 MacBook users)
- A login item or background extension that is using lots of your Mac’s resources
- A malware infection
- Corrupt system files
- A system process that has broken
How to make your M1 MacBook Pro less laggy
In order to make your MacBook Pro less laggy, ordinarily, you would have to identify the cause of the lag and fix it. That could be very time-consuming and laborious. But there is an easier way — CleanMyMac’s Menu App lets you control what’s going on in the background and do a lot to improve its performance. It will also report back on your Mac’s health.

You can use it to run a background virus scan, quit top consumers to free up RAM and reduce high CPU usage, monitor battery health, and even free up space. Click each section to reveal more information or open CleanMyMac from there to run extra scans.
The best part? You can test it without extra charge — get your free trial here. Then, click a little iMac icon in the menu bar, and you will open the Menu App.
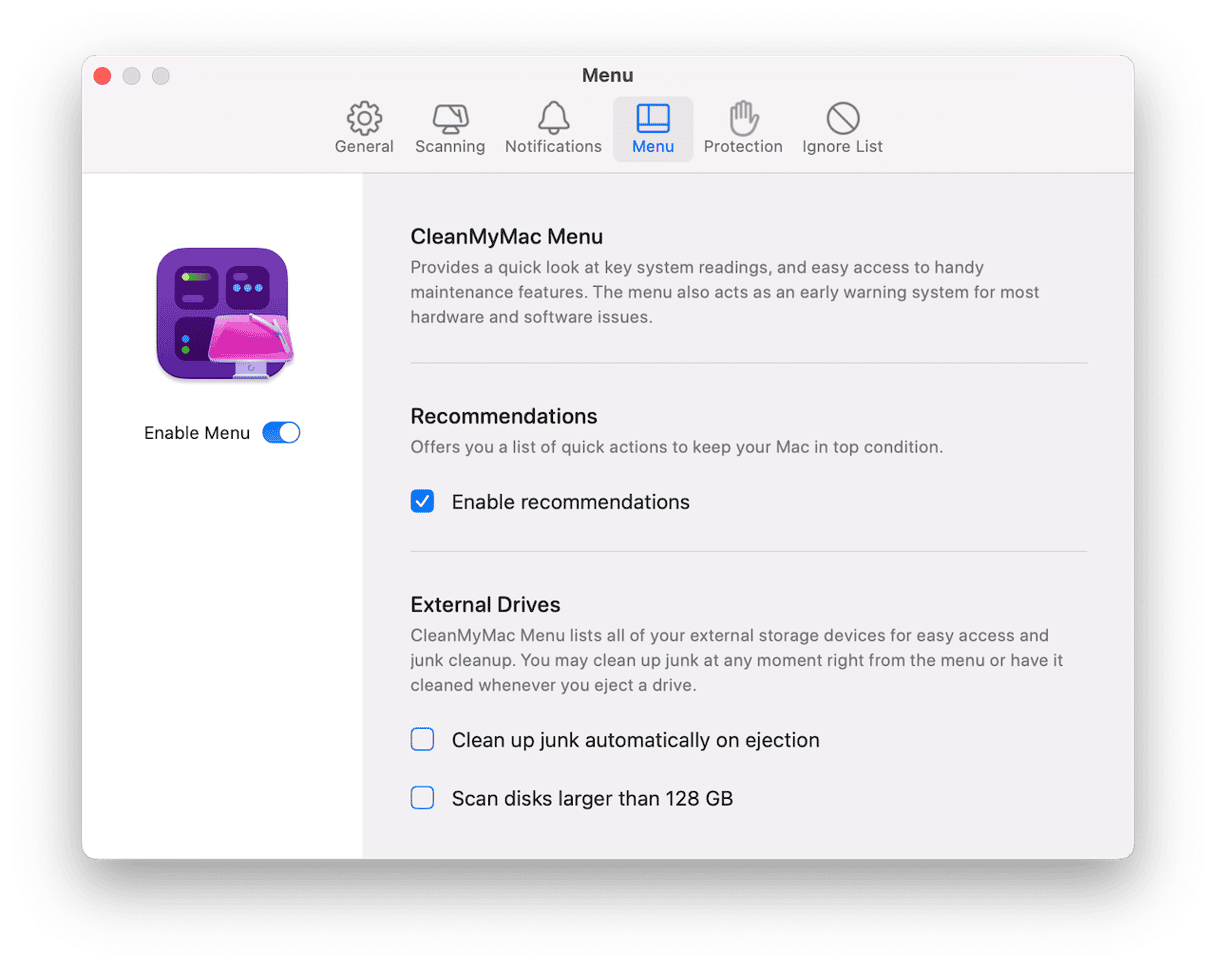
If, for some reason, you cannot see the iMac icon in the menu bar, open CleanMyMac and go to Settings > Menu to enable it.
If you prefer the DIY approach, here’s how to identify the cause of the lag and fix it.
1. Restart your Mac
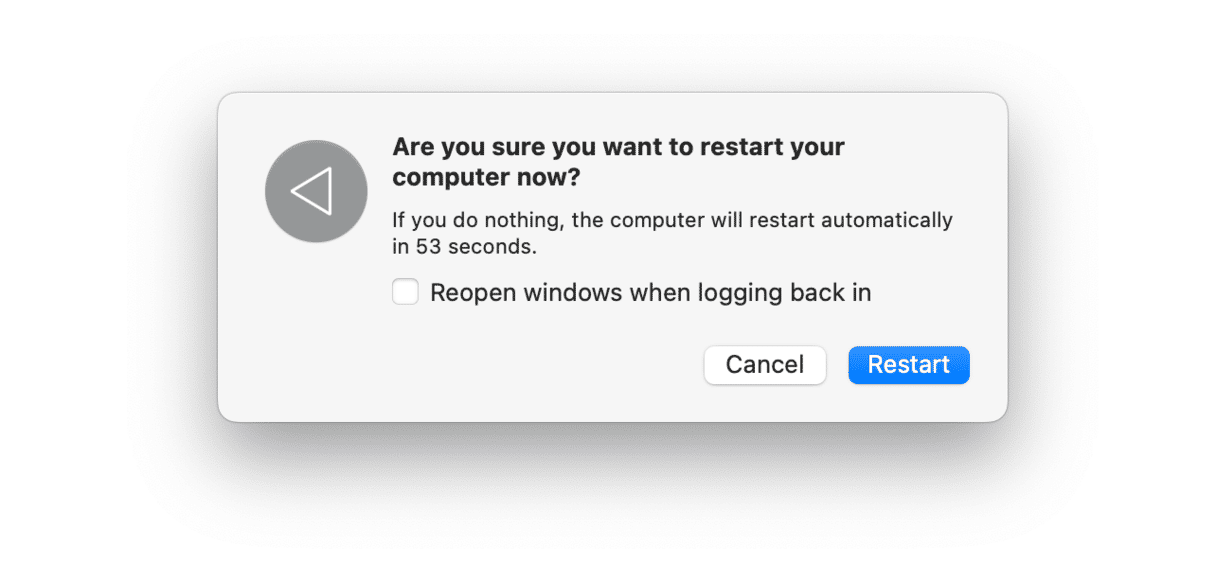
Sometimes, restarting is all you need to do to fix problems like lagging. Restarting and M1 Mac carries out checks on your startup disk and resets NVRAM and the system management controller.
Make sure to deselect the checkbox next to “reopen windows” not to put too much strain on your MacBook.
2. Update macOS
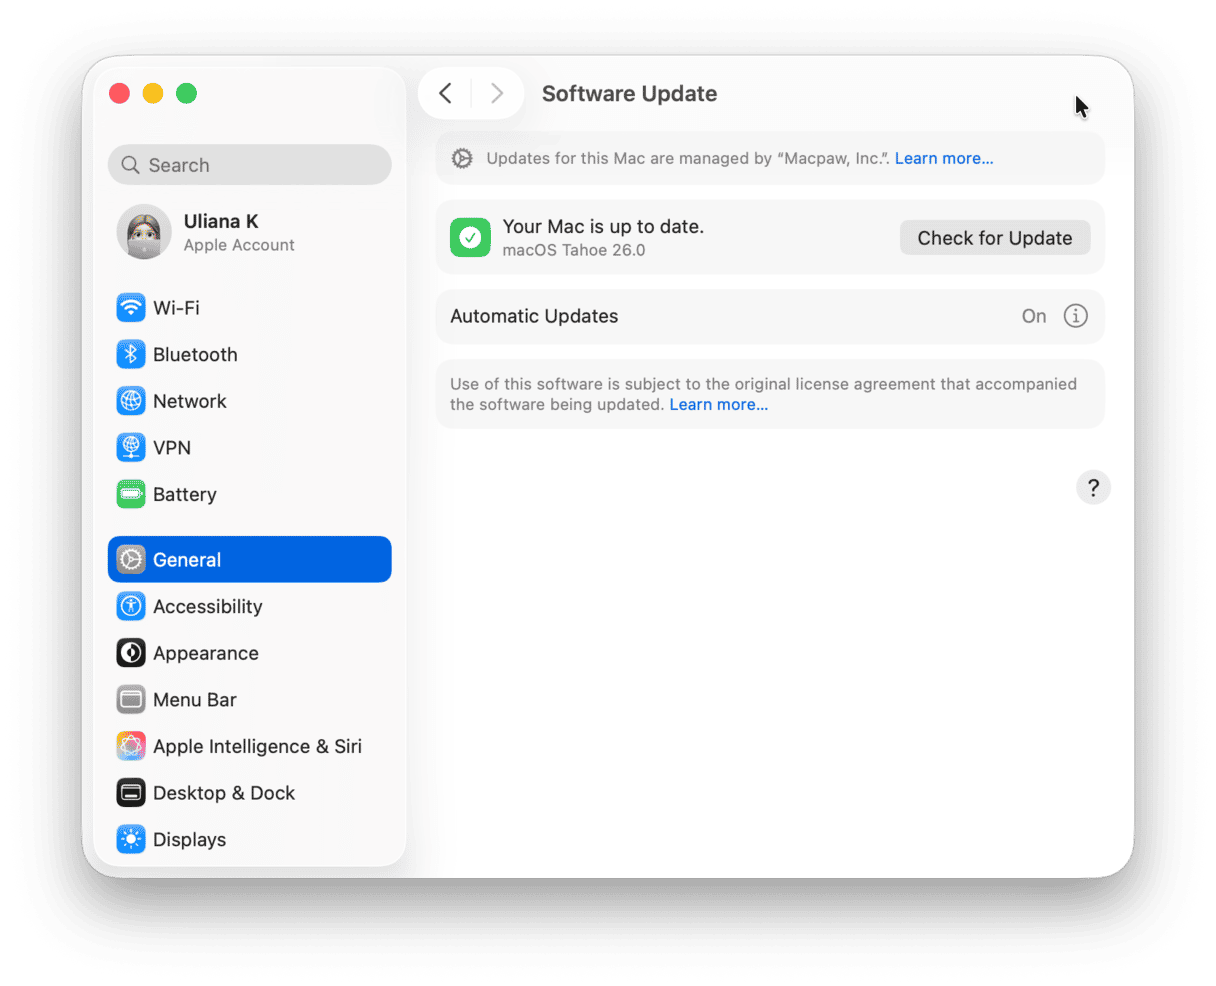
If your M1 MacBook is still lagging, go to System Settings > General > Software Update to check if an update is available. If it is, follow the instructions on screen to install it.
3. Check Activity Monitor
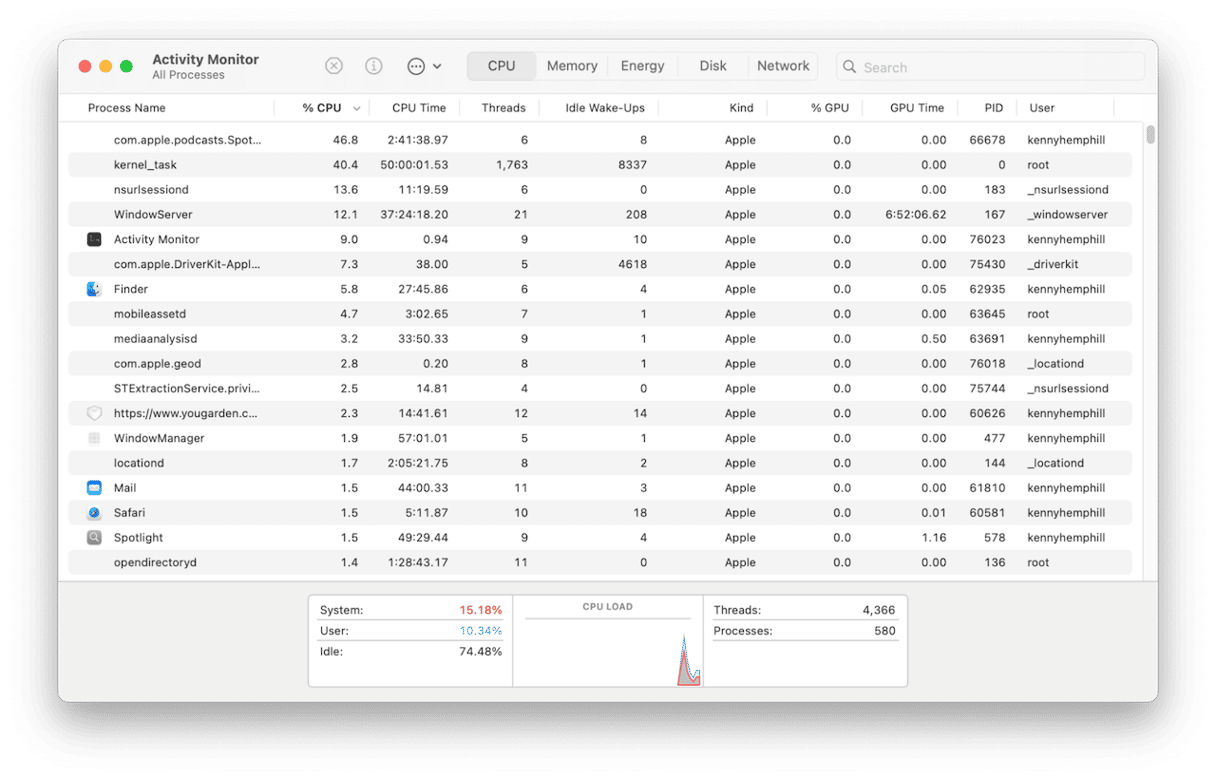
Activity Monitor is a great resource. It can tell you quickly which, if any, processes are hogging system resources. Any process that is using more than its fair share of resources is likely to be the cause of a laggy MacBook.
- Go to Applications > Utilities and open Activity Monitor.
- Click the CPU tab and then the %CPU column header. You will see currently running processes ordered by the % of CPU cycles they are using. If any process is using more than 50% of CPU cycles, that could be the cause of the lag. If you know which app the process belongs to, quit the app. If not, select the process and click ‘x’ in the toolbar.
- Repeat step 2 for the Memory and Energy tabs.
4. Clean up the junk
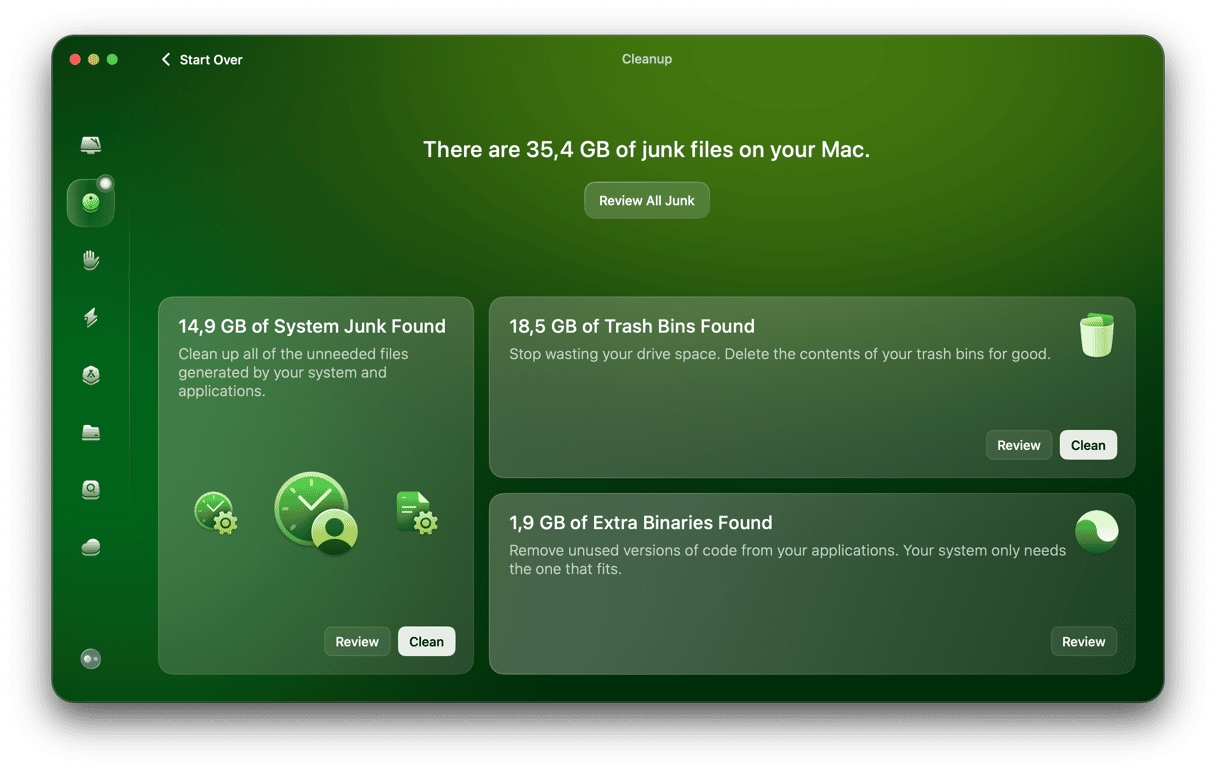
If there’s no obvious cause of your laggy M1 MacBook Pro so far, you should clean up the junk on your Mac, just in case that is the problem. Junk files include old cache files, temporary files that were supposed to be deleted but weren’t, language files for languages you don’t need, and different cache files. The easiest way to check for and get rid of all that junk is to use CleanMyMac’s Cleanup feature.
- Open CleanMyMac — get your free trial here.
- Choose Cleanup in the sidebar.
- Click Scan.
- Choose Clean in all the panes where it is available or Review All Junk to see what it has found.
5. Remove Google Chrome
A number of users on Apple’s discussion forums have noted that when their M1 MacBook Pro was laggy, they identified the WindowServer process as the culprit. WindowServer is a key part of macOS, so you can’t just not run it.
However, those users also found that it was Chrome’s implementation of WindowServer that was the issue and that completely uninstalling Chrome by removing every file it had placed on their Mac fixed the problem. Check out this article on how to uninstall Chrome from Mac for extra steps on complete browser removal.
If you have an M1 MacBook Pro, you probably remember how fast it felt when you first used it. So, if it’s now
running slowly, it’s bound to be frustrating. Fortunately, there’s a lot you can do to fix it. Follow the steps above to make your M1 MacBook Pro less laggy.


