There’s plenty of good reasons to have multiple photo libraries. Whether you take photos for work and want to keep them separate from your personal pictures. Or you like to split your libraries based on the date of your images. But having multiple photo libraries can get messy fast, especially if you’re switching back and forth while also importing new pictures to each.
If you’re reading this article because you want to end the hassle of dealing with different libraries, then you can sigh in relief. This article will cover three ways to consolidate iPhoto libraries and what you should look out for as you’re doing it.
Before you merge photo libraries
The first thing you should do is backup everything. You’ll be combining photos and deleting others. Mistakes are bound to happen. And the last you’d want to do is accidentally delete a picture of your child’s birth or your lunch from last Tuesday. You know, pivotal moments in your life you won’t be able to recreate.
How to merge photos in iCloud
For iCloud members, merging your photos in the cloud can be a pretty easy way to do it. The downside is it takes up a lot of storage space. But if you’re already using more than the free 5 GB you get with your iCloud account, you might be okay.
The first thing you need to do is make sure you’re syncing your photo with iCloud on your Mac. Go to System Preferences > Apple ID > iCloud and check the box next to Photos if it isn’t already.
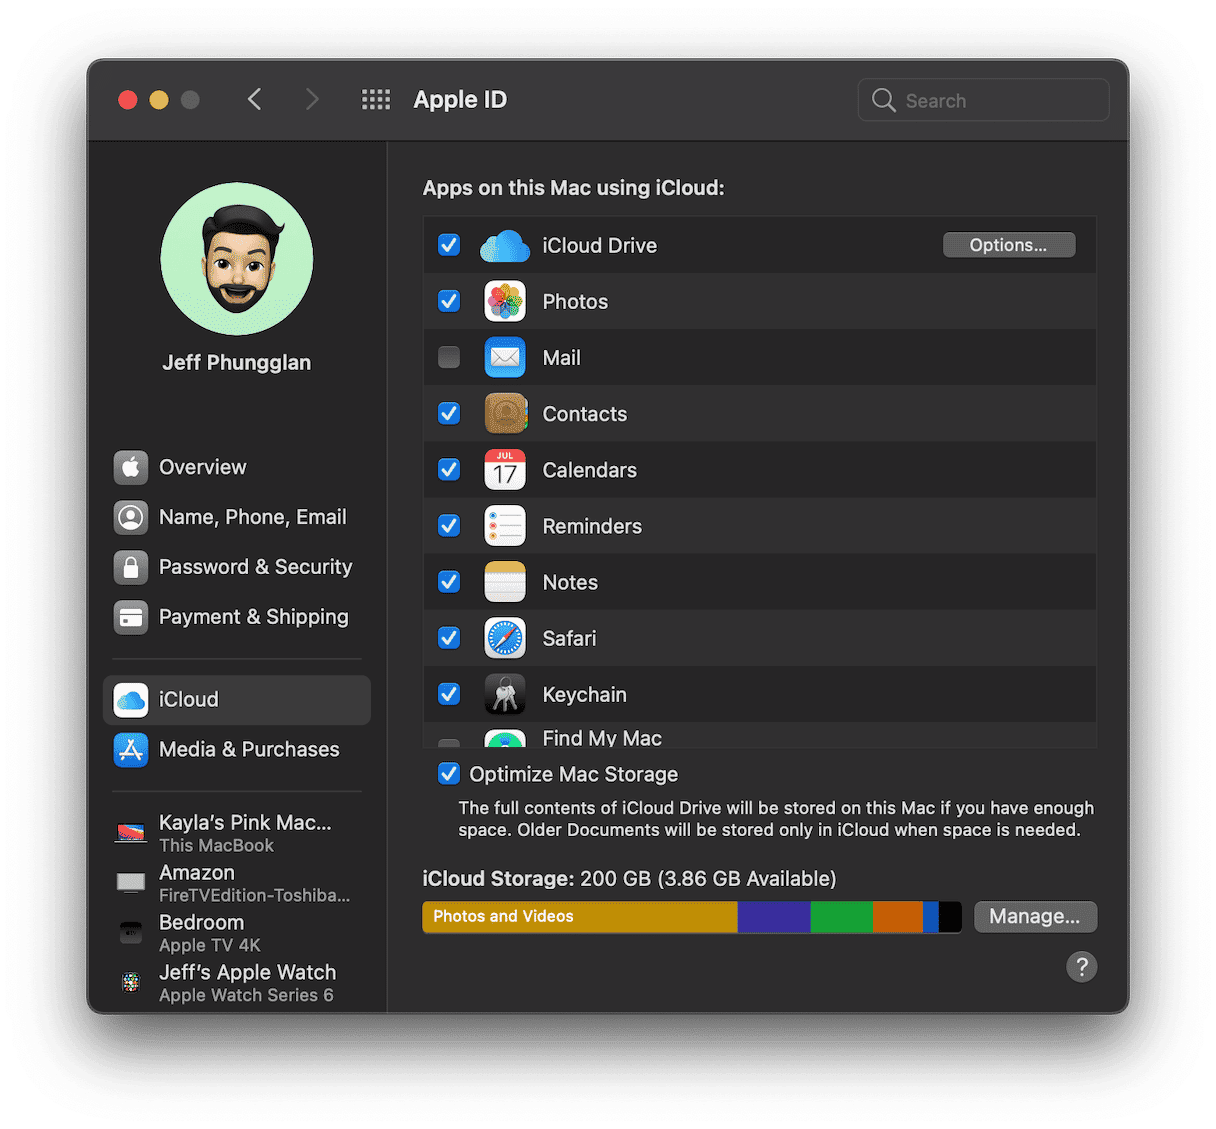
Now that that’s syncing, follow these steps:
- Find the Photos library you want to start with and double-click to open it.
- In Photos > Preferences > General, click Use as System Photo Library. (If it’s grayed out, then that library is already the System Photo Library.)
- Scroll to the bottom of the Photos to see the progress of your pictures uploading.
Note: If you need to pause the upload for any reason, click the pause link. Then, you’ll be able to resume it at a later time.
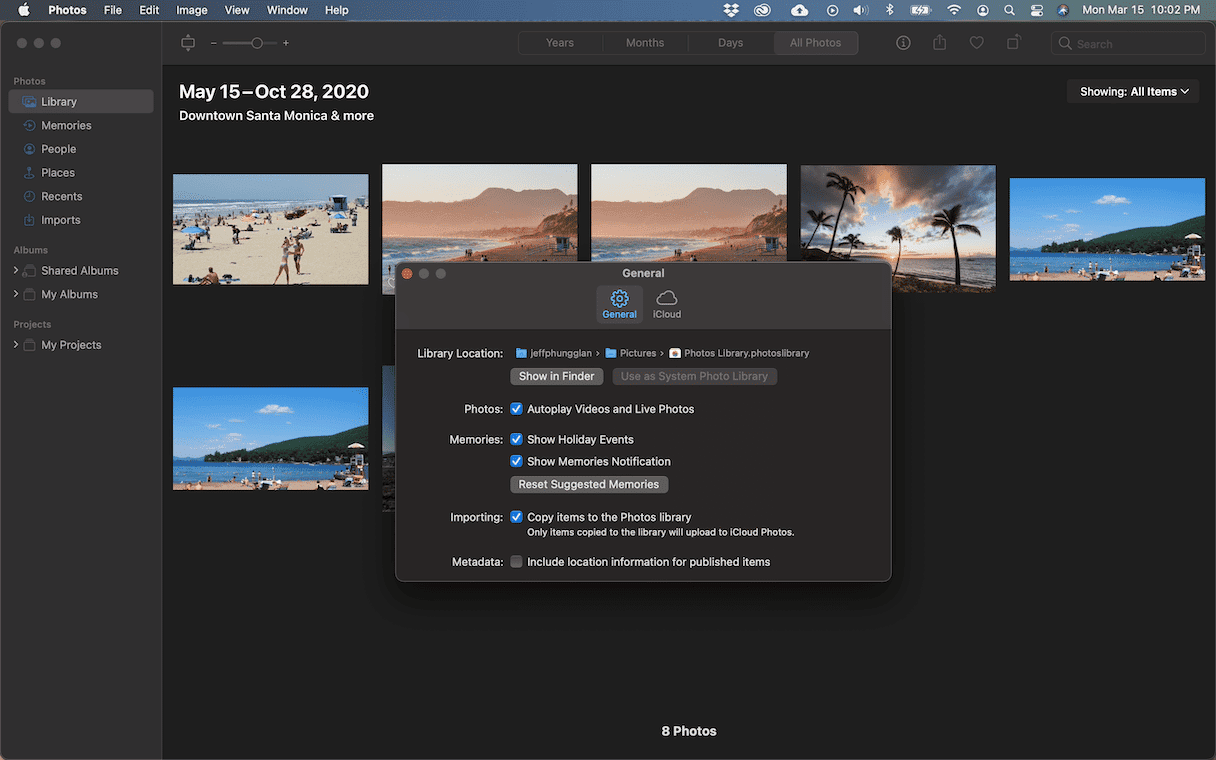
If you have more than two libraries, start back at Step 1 with the next library when your pictures have finished uploading.
When you’re finished with all of your libraries, the last Photos library you uploaded is the one you’ll want to keep. Now, you can delete the others.
After you combine photo libraries
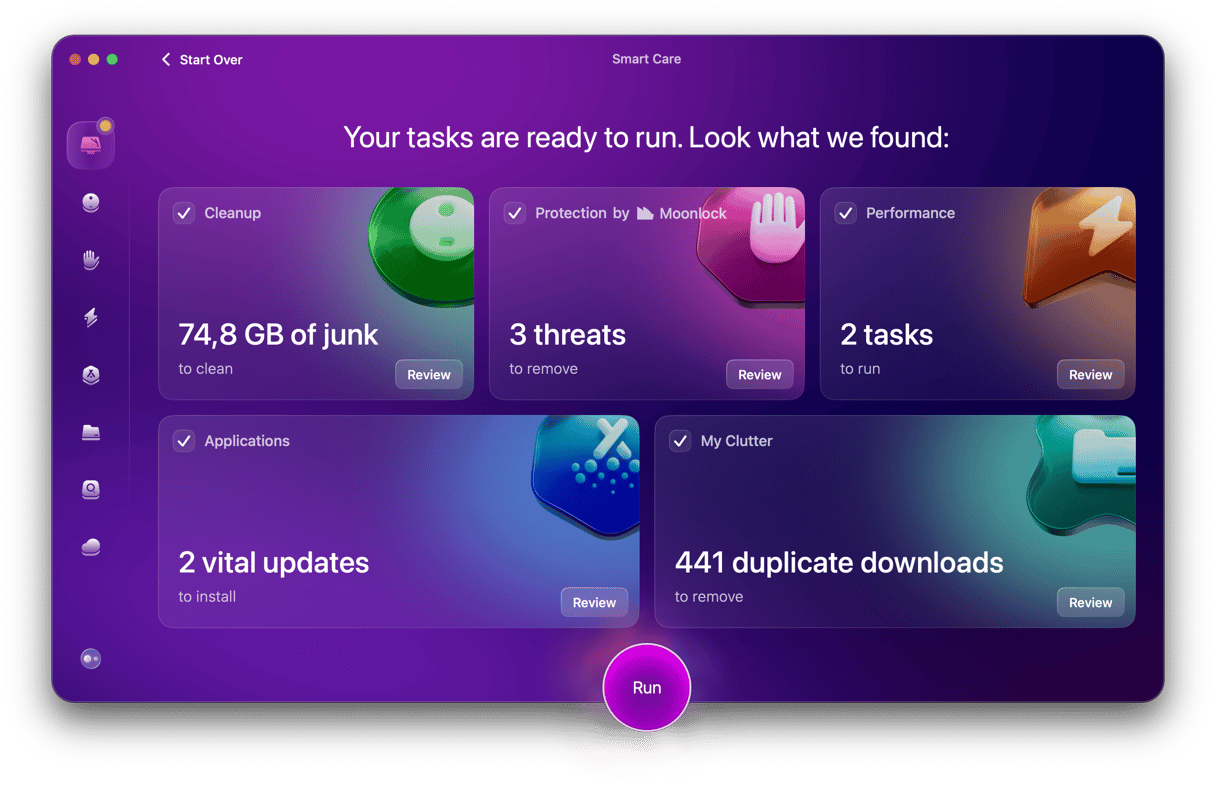
You’re likely to have duplicate or similar-looking pictures after you combine your photo libraries. The good news is you can use the CleanMyMac app to declutter your storage space and get rid of things like duplicates, similar photos, and large and old files. But the best part is you can test it for 7 days at zero cost (get your free trial here)!
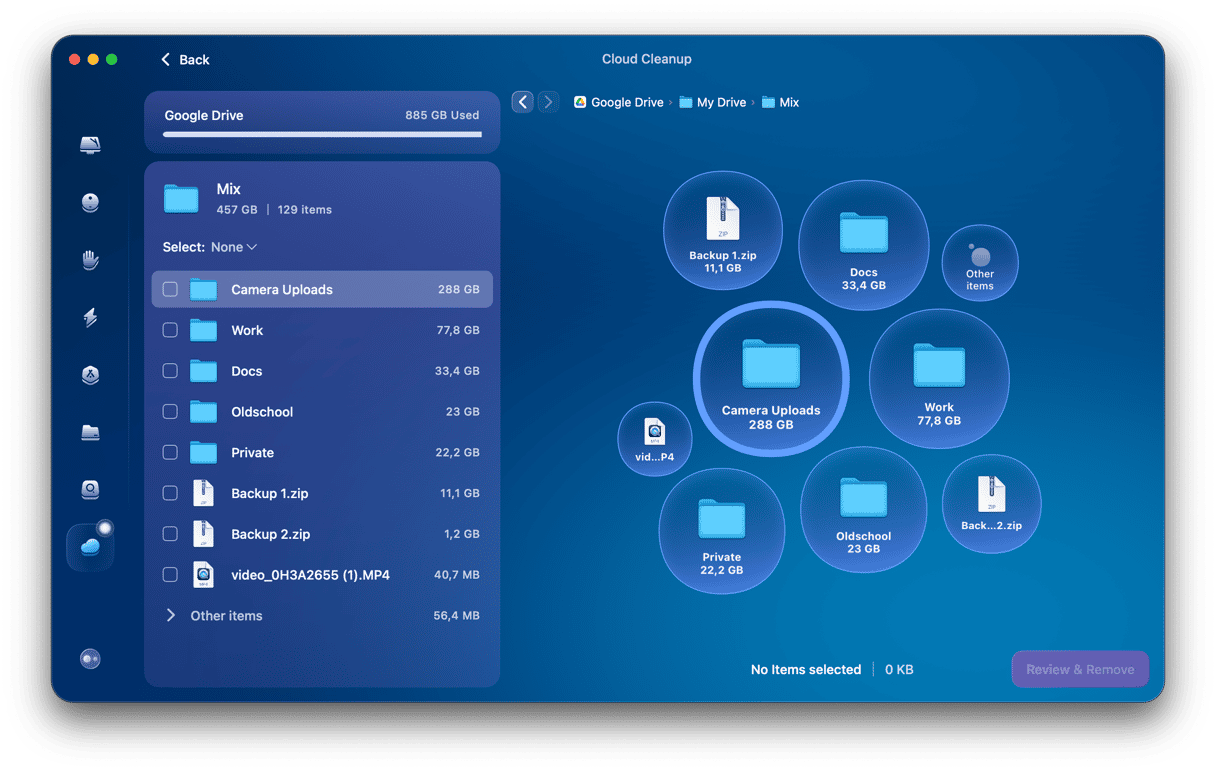
While decluttering your Mac, it is also a good idea to declutter the cloud storage, especially if you use it to sync photos. Not sure how to do it? Once again, CleanMyMac can help. It comes with a handy Cloud Cleanup feature that lets you find the largest files and quickly remove them.
Here’s how it works:
- Open CleanMyMac.
- Click Cloud Cleanup in the sidebar and connect your cloud.
- Once done, click Scan.
- Now, review your files and select those you no longer need for safe removal.
How to merge photos by exporting and importing
If you don’t want to use iCloud to combine your library, you also export and re-import your pictures. Although this method comes with a few disadvantages, it is probably the most straightforward way to do this. First, follow these steps to export your pictures.
- Hold down Option on your keyboard and open the Photos app.
- Pick the library you want to export and click Choose Library.
- In the sidebar, click Photos.
- Select the first photo, hold Shift, and scroll to the bottom to click the last picture.
- Then, click File > Export.
- Choose Export [number] to export edited photos or Export Unmodified Originals.
- Set your export settings and then click Export.
- Choose where you want to export your pictures, then click Export or Export Originals.
Note: Exporting edited photos retains all your changes, but you lose the original file. Exporting the originals means you lose all the edits.
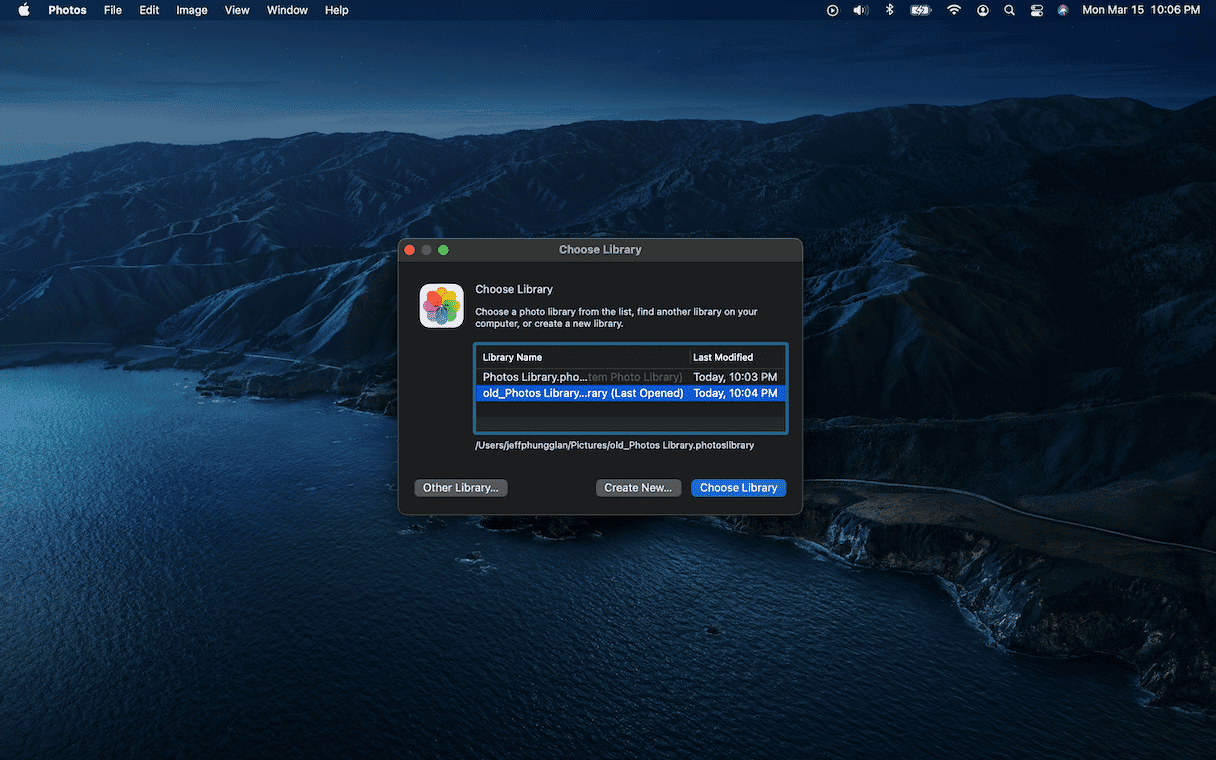
Once you have all of your photo libraries exported, this is how you import them back into Photos:
- Hold Option and open the Photos app.
- Select the library you want to use and click Choose Library.
- In Finder, find the pictures you exported.
- Drag and drop them into the Photos app.
How to merge old photo backup with current library
It’s really important if you’re using Time Machine to backup, do not restore your iPhoto or Photos library in your Pictures folder. If you do that, it will delete your newer pictures with your older ones. Here’s how you should merge your old photo backup:
- Make sure you’re connected to your Time Machine drive and launch Time Machine.
- Go to your Pictures folder. If you don’t see it in the sidebar, click Go > Home > Pictures.
- Use the arrows to go back in time to the last state of your Library that you want to restore.
- Hold Control and click the library file. Then, choose Restore Photos Library.
- This is important: select a destination other than where the current Library lives.
- Click Restore.
Note: Again, choosing your Pictures folder will delete your current photos.
Now that you have your old library restored, you can follow the instructions above to merge iPhoto libraries and Photos libraries.
Consolidating your iPhoto and Photos libraries is the easy part. Staying on top of your one library to keep it clean and organized is a bit harder. Don’t worry. We’re not going to leave you without a little bit of help. Check out this article for the best ways to organize in the Photos app.


