If you’ve ever saved a website location to your Mac, you will have used a webloc file, even if you didn’t realize that’s what it was. These files can be useful for saving a web location to your Desktop so you can quickly navigate to a web page without having to launch or navigate to a web browser first. In this article, we’ll show you how to open a webloc file on your Mac and tell you everything else you need to know about them.
What is a webloc file?
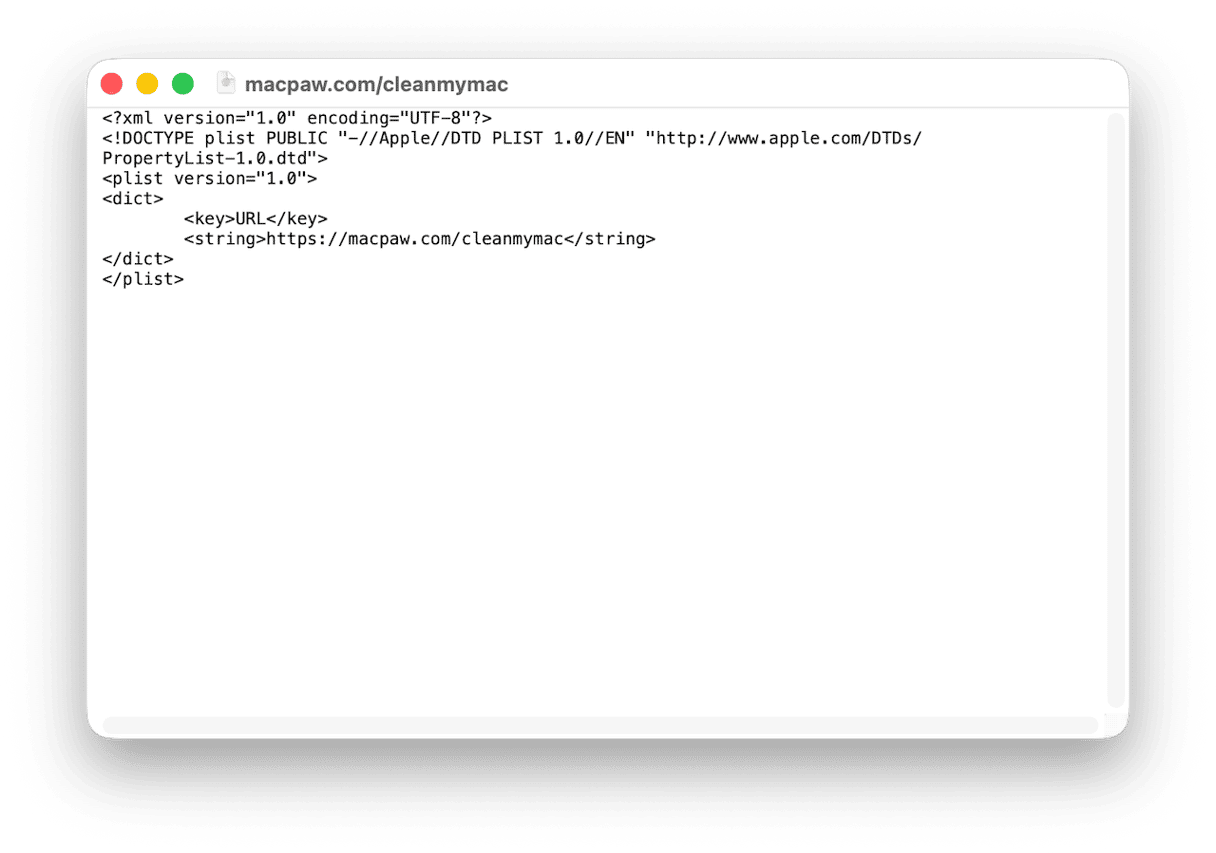
Put simply, a webloc file is a file-based hyperlink. The file uses the .webloc suffix and is a Mac specific file. It stores the URL of a web page in XML format. If you were to open the file in a text editor, you would see that it looks something like the image below.
What is a webloc file used for?
The only purpose of a webloc file is to store a web address as a file. That could be as a means of accessing the web page quickly from the Desktop or elsewhere on your Mac, for example.
How to open webloc files on Mac
The easiest way to open a webloc file on your Mac is just to double-click it. As it’s a native macOS file, it will open in your default web browser. If you already have the page open in a tab in your default browser, double-clicking that file will take you to that tab.
If you want to open the webloc file in a browser other than your default browser, you can do that too. Just right-click or Control-click the file and choose Open With > the name of the browser you want to use to open it.
You can also preview the web page linked to in the webloc file by selecting it and pressing the spacebar to invoke Quick Look. When you do that, you will see a cached image of the web page.
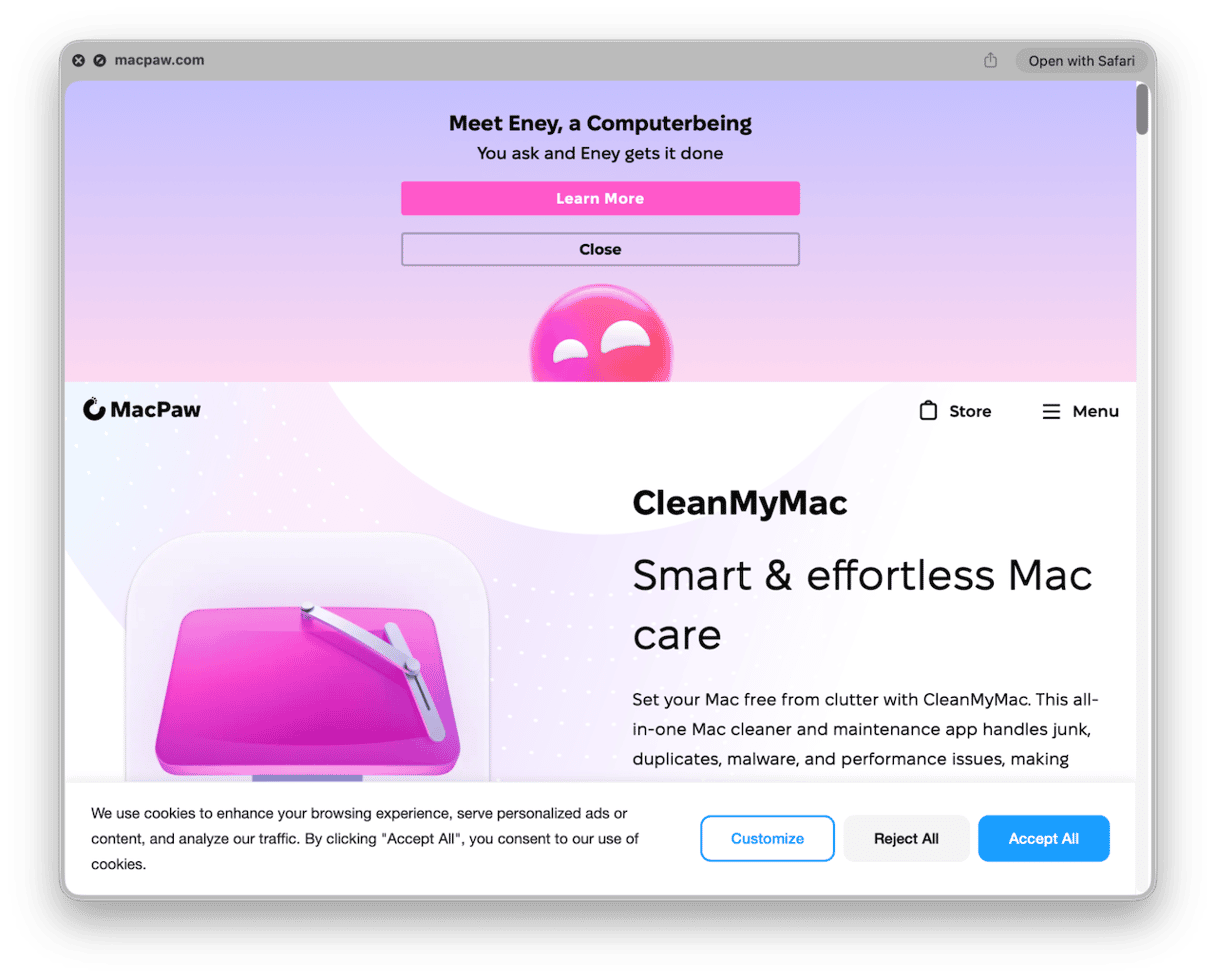
If you plan to use it often, you can even drag a webloc file to the right-hand side of the Dock so that it’s always easily accessible. If you want to create an icon for the file so it’s easily recognizable in the Dock, select the file in Finder, press Command-I, select the checkbox at the top left of the window, and paste in an image.
How to edit a webloc file
It’s unlikely you will ever need to edit a webloc file. But, if you want to, say, change the URL of the web page it links to, you can.
- Right-click or Control-click on the file.
- Choose Open With then Other…
- Navigate to Text Edit and select it.
- Choose Open.
- When the file opens in Text Edit, make the changes you want to make. If you change the URL, it’s a good idea to change the name of the file too, by clicking it in the bar at the top of the window. That way, the name will reflect the new link.
- When you’ve made the changes you want to make, save the file and quit Text Edit.
- If you changed the URL, double-click the file to check that it points to the new address.
How to save webloc files
Now you know how to open, preview, and edit a webloc file in the first place?
- Navigate to the web page you want to save as a webloc file in any web browser.
- Click the web address in the browser address bar to select it.
- Drag the selected URL – you should see a ‘+’ in a green circle.
- Drop the web address onto your Desktop.
- You will see a .webloc file on your Desktop with the URL as its filename.
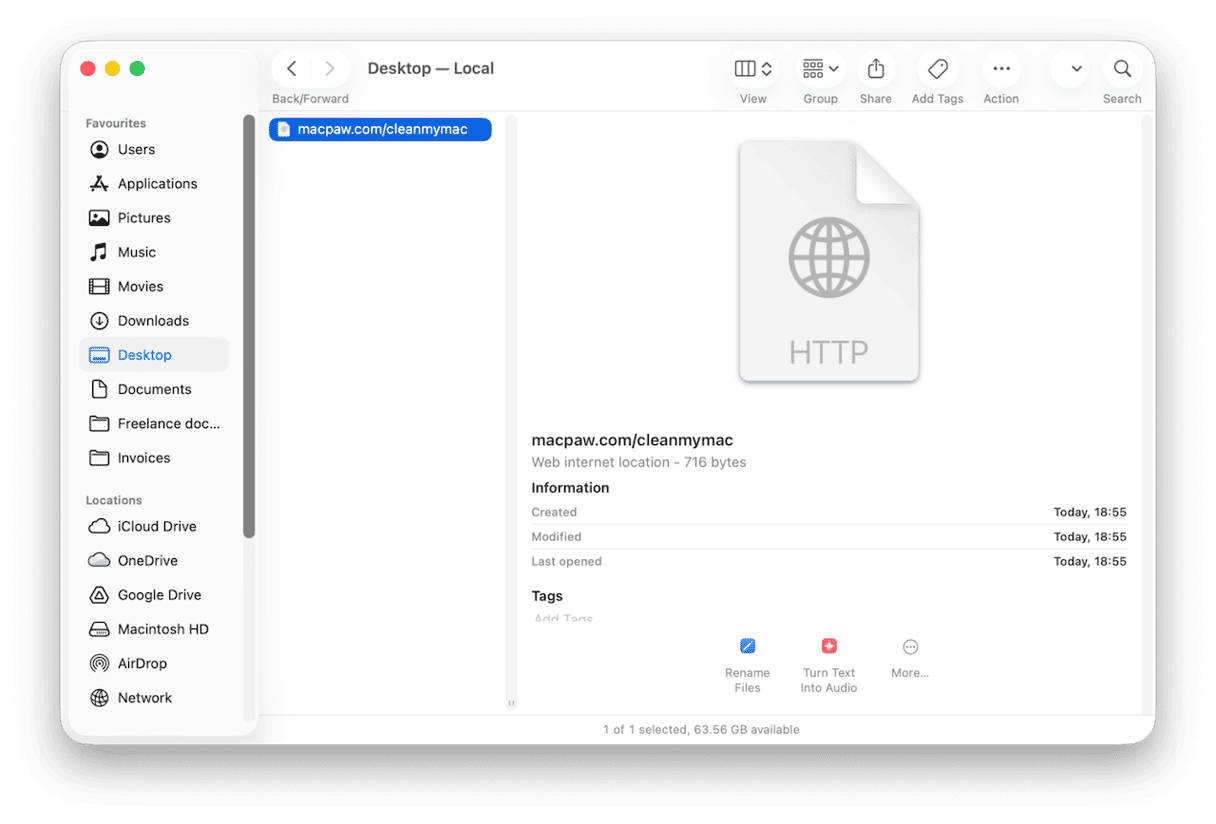
Once you’ve saved a webloc file to your Desktop, you can put it anywhere you like. If you plan to keep lots of them, it’s a good idea to create a folder in your Documents folder and put them all there.
How to free up space on your Mac easily
webloc files take up very little space on your Mac. Even if you have hundreds of them, the space they occupy is tiny compared with, say, a high-resolution photograph or a video. However, if you download lots of files or store lots of large files on your Mac, you will quickly find that you start to run out of space on your startup disk.
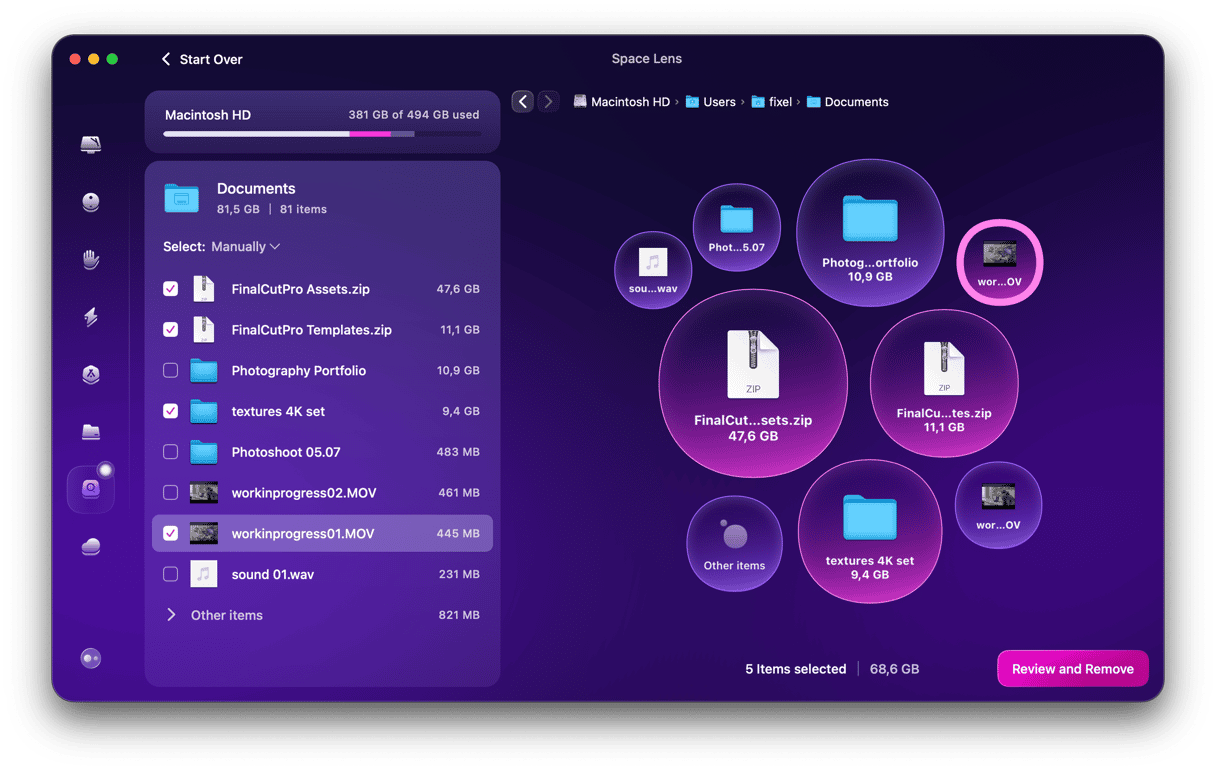
Where has that space gone? What’s occupying it? It’s not always easy to figure out. One very easy way to do it, though, is to use the Space Lens tool in CleanMyMac. It scans your Mac, looking at every file and then showing you the results as bubbles, so it’s easy to see how much data is in each folder.
Just hover over a folder and you can see how many files are in it. And then you can start to drill down and find out what’s taking up space inside each folder. When you’re ready to get rid of files or folders, you can do that with just a couple of clicks.
Here’s how it works:
- Get your free CleanMyMac trial — test it for 7 days free.
- Choose Space Lens in the sidebar.
- Click Scan.
- When it’s finished, click a bubble on the right to find out more about what’s in a folder.
- On the left, you’ll see a list of folders. To remove one, select it and click Review and Remove.
- Once you’ve reviewed it, if you still want to delete it, click Remove.
webloc files store the location of a web page in an XML format. When you click on one, it opens the web page in your default web browser. Follow the steps above to open, save, and edit webloc files on your Mac.


