Buying a new Mac is exciting! But if there’s one thing that takes the edge off the thrill, it’s transferring files from your old Mac to the new one. We are not talking about documents only here. Applications, settings files, caches, and the list goes on. In other words, everything you need to set up your Mac the way you want it.
Some people enjoy starting from scratch with a brand new device. For the rest of us who wish to begin using the device ASAP and hassle-free, Apple’s Migration Assistant is at your service!
The Mac Migration Assistant effortlessly transfers all your files from one Mac to another. It can also transfer files from a Time Machine backup or an external clone drive. And, if you’ve just come over from the dark side, it will even transfer files from a Windows PC! Alright, let’s start the prep!

Preparation for Migration Assistant
Before you do anything else, it’s a good idea to back up your old Mac using Apple’s Time Machine or another backup application. Better still, make a bootable duplicate of the startup disk. If something goes wrong with your old Mac’s disk during the migration process, you can still migrate from the Time Machine backup or duplicate.
Using Migration Assistant is simple, but there are a few things to prep before starting.
- Check that both Macs are running the most up-to-date versions of their operating systems. If not, update them.
- Make sure all the applications on your old Mac are up-to-date.
- Make sure your old Mac runs OS X Snow Leopard 10.6.8 or later.
- Check that your old Mac has a computer name by going to the Apple menu > System Settings > General > Sharing. Check if there’s a name in the Computer Name box. If not, add one.
- Connect both Macs to an AC power outlet.
With that all done, you’re ready to start! The next step is to connect the Macs. There are several options for this. If both Macs are running macOS Sierra or later, you can just place them next to each other and make sure WiFi is switched on. Clever, huh?
If one or both are running macOS El Capitan or earlier, make sure they are connected to the same Wi-Fi or ethernet network.
Target disk mode
If, for some reason, you can’t connect them wirelessly, you can join them using a cable and target disk mode. Target disk mode can be used with Thunderbolt 3 (USB-C), Thunderbolt 2, or FireWire cables.
You can connect USB-C to USB-C (or Thunderbolt 3) using a Thunderbolt 3 or USB-C cable, though not the USB-C charging cable that comes with the MacBook Pro. To connect USB-C to USB-A, you’ll need a USB-C to USB-A cable that supports USB 3.0. You can also use Apple’s Thunderbolt 3 (USB-C) to Thunderbolt 2 adapter combined with a Thunderbolt 2 cable to connect Thunderbolt 3 to Thunderbolt 2.
And any FireWire cable can be used to connect FireWire-to-FireWire, though this only applies if both Macs actually have FireWire ports, since Apple phased these out over a decade ago. One current limitation worth knowing: if either Mac is running macOS 11 Big Sur or later, you'll need to use a Thunderbolt cable instead; FireWire and older Thunderbolt connections aren't supported for target disk mode once a Mac is on Big Sur or newer.

Once you’ve connected the two Macs, go to System Settings on the old Mac, click General > Restart in target disk mode. Or, if the old Mac is powered off, boot it while holding the “T” key. The old Mac will now mount as a disk volume on the new Mac.
If your old Mac has Apple silicon (M1 or later)
Apple Silicon Macs don't have a traditional target disk mode; it's called Share Disk instead, and you get to it through Recovery:
- Shut down the old Mac completely.
- Press and hold the power button until "Loading startup options" appears.
- Click Options, then Continue, and sign in with an administrator account if asked.
- Once in Recovery, choose Utilities > Share Disk from the menu bar.
- Select the disk or volume you want to share, then click Start Sharing.
- On the new Mac, open a Finder window, click Network in the sidebar, and double-click the shared Mac. Choose Connect As, select Guest, and click Connect.
One thing worth knowing if you're connecting an Apple Silicon Mac to an Intel Mac: the Apple Silicon Mac needs to be the target/shared disk; it doesn't work the other way around.

Using Migration Assistant to transfer files from one Mac to another
Now you’ve connected the two Macs or used target disk mode; it’s time to use Migration Assistant.
On the new Mac
- Go to the Apple menu > Utilities.
- Double-click Migration Assistant and click Continue.
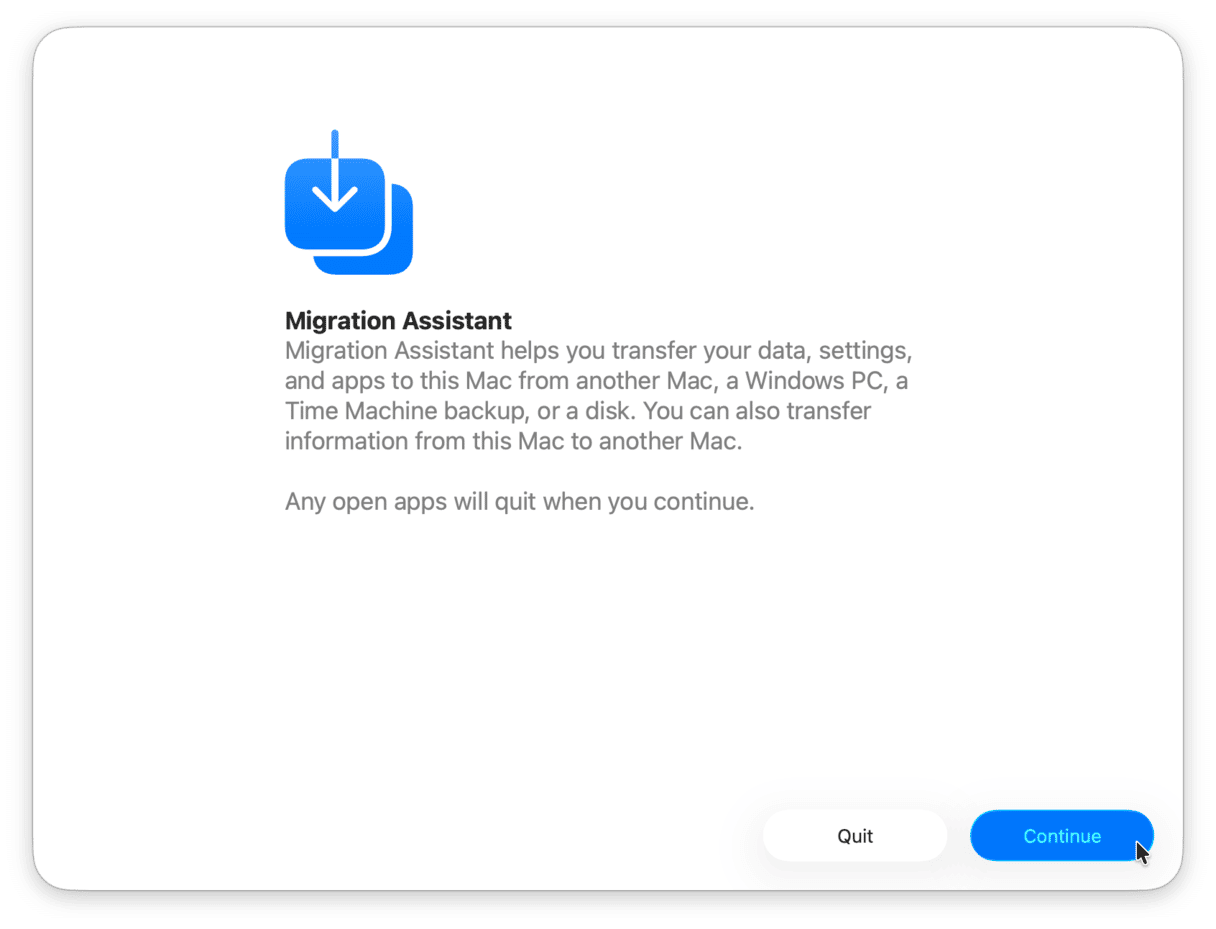
- Choose the first of the three options on the next screen: “From a Mac, Time Machine backup, or startup disk.” And click Continue.

The next four steps only apply if you didn’t use target disk mode to connect the two Macs. If you did, skip them. Likewise, if you wanted to migrate from a Time Machine Backup or duplicated drive, you would give these four steps a miss.
On the old Mac:
- Open Migration Assistant from the Utilities folder.
- Click Continue.
- This time, when you see the options for how you want to transfer data, choose: “To another Mac.”
- Click Continue.
Back to the new Mac:
- Choose to migrate from a Mac option, then click Continue.
- If you see a security code after you click Continue, check your old Mac and make sure it is displaying the same security code. Click Continue on the new Mac.
- You should see the name of your old Mac appear in the Migration Assistant window on your old Mac. Click it and press Continue.
- You’ll now see a list of the data on your old Mac. If you want to transfer everything, check all of the boxes. If not, check only boxes that describe the information you wish to transfer. Click Continue.
If you have more than one user account on the old Mac, you’ll see them all listed. If you choose to transfer them, the whole account will be transferred, and a new account will be created with the same name. If you already have an account on the new Mac with the same name, you’ll be asked whether you want to rename the account on the old Mac. If you do, a new account will be created on the new Mac with the new name you provided. If you don’t rename the account, it will overwrite the account with the same name on the new Mac.
Depending on how much data there is to copy, the transfer could take several hours, so go ahead and make a coffee!

Transfer files from a Time Machine backup with Migration Assistant
Transferring files from a Time Machine backup is the same as described above, except that you can ignore all the steps that involve the old Mac. And, when you’re asked whether you want to migrate from Mac, Time Machine backup, or startup disk, choose Time Machine backup. On the next screen, select the backup you want to migrate.
Tip: There is a way to reduce the time it takes to transfer all files from one Mac to another — get rid of data you don’t need before you start. The fewer files Migration Assistant has to transfer, the quicker it will be.
The best way to get rid of files cluttering up your Mac is to use CleanMyMac. It identifies files you can safely remove from your Mac, including system junk, unnecessary Photos files, and large and old files. It can also safely uninstall applications you no longer need. Give it a try, and you’ll find you can reduce the amount of data you need to transfer by several gigabytes.

Transferring files from one Mac to another using Apple Migration Assistant is a no-brainer. Yes, it can take some time to complete, but you can reduce that time by getting rid of unwanted files using CleanMyMac.