We’ve all experienced that sinking feeling at some point when we’re using a Mac: you click the Trash icon, choose Empty Trash, hear that satisfying crunch, and then realize there was a file in there that you didn’t mean to delete and now need. How do you get it back? Can you get it back? Where has it gone? The good news is that, in many circumstances, you can get the file back. In this article, we’ll show you how to recover emptied Trash without any additional software.
How to recover emptied Trash on Mac without software
For most things you do on your Mac, there is an easy way to undo them. Just hit Cmd-Z, and you’ve rolled back the clock to where you started. But, as you’ll know if you’ve read the dialog box that appears when you empty the Trash, this is one action you can’t just undo. Thankfully, there are other options.
By the way, if you haven’t yet emptied the Trash, you can just click it in the Dock and drag the file you want to recover onto the desktop, or right-click it and choose Put Back.

If you have emptied it, try one of the tips below.
1. Use Time Machine
If you have Time Machine set up and running, you’re in luck — recovering emptied Trash on your Mac is easy.
Here’s what to do:
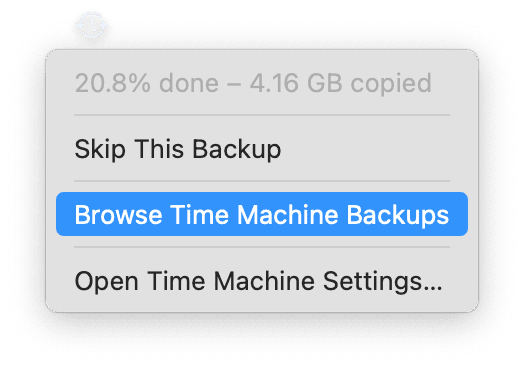
- Connect the disk you use to make Time Machine backups if it’s not already connected, then click the Time Machine icon in the menu bar and choose Browse Time Machine Backups. If the Time Machine icon is not in the menu bar, you can search for Time Machine using the Spotlight or put the icon there by going to System Settings > Control Center and choosing Show in Menu Bar next to Time Machine.
- Use the arrows at the side of the Finder window or the slider at the right of the desktop to navigate back to the most recent backup before you put the file in the Trash.
- Locate the file in the Finder, select it, and click Restore. If you want to restore it to a different location, click Option and choose Restore.


2. Disconnect cloud storage
If the file you trashed and need to recover was stored in a cloud storage service, you may be able to recover it by turning off syncing immediately. You can do that by turning off Wi-Fi on your Mac or by using the storage app’s settings to pause syncing. For example, for Google Drive, you would click the Google Drive icon in the Finder menu bar, then click the cog icon and choose Pause Syncing.

3. Access the file from another device
If the file you want to recover is in an app that syncs with other devices like your iPhone or iPad, you may be able to access it on those devices before it disappears. Try opening the app on the other device and exporting a copy of the file to a different location. Then, you can open it from there in the Files app and send it to yourself by email or AirDrop.
4. Use iCloud
If you synced your files to iCloud, you can try to restore them there. Here’s what to do:
- Go to icloud.com and sign it.
- Scroll down and click Data Recovery > Restore Files.
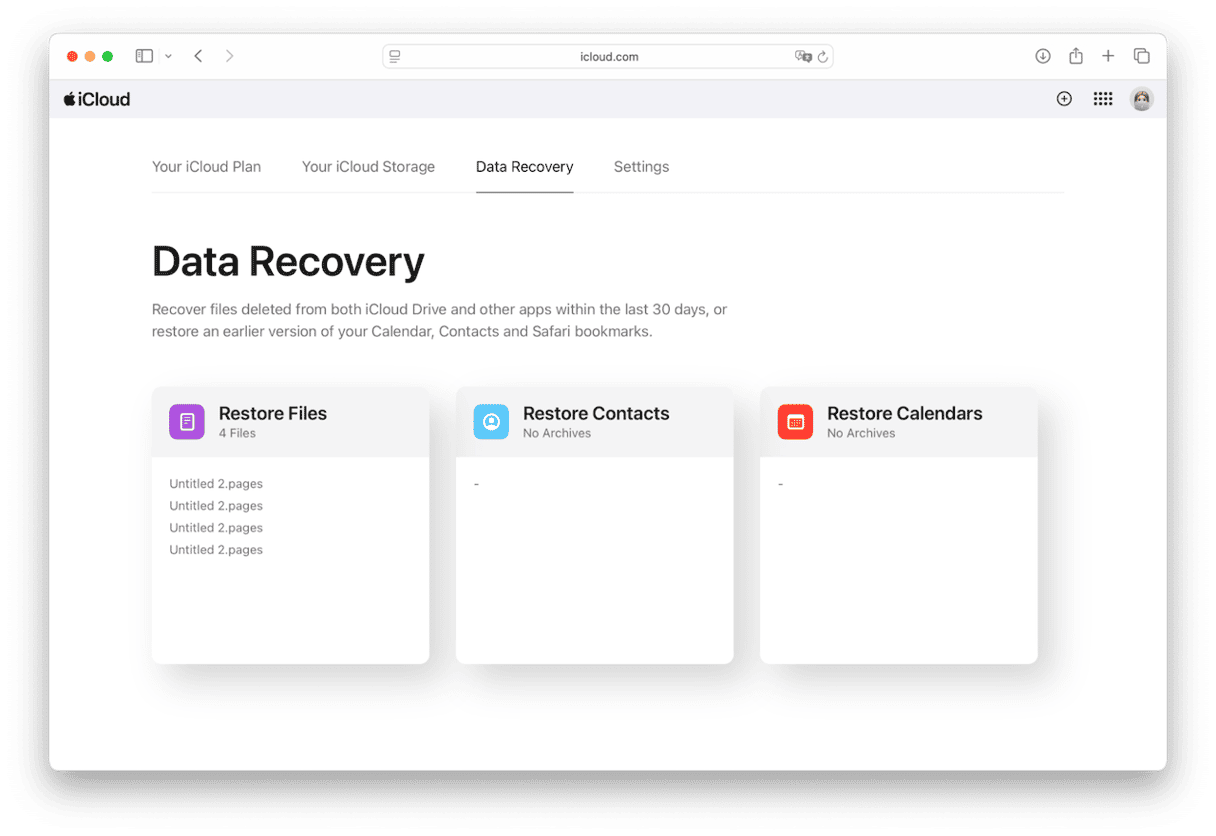
- Select the file you need and click Restore. Keep note of its name so that you can find it using the Spotlight search.


5. Open a different version of the file
If the file was created in an app that automatically saves versions as they are updated, you may be able to recover an older version of the file from the app or by digging deep into the Finder.
For example, auto recovery in Word stores documents in your Home folder here: /Library/Containers/com.microsoft.Word/Data/Library/Preferences/AutoRecovery — if you navigate to that folder, you may find a version of the file you need to recover.

6. Check external drives
If you saved the file to a USB stick or external drive and dragged it to the Trash, it may still be in the Trash on that device, even if you have emptied the Trash on your Mac since. That’s because if you eject a storage device without emptying its Trash, files remain in the Trash even if you empty it on your Mac. Each device has its own Trash. So, it’s worth connecting the storage device and checking its Trash, just in case.
How to increase the chances of recovering the file
Once you realize you need the file you have trashed, you should stop using your Mac immediately. Everything you do reduces the chances of the file remaining intact and you being able to recover it. This is especially true if you do end up having to use data recovery software or a data recovery service. When you delete a file, the space it occupies is made available for use. If you keep using your Mac, other data will overwrite the file and make it much harder to recover. On the other hand, if you don’t use your Mac, there’s a very good chance the file will remain intact.
How to keep your Mac running smoothly
Your chances of recovering a trashed file may also increase if you make sure your Mac is running smoothly and is free from junk and clutter. There are lots of things you can do besides clearing out junk files like cache, old temporary files, and duplicates. Consider scanning for malware, updating applications, and running maintenance tasks.
Doing all that manually takes a long time, though, and it’s, well, boring. And, of course, there are some things you can’t do manually, like scan for malware. So, you need to use software tools to help. But which ones? What if you could use just one app to do all those things? Wouldn’t that be much easier? Well, you can.
CleanMyMac’s Smart Care feature can run all those tasks, including scanning for malware, with just a click. And when it’s done, it will recommend tasks that you can carry out with a couple more clicks. It really couldn’t be easier. Get your free CleanMyMac trial. Then, open the app and click Smart Care > Scan > Run. Easy!✅

If you realize you have emptied the Trash and deleted a file you need, all may not be lost. Follow the steps above to recover emptied Trash on your Mac without software.