If you buy or are given a MacBook that recently belonged to an organization, such as a large company or educational institution, you may discover when you first use it that it is still managed by that organization using Jamf’s mobile device management (MDM) tools. That creates a problem for you because it will restrict what you can do on this Mac and may mean you don’t have admin access, which will place limits on the changes you can make to the OS. You will then be left in a situation where you don’t have full control over the MacBook but also don’t have the admin rights to change anything. In this article, we’ll show you how to remove Jamf from your Mac.
What is Jamf?
Jamf is the name of a company that provides mobile device management solutions for large organizations. Among those is a solution for macOS that allows organizations to deploy MacBooks to remote workers who are enrolled with the company and managed by its IT department. This is done by installing a profile on Mac that allows it to be managed by the organization, which can then limit the applications that can be installed on it, manage access to organization networks and data, and monitor some activity on MacBook. Jamf MDM tools work in conjunction with Apple’s Device Enrollment Program so that when a new MacBook is shipped to an employee, it already has the management profiles installed and configured. This can make it very difficult for a third party to remove Jamf.

How to remove Jamf from your Mac
MDM solutions like Jamf are designed so that they can’t just be removed by users without the correct privileges, so just dragging the application it has installed on your Mac to the Trash won’t get rid of the profiles or restore access to settings. And even if you completely reinstall macOS, it’s likely the profiles will reappear. The best way to remove it is, if you can, to contact the organization that installed the profiles in the first place and ask them to remove Jamf from the Mac, along with the profiles that were installed. You should also ask them to remove your Mac from Apple’s device enrollment program, so the auto-device enrollment messages won’t keep appearing. If you can’t do that, there are other things you can try.
When it comes to uninstalling applications, you can’t just drag the application icon from the Applications folder to the Trash. You need to remove all the files it has placed on your Mac, most of them buried in the Library folder or your user Library folder. And tracking all those down can be difficult and time-consuming. It’s much better to use an app for that. We recommend CleanMyMac. Its Applications feature is easy to use and can completely uninstall apps in a couple of clicks. It can also remove leftover files from applications that weren’t properly uninstalled and reset misbehaving apps. Start your free CleanMyMac trial.

How to remove Jamf profile from Mac using Terminal
The first step in removing Jamf from your Mac is to remove the profiles installed to manage the device. To check whether there are profiles installed on your Mac, go to System Settings > Privacy & Security > Profiles. You should either see a profile or a message telling you there are no installed profiles. To remove installed profiles, follow these steps:
- Shut down your Mac and boot it into recovery mode. To do that on a Mac with Apple silicon, press and hold the power button until you see Startup Options on the screen. Click Options, then Continue. On an Intel-based Mac, press and hold Command-R and then press the power button. Release Command-R when you see the Apple logo.
- Click the Utilities menu from the menu bar and choose Terminal.
- Type
csrutil disableand press Return.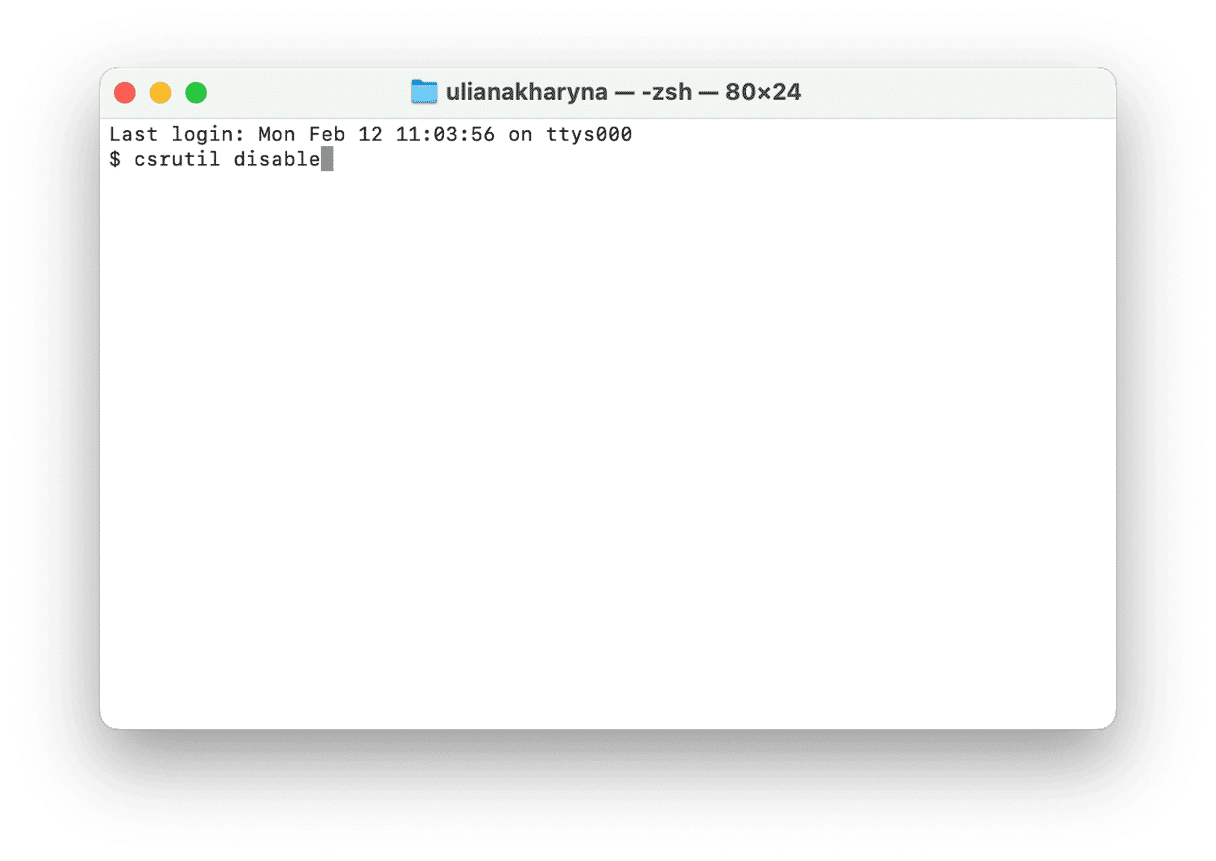
- Restart your Mac normally.
- Go to System Settings > Privacy & Security > Full Disk Access. Click the ‘+’ and type in your admin password. Then, navigate to Applications > Utilities and choose Terminal.
- Click Open. Quit System Settings and open Terminal.
- Type
sudo jamf -removeFrameworkand press Return.
- Type
sudo -iand press Return. Type in your password and press Return again. - Type
cd /var/db/and press Return. - Type
mv ConfigurationProfiles ConfigurationProfilesOLDand press Return. - Finally, type
logoutand press Return. - Quit Terminal and restart your Mac.
When your Mac restarts, you should restart it again in recovery mode and follow steps 1 and 2 above to get to Terminal in recovery mode. You should then type csrutil enable to re-enable system integrity protection. Then restart your Mac normally. This is very important to keep your Mac secure.
You should no longer see the device management login window when you restart; instead, you should see a regular macOS login window. If not, follow the steps below.
- Open Terminal.
- Type the following commands, pressing Return after each line below:
sudo rm /usr/local/bin/authchanger
sudo rm /usr/local/lib/pam/pam_saml.so.2
sudo rm -r /Library/Security/SecurityAgentPlugins/JamfConnectLogin.bundle
Uninstall Jamf
Once you have removed the device management profiles, you can uninstall the Jamf applications on your Mac. Start by looking for a Jamf uninstaller. If there is one, use that. If not, you can manually uninstall it. The process is slightly different for each Jamf application, but the steps below are common to all.
- Go to your Applications folder and drag the Jamf application to the Trash.
- Click the Finder in the Dock, then the Go menu, and choose Go to Folder.
- Type this path in the text box:
/Library/LaunchAgents - Press Return.
- From that folder, drag anything with Jamf in its name to the Trash.
- Empty the Trash.
It’s not easy to remove Jamf from your Mac, so it’s much better to contact the organization that installed it and ask them to do it. If you can’t do that, follow the steps above to remove profiles and uninstall Jamf.


