Apple’s Mac operating system — Ventura — was only announced in June 2022, but developers have been hard at work updating apps and running the new system. And, unsurprisingly, they’ve found one or two Ventura update issues. So far, there is nothing major, and all the issues can be fixed. In this article, we’ll describe Ventura problems and potential problems and show you how you can fix them.
How to solve macOS Ventura problems
1. macOS Ventura update issues
One of the first issues to be identified with macOS Ventura is the way it downloads and how that affects you if you
want to install it on an external disk. Previously, when you upgraded to a full version, it put the installer in
your Applications folder, and you could use that to make an external boot disk. However, in some instances, Ventura
seems only to download the additional files it needs to update your Mac rather than the full installer, so you can’t
make an external boot disk. With the beta version, the problem could not be handled; now that the full version is available from the App Store, the issue is resolvable. Find more on creating a bootable installer in this article.
2. macOS Ventura won’t download
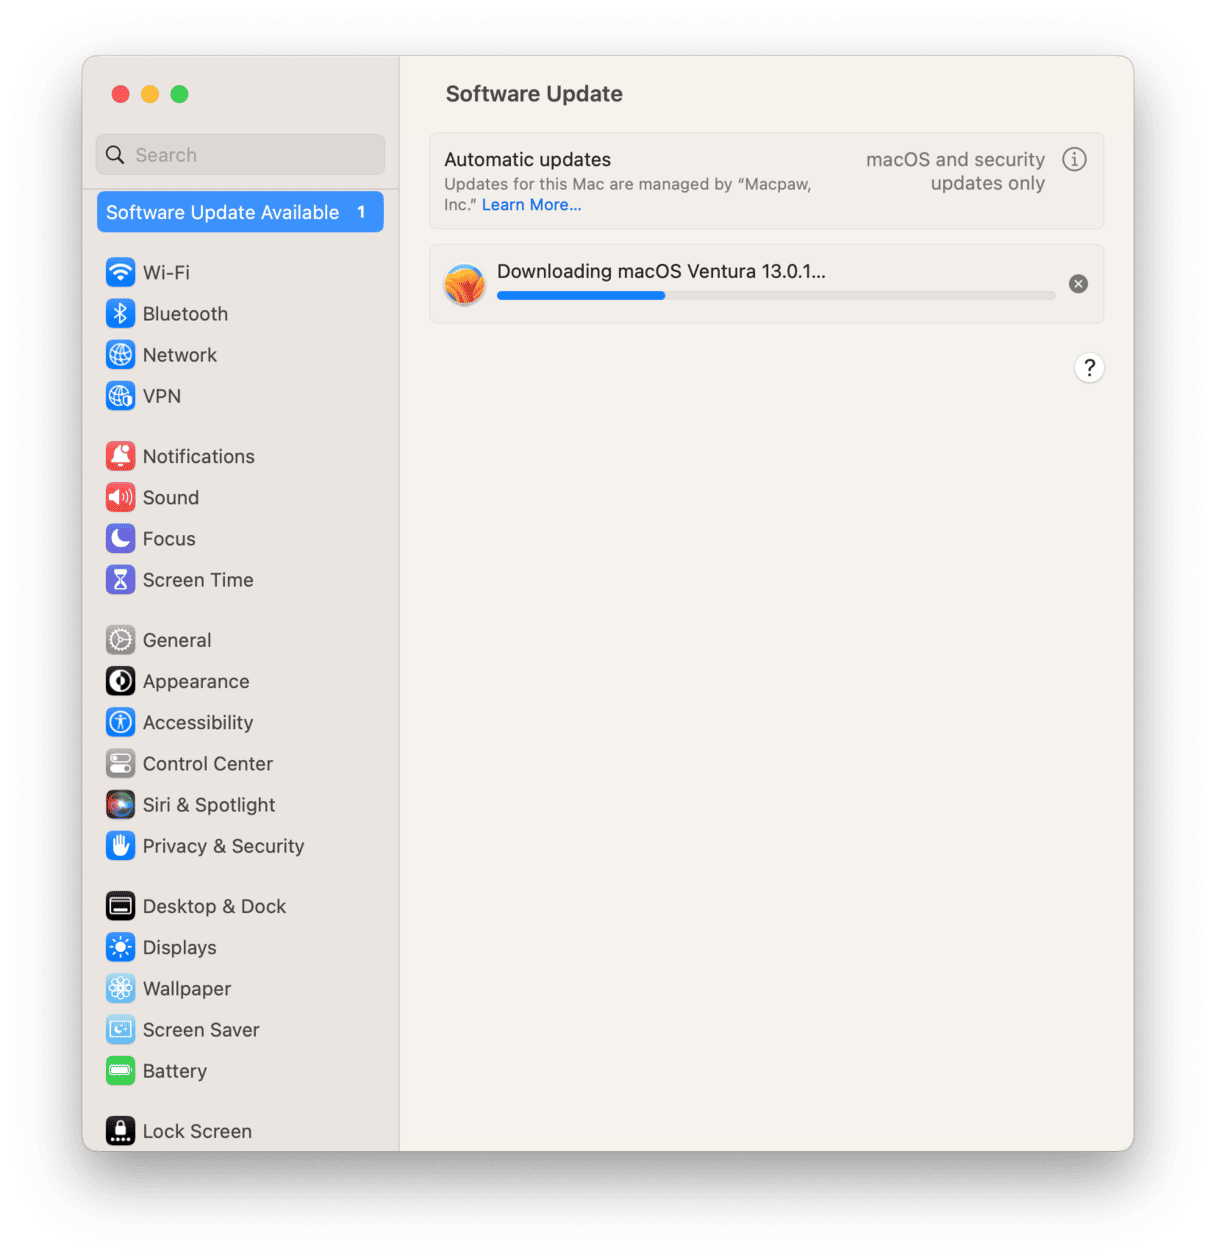
Hopefully, you won’t encounter this problem, but it’s the first possible obstacle you could come across. If you do, you will see a message that says something like ‘macOS Ventura download has failed.’ Follow the steps below to fix the problem.
- Check if your internet connection is working properly.
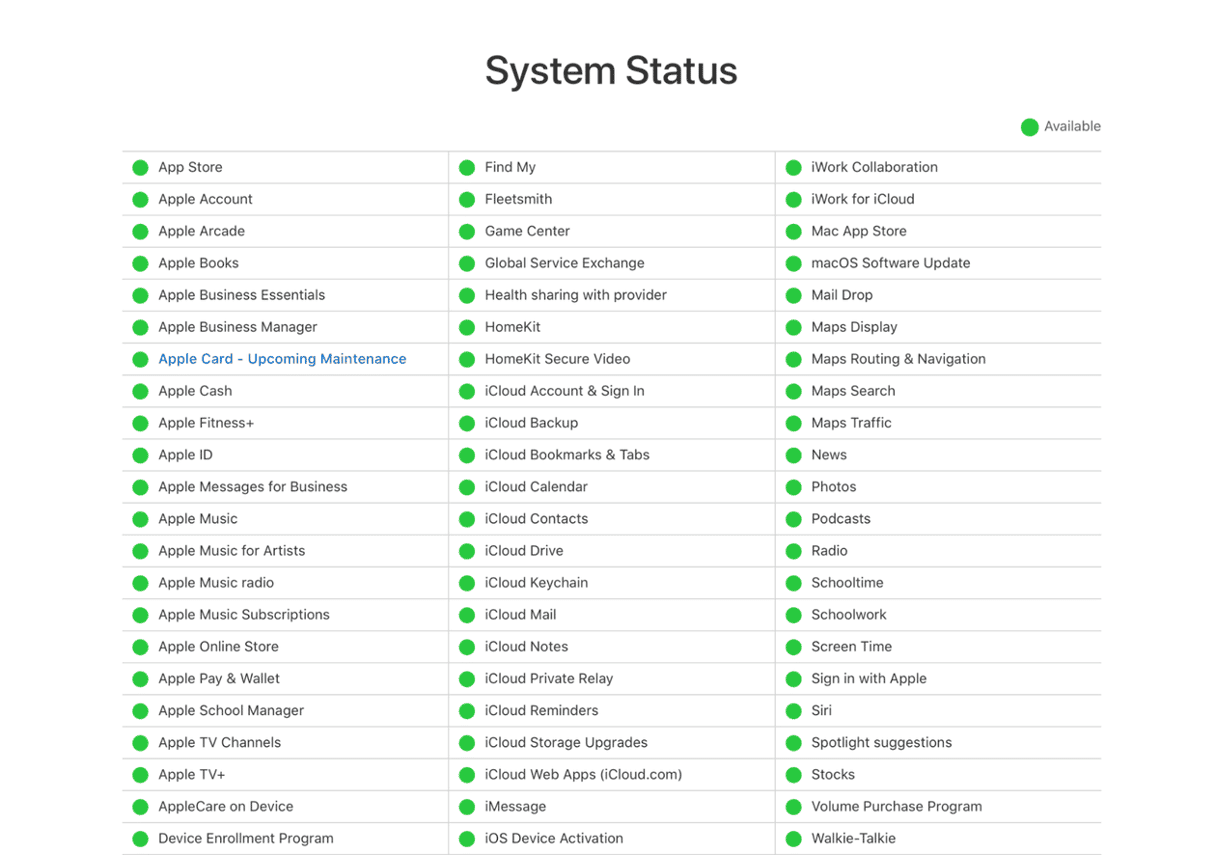
- Check Apple’s System Status page to make sure the servers are working properly.
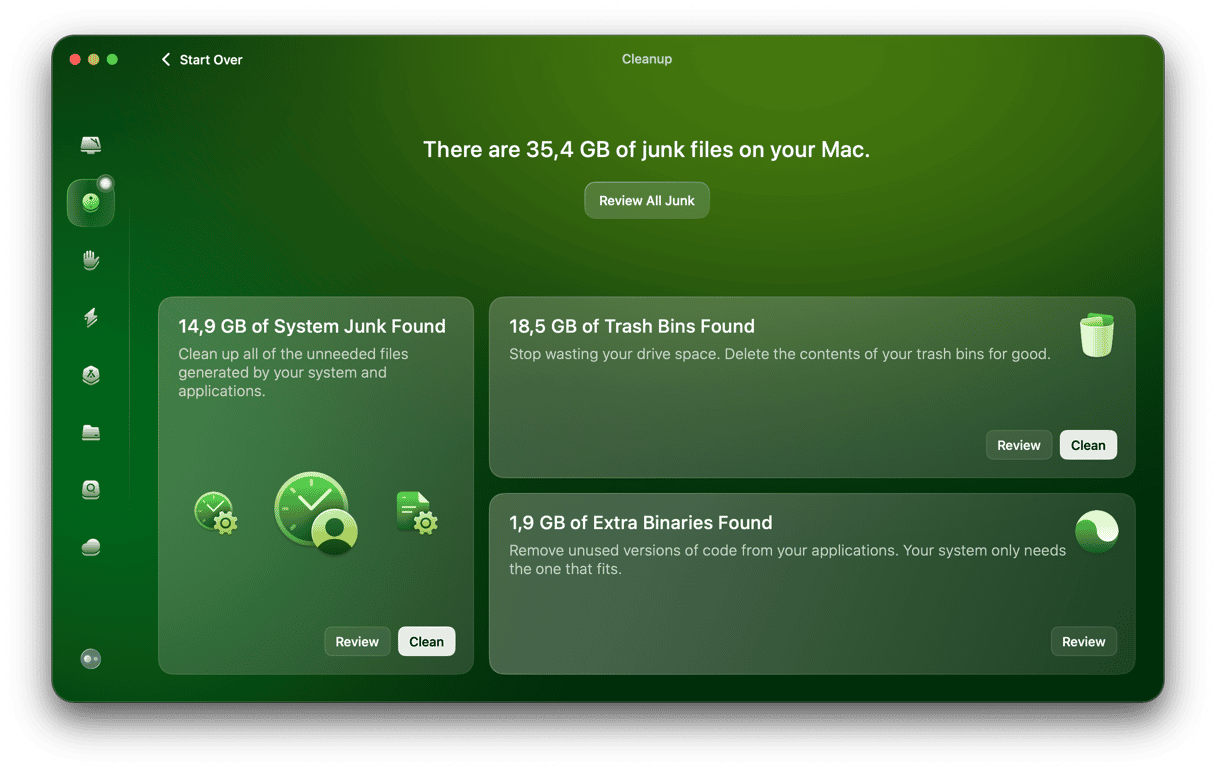
- Make sure you have enough free disk space.
- Check your Downloads folder for the partially downloaded file and drag it to the Trash, then try again.
3. macOS Ventura installation failed
Assuming it downloads ok, there are a number of reasons why Ventura might not install. The first thing to do is check
that your Mac is compatible if you haven’t done so already. Here’s the list of compatible Macs:
- 2017 iMac and later
- 2017 iMac Pro and later
- 2018 MacBook Air and later
- 2017 MacBook Pro and later
- 2019 Mac Pro and later
- 2018 Mac mini and later
- 2017 MacBook and later
- 2022 Mac Studio
If your Mac is older than those listed above, it’s not supported to run macOS Ventura. That means that the installation may fail.
- Once you’ve confirmed your Mac is compatible with Ventura, reboot into safe mode (find the steps for Macs with different processors here or further in the article). Once it has booted into safe mode, try installing Ventura again.
- If Ventura still won’t install in Safe mode, reset the NVRAM. Shut down your Mac, then hold down Command-Option-P-R and press the power button. Release the keys when you hear the startup chime for a second time or see the Apple logo.
4. macOS Ventura downloads and installs but fails during setup
If Ventura installs but gets stuck during the setup process, hold down the power button to force your Mac to shut down. Then press it again to start your Mac. It should now boot normally and allow you to set up macOS Ventura.

5. macOS Ventura won’t boot
This can happen with any version of macOS, not just Ventura, and the process for dealing with it is the same. Follow the list of steps below in order to identify why your Mac won’t boot and fix it.
Check the power
The most obvious solution is often the correct one. Plug your MacBook Pro or MacBook Air into mains power if it’s not already connected. If it’s already plugged in, or if you’re using a desktop Mac like an iMac, Mac mini, or Mac Studio, check that the connection is secure and the cable is plugged in properly.
Is it the Mac or the display that’s the problem?
Sometimes when it seems like your Mac won’t boot, it’s not the Mac that’s the problem. It actually has booted, but if the display is not working correctly and your Mac doesn’t chime at startup, you may not realize it has booted. If you use a desktop Mac connected to a display or a laptop with the lid closed and connected to an external monitor, make sure that the monitor is plugged in and switched on. If it’s not getting a signal, disconnect and reconnect it to your Mac.
Does it boot as far as the login window?
If you’ve ruled out power and display as causes of the problem, try rebooting into a different user account — assuming you get as far as the login window when your Mac tries to boot. It could be that launch agents or login items in your main user account are causing the problem.
Boot into safe mode
Booting your Mac into safe mode loads only the extensions essential for it to run and also performs checks on your Mac to ensure it is ok. Steps for booting vary for different Macs.
For an Intel-based Mac:
- Shut down your Mac and wait 10 seconds.
- Restart your Mac and press the Shift key.
- Release the Shift key after the login window shows up.
For a Mac with Apple silicon:
- Shut down your Mac and wait 10 seconds.
- Press and hold the power button until the startup options window shows up.
- Select a startup disk.
- Press the Shift key and click Continue in Safe Mode.
- Release the Shift key.
If it boots successfully, the issue is probably a third-party extension, launch agent, or login item.
6. Your Mac is slow after the update
If your Mac is running slowly, it could just be that it’s one of the earliest Macs to support Ventura and is struggling a little bit. Make sure that all your applications are up to date, as they may need to be updated to run Ventura properly. It could also be that Spotlight is reindexing following the update. Click on the Spotlight icon in the menu bar. Is there a progress bar in the window? If so, it’s reindexing. Wait until it’s finished, and check if your Mac is running faster.
Another fix you may try if your Mac is slower than usual is running some maintenance. CleanMyMac has a powerful Performance feature that helps run all sorts of maintenance tasks and speed up your slow Mac.
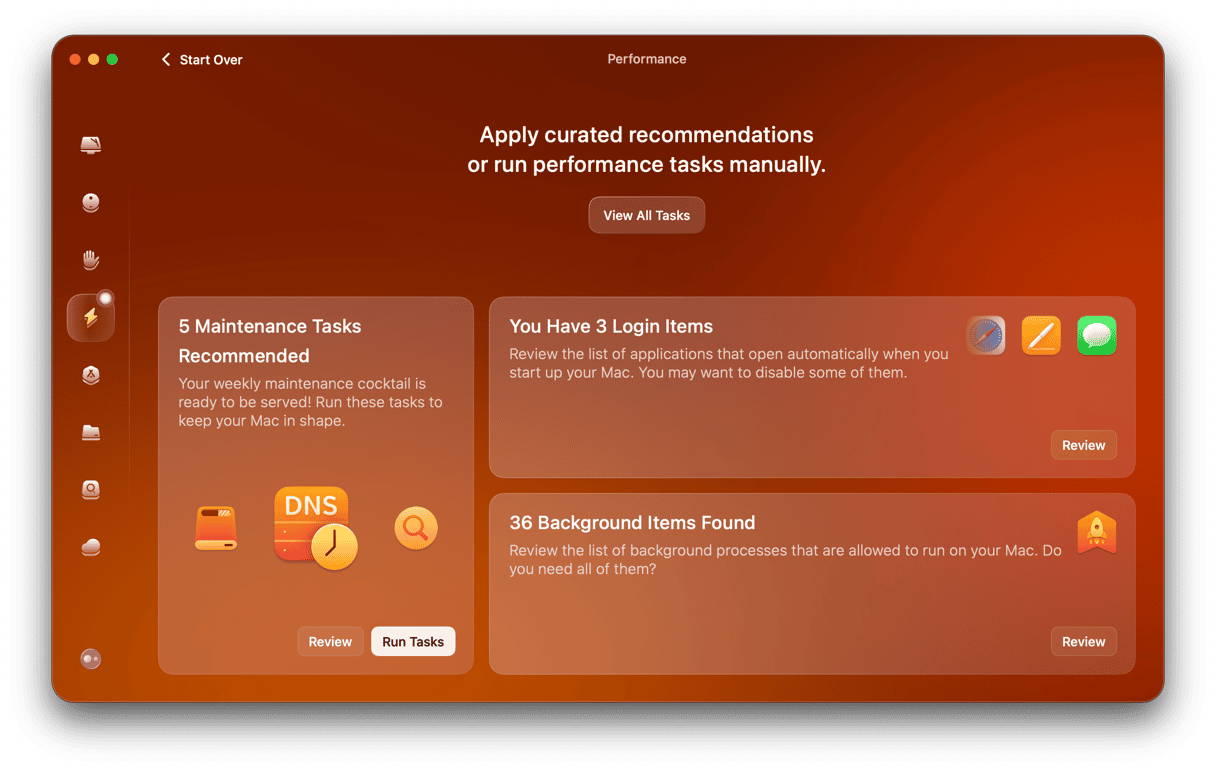
- Open CleanMyMac.
- Go to Performance.
- Click Run Tasks or View All Tasks to choose which routines you want to perform.
7. macOS Ventura is unstable
If macOS Ventura crashes or runs very slowly, there are a number of possible reasons. If your Mac is older and only just qualifies as being supported by Ventura, it could be that the additional resources demanded by the new OS are causing it to run slowly.
Update your apps
Most apps should run smoothly with macOS Ventura, although they will need to be updated to take advantage of new features. However, some apps become unstable unless updated, so you should update all the apps you regularly use if you find that Ventura crashes or runs slowly. Check for updates on the App Store or from the application itself (click on Application name > Check for Updates).
Use Activity Monitor to check
Activity monitor is a great tool for identifying apps or services that are using lots of system resources and causing your Mac to slow down or behave erratically.
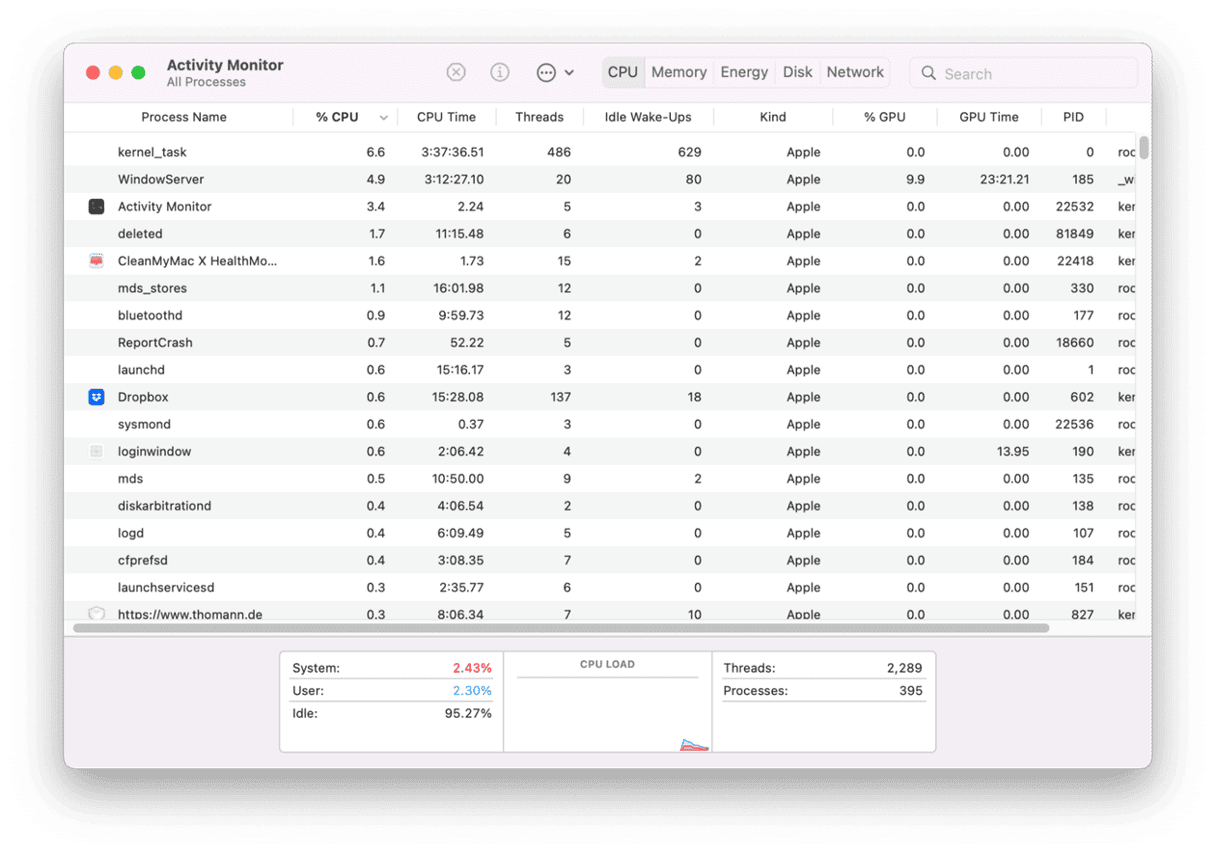
- Go to Applications > Utilities and double-click Activity Monitor to open it.
- Click the CPU column to order processes according to how many CPU cycles they use.
- If there are any that are using close to or more than 100%, select them and click Quit in the toolbar.
- If your Mac speeds up or becomes more stable, you know that process was the problem and can decide whether to uninstall the app that uses it.
8. Wi-Fi or Bluetooth not working on macOS Ventura
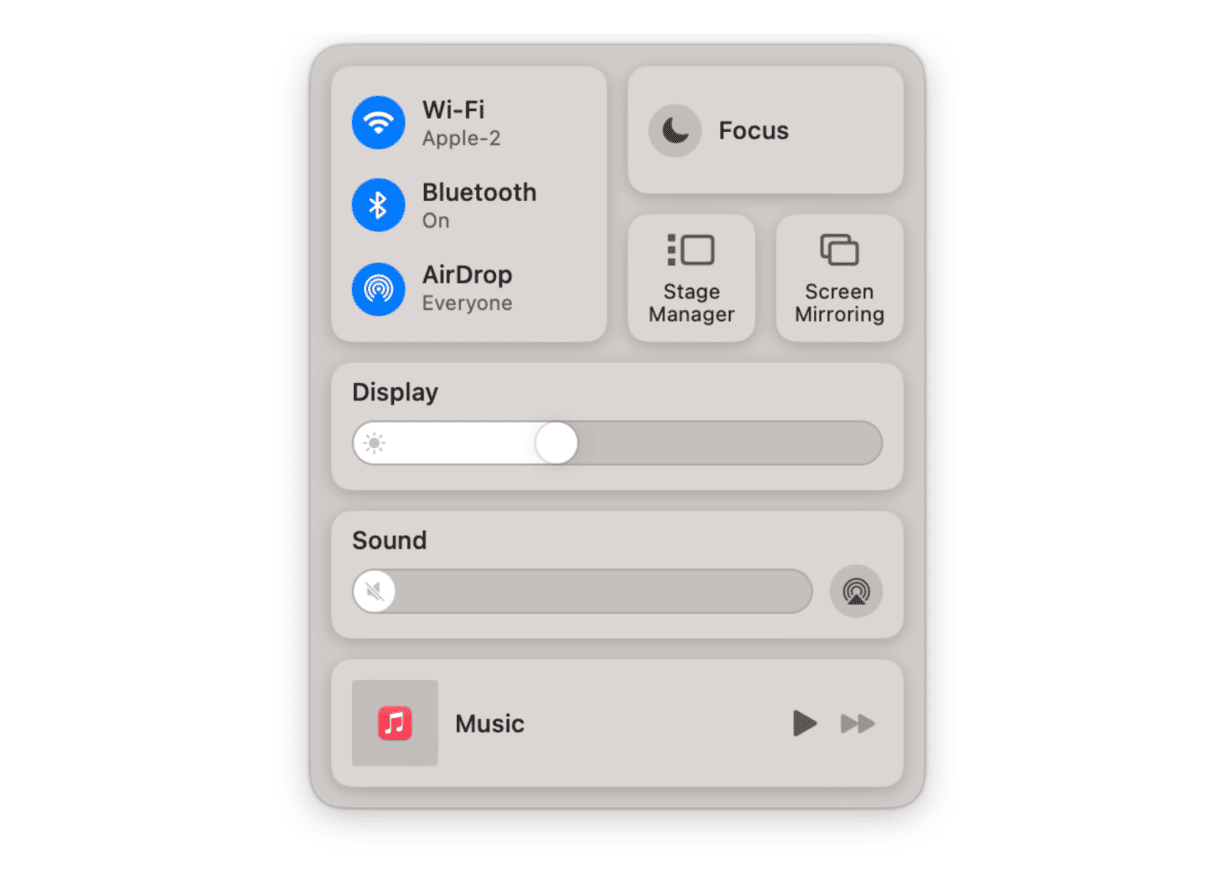
Ensure your Mac is connected to the correct Wi-Fi network — click the Wi-Fi icon in the menu bar or Control Center. It may have ‘forgotten’ which network to use following the update. If that doesn’t work, switch Wi-Fi off and then on again on your Mac. No joy? Try moving closer to your Wi-Fi router, or move the router if you can. If nothing else works, restart the router.
To fix Bluetooth problems, turn Bluetooth off and then on again. If that doesn’t work, disconnect and then reconnect all your Bluetooth devices.
macOS Ventura, one of the latest versions of Mac’s system software, is brilliant and has lots of new features, improvements, and even some new apps. But there are one or two Ventura problems. Thankfully, most of these are easy to fix. Follow the steps above to identify the cause of your problem and fix it. Then you’ll be able to enjoy all the great things in Ventura.

Frequently Asked Questions
What is the most common macOS Ventura problem?
The most frequently reported issue is failing to download or install. It can happen if your internet connection is not stable, Apple services are down (check Apple’s System Status page), or there is not enough disk space on Mac.
What to do if Mac is slow after updating to Ventura?
Start with updating all apps, freeing up space, checking Activity Monitor, and running some maintenance using the steps described above. On an older Mac, if nothing helps, consider downgrading to macOS Monterey as a last resort (check this article for instructions).
Have the issues been resolved with the release of the full version?
There is a misconception that users encounter Ventura problems with the beta version only. Unfortunately, it is not true since the abovementioned issues are also common for the full version. However, all of them are easily solvable.


