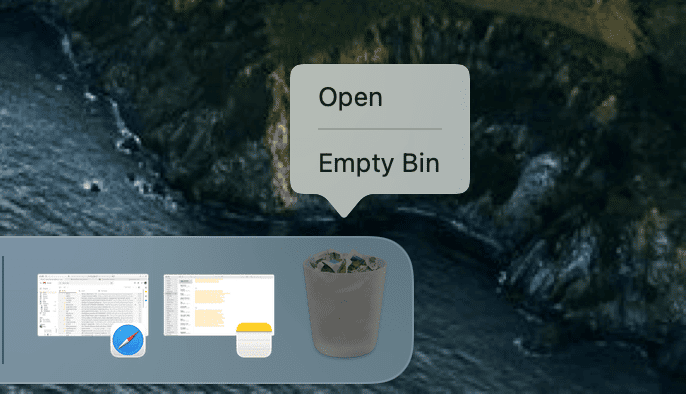
Emptying the Trash is one of the most basic procedures in macOS or any operating system with a graphic user interface. We all have our own preferred method of doing it, and when we do, we expect the Trash to empty, and that to be that. At worst, we expect to see a dialogue box asking to confirm we want to empty the Trash.
However, occasionally, an error message appears. That error message is usually ‘The operation can’t be completed because the item is in use.’ In this article, we’ll explain why this error message appears and how to delete a file that’s in use.
What does ‘The operation can’t be completed because the item is in use’ mean?
This error message usually appears when a background task or application currently open is using the file. However, it can also appear when macOS thinks the file is in use. Often, the file causing the problem is an obscure system file you don’t recognize and didn’t manually drag to the Trash.
How to force delete the Trash on your Mac
Try these steps in order, after each one, try emptying the Trash.
- Quit the app that seems to be using the file. If that doesn’t work, quit all running applications.
- Restart your Mac.
- Disable all login items that may be causing the problem and restart your Mac.
- Boot your Mac into recovery mode (find the steps here). Select Disk Utility in macOS Utilities and use that to repair your startup disk.
How to delete a file using Terminal
If none of the steps above work, the next option is to use Terminal to find out which files are currently in use or at least which files your Mac thinks are in use. The Terminal command lsof is short for ‘list all open files’ and should give you a clue as to why the file in the Trash can’t be deleted.
_1671811469_1687791306.png)
- Click on the Trash icon in the Dock to open it.
- Go to Applications > Utilities and open Terminal.
- In the Terminal window, type
lsof - Drag the file you’re trying to delete onto the Terminal window.
- Press Return.
- You will now see a list of running processes that are using the file.
You should be able to identify the process that’s preventing the Trash from being emptied. If it’s a background process, go to Applications > Utilities and open Activity Monitor. Search for the process, select it and click ‘Quit Process’ in the toolbar.
How to empty Trash bins easily
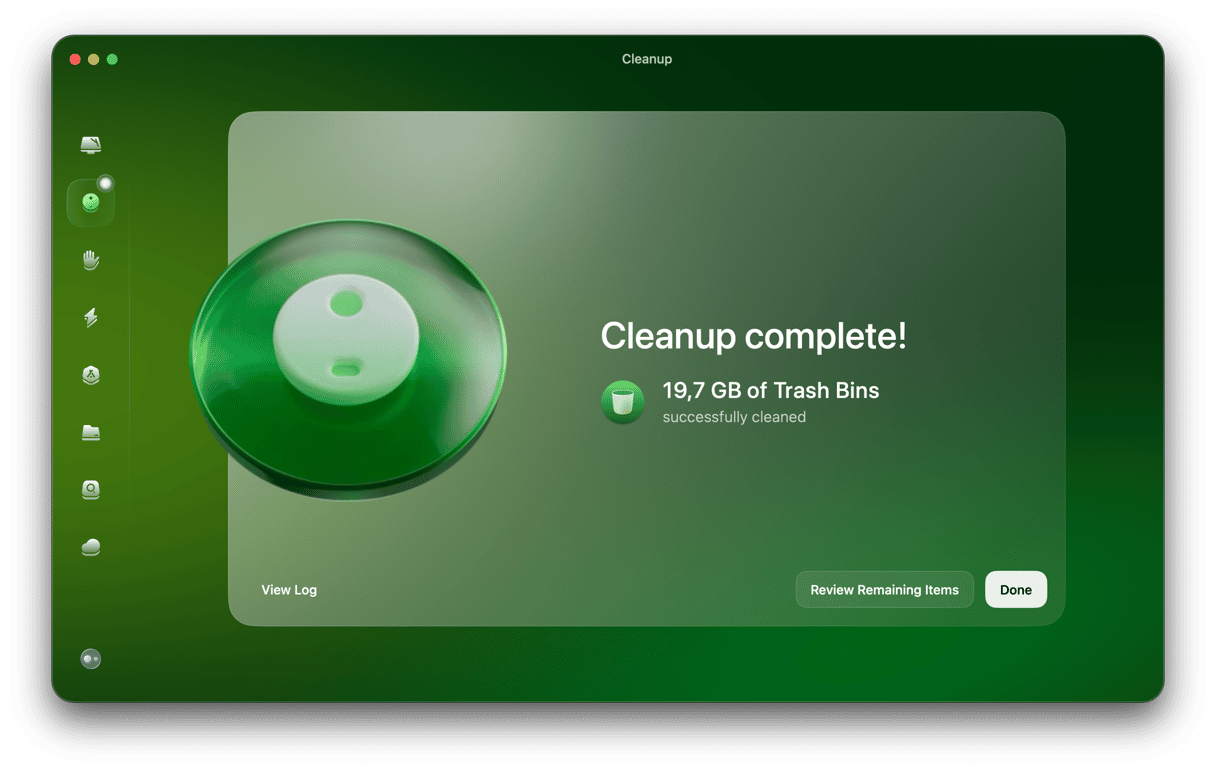
You may not know it, but each volume has its own Trash. So, when you drag a file stored on an external disk or USB stick to the Trash, that Trash bin is specific to the external disk or USB stick. If you unmount or eject the disk, the files will disappear from the Trash. Plug it back in, and they will go back into the Trash until you empty it. Applications, like email clients, can also have their own trash. The quickest way to empty all the trash bins on your Mac is to use the Trash Bins module in CleanMyMac. This empties all the trash on your Mac and can get around some Finder errors. Here’s how to use it.

- You can download CleanMyMac here if you don’t already have it on your Mac.
- Once you’ve installed it, open CleanMyMac and select Cleanup from the sidebar.
- Click Scan > Review All Junk > Trash Bins.
- You will see items that were previously deleted but still take up your disk space. Select the necessary items and click Clean Up.
If you encounter an error when you try to empty the Trash on your Mac, it’s likely to be because a file in the Trash is in use by an application or process. Follow the steps above to empty the Trash and delete the file or identify the process causing the problem and close it.


