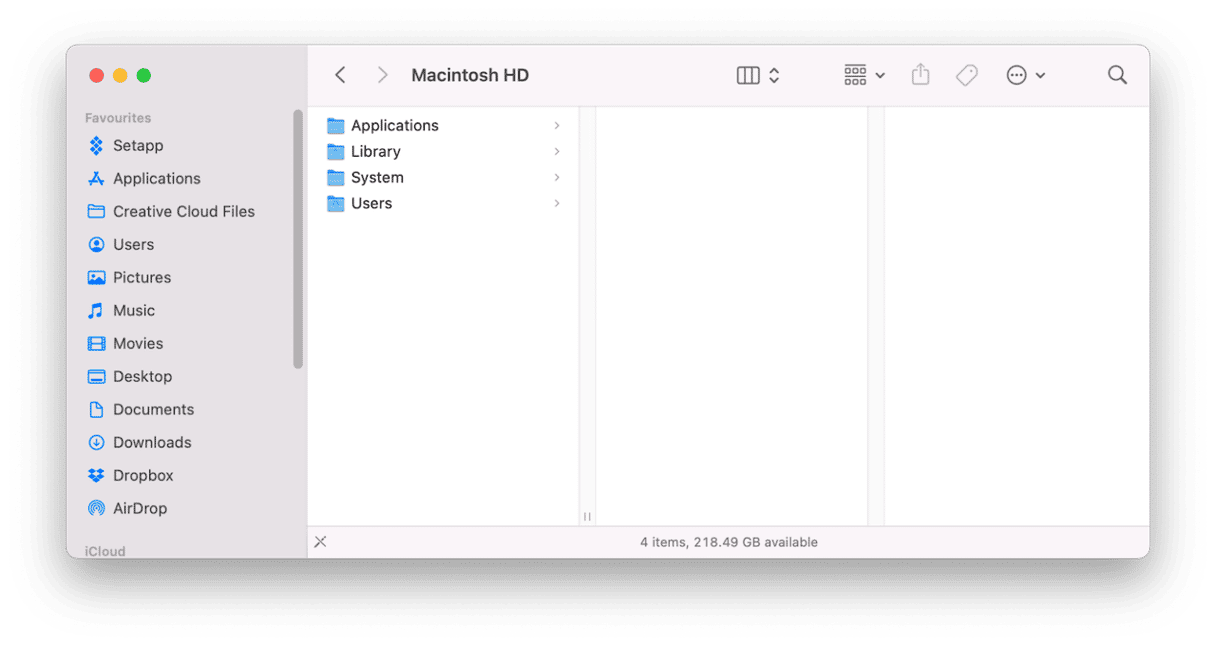
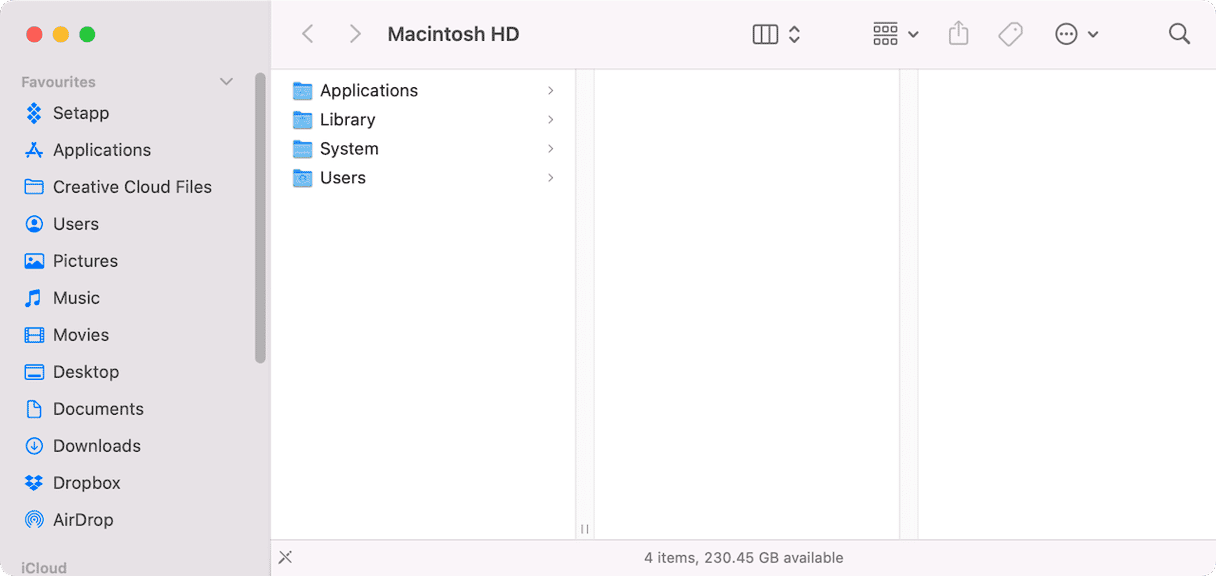
There are lots of different ways to take screenshots on your Mac, allowing you to grab the whole screen, an area of the screen you select, or a single window. If you choose to take a screenshot of a window, macOS will place a drop shadow behind it by default. That helps ‘lift’ the window from the screen behind it and make it stand out more than it would otherwise. However, there may be occasions when you don’t want screenshot drop shadow. So, in this article, we’ll show you how to get rid of it.
How to take a screenshot of a window
Before we get to removing the screenshot shadow, let’s recap how to take a screenshot of a window.
- Press Command-Shift-4.
- Press the spacebar.
- Move the camera on the screen over the window you want to capture.
- Click the mouse button or trackpad.

You can also click Command-Shift-5, click the second icon from the left (Capture Selected Window), and then click Capture. Doing it that way allows you to specify where you want to save the screenshot.
How to remove the screenshot drop shadow
There are two options for getting rid of the screenshot drop shadow. You can remove it on individual screenshots when you take them, or you can remove it permanently from all screenshots you take.
To remove the screenshot shadow when you take a screenshot, follow steps 1-3 above. Then, before you click the mouse button or trackpad, hold down the Option key. That will remove the shadow.

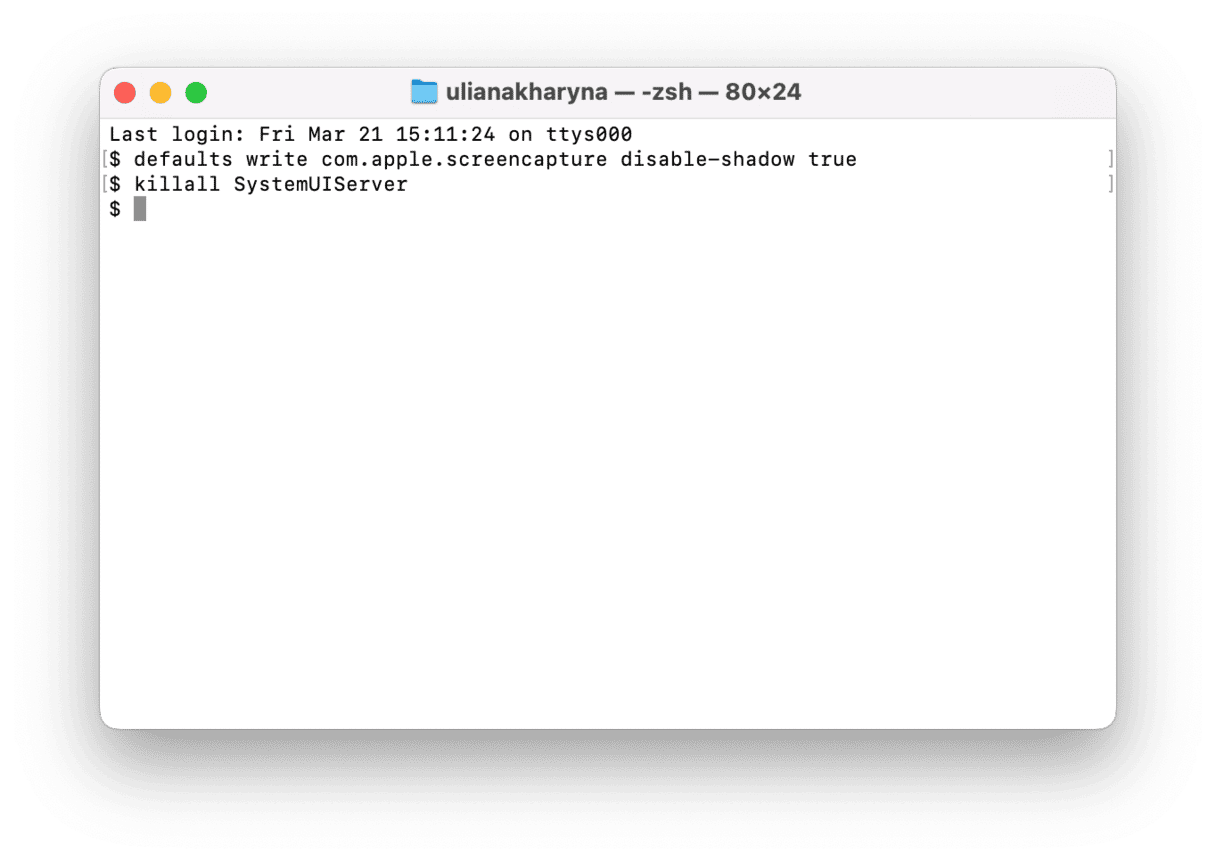
To remove the shadow from all window screenshots you take, you’ll need to use Terminal. Note that it may not work on macOS versions later than Monterey, but you can still try it:
- Go to Applications > Utilities and open Terminal.
- Type the following command:
defaults write com.apple.screencapture disable-shadow true - Press Return.
- Now type this command followed by Return:
killall SystemUIServer - Quit Terminal.

If you decide at a later date that you want to reinstate the shadow on screenshots, use the same commands as above, but this time, replace true with false
It’s worth bearing in mind that when you remove the drop shadow from a screenshot, you will also leave it without a border. If the background on the web page or document where you are going to use it is light gray or white, you might want to manually add a border in an image editing application.
When you take a screenshot of a window, macOS automatically adds a drop shadow to help it stand out from the background. If you don’t want the drop shadow, you can remove it by following the steps above.
Frequently asked questions
How do I take a screenshot of a window?
Press Command-Shift-4, then the spacebar, and click the mouse button or trackpad.
How do I remove the drop shadow from a screenshot?
Press Command-Shift-4, then the spacebar, and hold down the Option key when you click the mouse button or trackpad.
Is there a way to remove the drop shadow as the default?
Yes, use the Terminal command above. Remember that there is a way to have the screenshot drop shadow back again using a slightly changed Terminal command.


